4/8/16 Port USB/PS2 Rack Mountable KVM Switch
User Manual
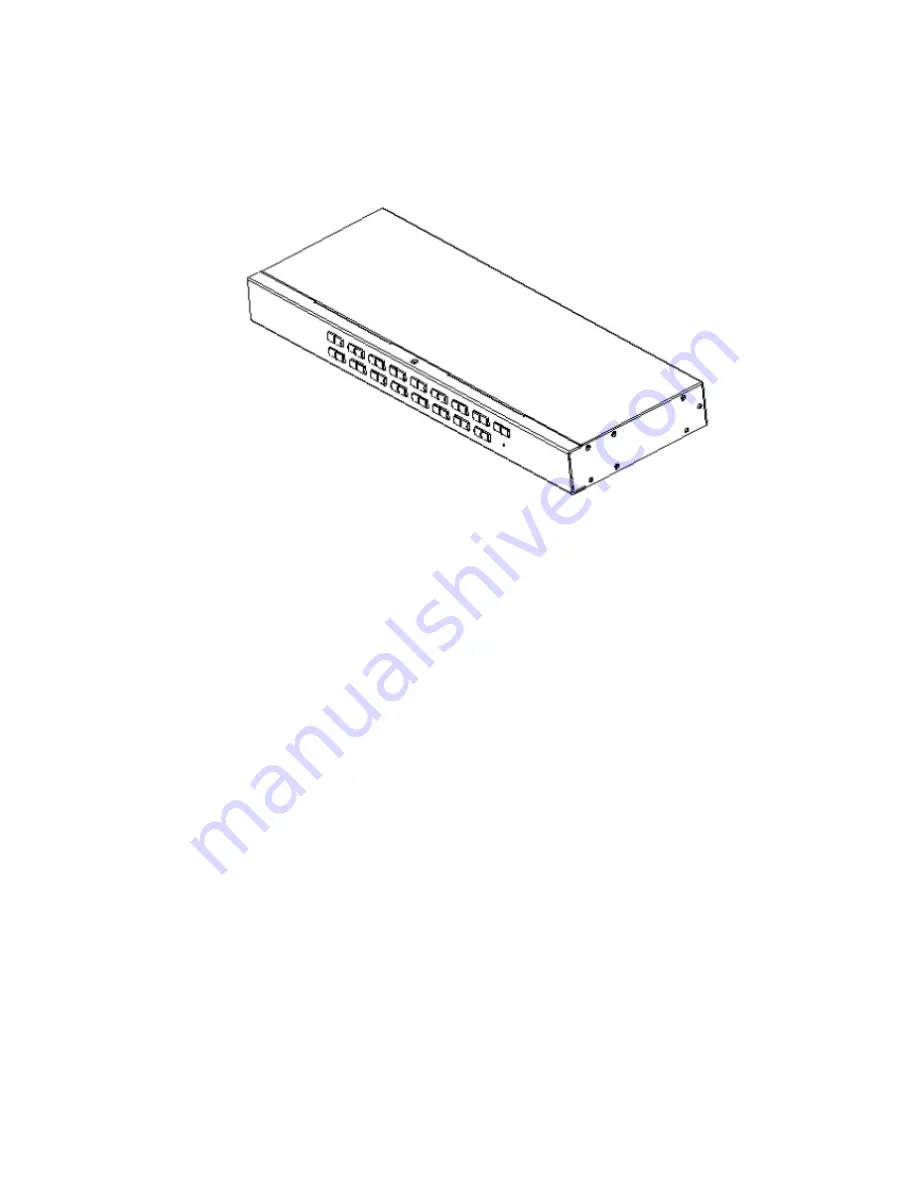
Страница 1: ...4 8 16 Port USB PS2 Rack Mountable KVM Switch User Manual...
Страница 2: ...ccept any interference received including interference that may cause undesired operation The users manual or instruction manual for an intentional or unintentional radiator shall caution the user tha...
Страница 3: ...2 1 output PS 2 Supporting cascade hub IP Control AI 9116DU 16 input USB PS 2 1 output PS 2 Supporting cascade hub IP Control Packing List The complete AS serial 4 port 8 ports 16 ports USB PS 2 KVM s...
Страница 4: ...nt and Installation 15 Cabinet Installing 15 Expansion IP Module Installation 17 Single device installation 19 Cascade device connection 20 Chapter 3 22 Basic Operation 22 Hot Plug 22 Hot Plugging Com...
Страница 5: ...ATING HOTKEY 29 SWITCH HOTKEY 30 CHANNEL DISPLAY MODE 30 CHANNEL DISPLAY DURATION 31 CHANNEL DISPLAY POSITION 31 SCAN DURATION 31 SET PASSWORD 32 SET SUPER PASSWORD 32 CLEAR THE NAME LIST 32 RESTORE D...
Страница 6: ...benefits aslo describes the front and rear panel components Chapter 2 Hardware Installation This section describes how to install the product and the necessary steps including basic single stage insta...
Страница 7: ...press the Enter key For keys that need to be entered at the same time they are placed in the same bracket and the keys are joined by a plus sign For example Ctrl Alt 1 Numbers indicate the actual oper...
Страница 8: ...front panel selection button 2 enter the hotkey combination from the keyboard 3 from the OSD menu select The auto scan feature provides automatic scanning and monitors the computers in the installati...
Страница 9: ...nt rate adjustment Support DDC communication to adapt to a variety of graphics devices The Auto Scan function monitors all computer operations Support cross platform operation Windows Linux Mac and Su...
Страница 10: ...use A set of PS 2 interface keyboard IP remote control terminal 1000M network interface optional installation Computer The following equipment must be installed on each computer A group of VGA video d...
Страница 11: ...08 Vista 7 10 RedHat 9 0 or higher SuSE 10 11 1 or higher Debian 3 1 4 0 Linux Ubuntu 7 04 7 10 AIX 4 3 or higher FreeBSD 5 5 or higher UNIX Sun Solaris 8 or higher Mac OS 9 0 10 6 Snow Leopard Novell...
Страница 12: ...tion is performed correctly The selected port LED will light up as well 2 Port LEDs The port LEDs are built into the Port Selection Switches The upper ones are the On Line LEDs the lower ones are the...
Страница 13: ...connector to the port corresponding to the PC Refer to the description of Cable in the relevant section 2 VGA port Connect the VGA cable from the control panel to this port 3 USB Keyboard Mouse port...
Страница 14: ...ontain IP expansion module is similar to the product shown below 1No IP Module Rear View The part marked with 1 is the external baffle of the extended IP module and it needs to be removed and replaced...
Страница 15: ...support the weight of the equipment plus additional cables Cabinet Installing 1 Remove the two screws on the left and right side of the front of the unit two screws in total 2 Use the screws supplied...
Страница 16: ...Rack Mountable KVM Switch User Manual 16 hole of the mounting plate with the mounting hole on the rack Use the rack mounting screws in the mounting bracket to secure the mounting plate to the front en...
Страница 17: ...ration method is simple and quick can quickly enhance the integrated management of KVM Application ability 1 find the rear of the device expansion slot outside the blank position for installation you...
Страница 18: ...ten the IP module with the two screws which removed from the front panel 6 After finishing the installation of the IP module please follow the instructions of the IP module user manual to install the...
Страница 19: ...product model 4 Connect the corresponding VGA video connector USB or PS 2 connector of the KVM cable to the corresponding PC port 5 Plug the power adapter supplied with this package into the AC power...
Страница 20: ...le KVM Switch User Manual 20 Cascade device connection This product can be cascaded to increase the number of controlled devices combined with IP remote control mode can be flexibly used in a variety...
Страница 21: ...ct to the upper level switcher 2 The number of computers connected to each level can be free to increase or decrease according to your needs the reference number 3 shows the connection method 3 Betwee...
Страница 22: ...on Note If your computer s operating system does not support hot plug functionality this feature may not work properly Hot Plugging Console Port This product also supports keyboard mouse and display h...
Страница 23: ...ransmission KVM switch will switch the corresponding number of the port computer If you want to change the key combination of the hot key you can set and change the corresponding options in the OSD me...
Страница 24: ...successfully the subsequent login requires the correct administrator user password to enter the OSD menu Interface operation When you enter the setting options some functions may need to be edited and...
Страница 25: ...Screen Headings Heading Explanation PN This column lists the port numbers for all the CPU ports on the installation The simplest method to access a particular computer is to move the highlight bar to...
Страница 26: ...ying name if there is a matching name the matched name will appear on the screen just press Enter to switch to that port 2 In the PN port input box only allow the input of numbers such as the input of...
Страница 27: ...ted as Quick View Ports POWERED ON Lists only the ports that have their attached computers powered on POWERED ON QVIEW Lists only the ports that have their attached computers powered on and have been...
Страница 28: ...of a port Press F5 a pink edit box will appear on the screen Input name and then press Enter the port is set a name and it will also appear on the screen F6 SET SET function settings can be set to the...
Страница 29: ...ings SWITCH HOTKEY KVM port switch hot key combination selection setting CHANNEL DISPLAY MODE Port display mode selection CHANNEL DISPLAY DURATION Select the Port form to display the Dwell Time settin...
Страница 30: ...then press Enter key to save The defaultis to use SCRLL SCRLL NUM as the OSD menu start hotkey NUM is the numeric keypad of the keyboard The valid numeric range is 1 16 CHANNEL DISPLAY MODE This funct...
Страница 31: ...indow always on the screen CHANNEL DISPLAY POSITION Position of the tip window A small blue window appears on the screen Use arrow key to move it then press Enter to specify the position SCAN DURATION...
Страница 32: ...the port names will be emptied so please do it carefully When doing this you need to verify the password of the administrator input Y key then press Enter to confirm the operation To cancel this oper...
Страница 33: ...CK CONSOLE You cannot switch or scan after you lock the console including switch by push button on the panel or OSD You need to enter password to set Note After Locking the console you can also unlock...
Страница 34: ...ure whether the power supply type is available please contact your dealer or your local power company This equipment is designed for IT distribution system with 100V 230V phase to phase voltage To pre...
Страница 35: ...rk Installfrom the bottom to up in the cabinet and install the heaviest things first When extending the equipment from the rack make sure that the rack is stable and stable Be careful when releasing t...
Страница 36: ...Power 1 x DC Connector IP Module Network Interface 1 x RJ45 Connection Port Selection 4 x Button 8 x Button 16 x Button KVM Reset 1 x Semi embedded keys IP Module Reset 1 x Semi embedded keys Toggle S...