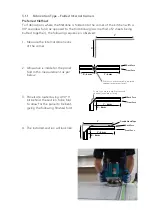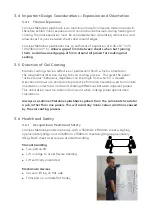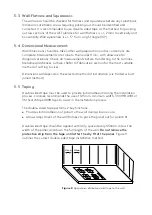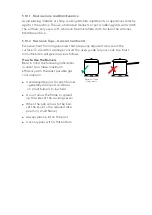
Figure 11:
Application pattern for silicone
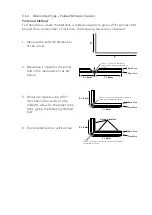
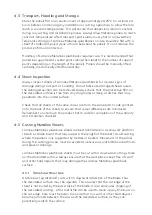
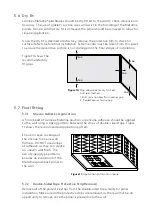
Figure 12:
Sequence of panel pressing onto the wall – folded
corner method
450mm
450mm
Work away
from corner
7
8
5
6
1
2
3
4
9
10
Work away
from corner
Fit corner
first
Work away
from corner
5
6
3
4
1
2
7
8
9
10
Work away
from corner
3mm gap
in corner
5.7.3 Fitting
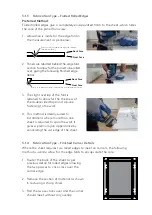
Install the panel against the wall, pressing firmly and evenly against the silicone
bead until resistance from the double-sided tape is experienced. Note: Where a
folded panel method is used, both adjacent walls must be considered at the same
time to ensure the panel is tightly fitted into the corner – so start at the corner.
Ensure the whole panel is pressed evenly and check vertical trueness with a spirit
level.
Ensure gaps between the panel and overhead cabinets or benchtops are
even. Allowance of 3mm is required at each edge for silicone sealing.
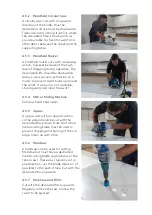
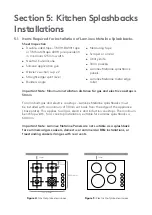
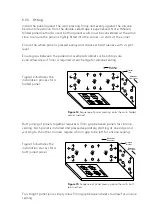
Figure 13:
Sequence of panel pressing onto the wall – butt
join method
450mm
450mm
Work away
from corner
7
8
5
6
1
2
3
4
9
10
Work away
from corner
Fit corner
first
Work away
from corner
5
6
3
4
1
2
7
8
9
10
Work away
from corner
3mm gap
in corner
Figure 12 illustrates the
installation process for a
folded panel.
Butt joining of panels together requires a 3mm gap between panels for silicone
sealing. Each panel is installed and pressed separately, starting at one edge and
working to the other. Corners require a 3mm gap to be left for silicone sealing.
Figure 13 illustrates the
installation process for a
butt joined panel.
For straight panel joins, simply allow 3mm gap between sheets to allow for silicone
sealing.


