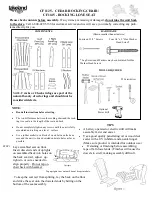
CF1125 - CEDAR ROCKING CHAIR/
CF1145 - ROCKING LOVE SEAT
Please check contents before assembly.
If any items are missing or damaged,
do not take the unit back
to the store.
Call 1-800-427-5136 for customer service and we will save you time by correcting any prob-
lems directly for you.
NOTE:
Read all instructions before starting.
The two differences between the rocking chair and the rock-
ing love seat are the length of the seat and back.
Do not completely tighten any screws until the unit is fully
assembled and setting on a level surface.
Use a rubber mallet (or a block of wood between the ham-
mer and the unit) to drive doweled ends into holes as far as
possible.
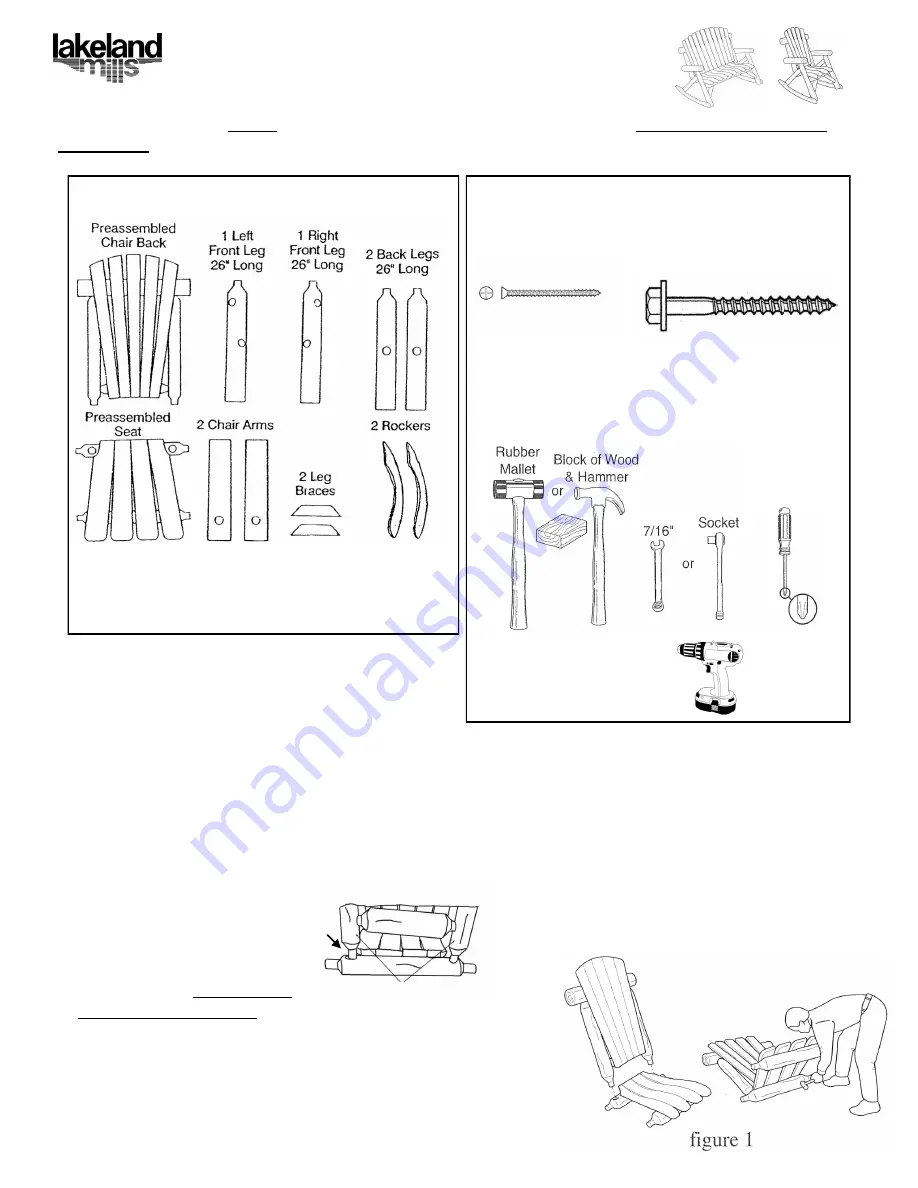
COMPONENTS
HARDWARE
(Shown smaller than actual size)
NOTE:
Cracks or Checks in logs are part of the
natural beauty of cedar logs and should not be
considered defects.
TOOLS REQUIRED
Lay assembled seat on floor.
Insert doweled ends of uprights
on assembled back into holes on
the back seat rail, adjust up-
rights in or out as needed to
align properly. Do not tap on
chair back with hammer.
To keep the seat rail from splitting, lay the back on the floor
and drive the seat onto the doweled ends by hitting on the
bottom of the seat assembly.
STEP 1
Four 1/4” x 3” Hex Washer
Head Screw*
Fourteen 2 1/2” Screws
* Lag Screws and Washers may be substituted for Hex
Washer Head Screws
#2 Screwdriver
Optional
Power drill
TIPS
A battery operated or electric drill will make
assembly faster and easier.
Use a good quality penetrating oil or wood deck
sealer with a UV inhibitor and an anti-fungal.
(Make sure product is intended for outdoor use.)
If staining or finishing before assembling,
tape off all dowel ends. (Finishes will cause the
dowels to swell, making assembly difficult.
Uprights
Tap uprights in or out until dowel drops into hole.


