22
1)
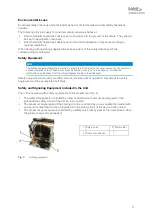
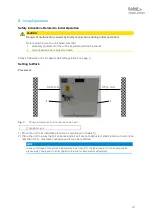
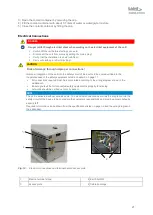
Remove the access plate after unscrewing the 2 screws.
2)
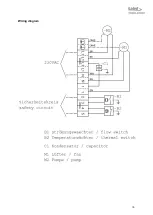
Feed the mains cable through one of the cable bushings and make the connection to the terminal.
Then do the same with the wires for the implementation of the safety circuit.
3)
Remount the access plate.
After installation of the mains cable connect the unit to mains by inserting the mains plug or making a
mains connection as required by the situation.
Carrying out Setting to Work
After connecting the cooling circuit, filling the coolant container and finishing the electrical connections
follow the steps below for setting the unit to work:
1)
Remove the cap on the coolant container.
2)
Switch on the unit and let it run for about 10 minutes in order to fill and vent the cooling circuit.
Continuously check the filling level during this procedure.
3)
If required, refill coolant.
4)
Check the compliance with the operational parameters as specified on page
5)
Remount cap on coolant container.
6)
Switch off the unit.
The unit is ready for operation.
Daily Start-up
Switch on the unit about 1 minute prior to using the equipment that is to be cooled.
Setting to work after Storage
Setting to work after storage will have to follow the same procedures as required for initial operation
(see chapter
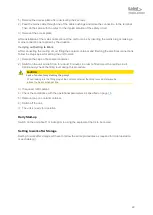
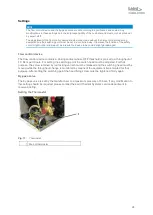
CAUTION
Lack of coolant may destroy the pump!
When looking into the filling plug of the coolant container the filling level must always be
above the heat exchanger fins.
Содержание WL3004
Страница 1: ...WL3004 Liquid to Air Cooling System Specification and User Manual Version 1 2 ...
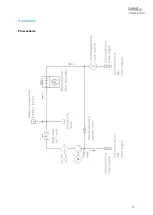
Страница 35: ...35 Addendum Flow scheme ...
Страница 36: ...36 Wiring diagram ...
Страница 37: ...37 ...

