Battery compartment
Socket for
Thermo-Hygro
Sensor
Socket for
Adaptor
PC COM
Port
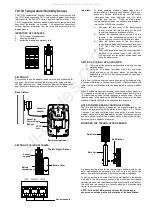
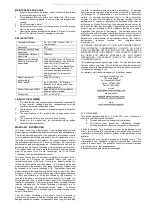
TX13U Temperature/ Humidity Sensor
The TX13U temperature/ humidity sensor is used in conjunction with
the TX12U wind sensor and TX11U rain sensor to gather and transmit
information to the WS-3610 series wireless weather station. The
TX13U temperature/ humidity sensor measures the temperature and
humidity of the location it is mounted. This sensor then transmits all
outdoor weather information from the three outdoor sensors to the
display indoors.
INVENTORY OF CONTENTS
1.
TX13U temp/ humidity sensor
2.
Mounting hardware
3.
Instruction manual and warranty card
SETTING UP
First, choose to use the adaptor (included in this set) or batteries for
operation. Both these methods allow for operation using wireless
433MHz transmission or cable connection between the base station
and the sensors and setting up for both methods is as follows:
Base Station:
SETTING UP USING BATTERIES:
Important:
To avoid operating problems, please take note of
battery polarity if inserting any batteries. Also do not
press any buttons after start up until all sensor
information has been displayed and the radio
controlled time has set. Doing so may interrupt
communication between the sensors and display or
interrupt the WWVB time reception.
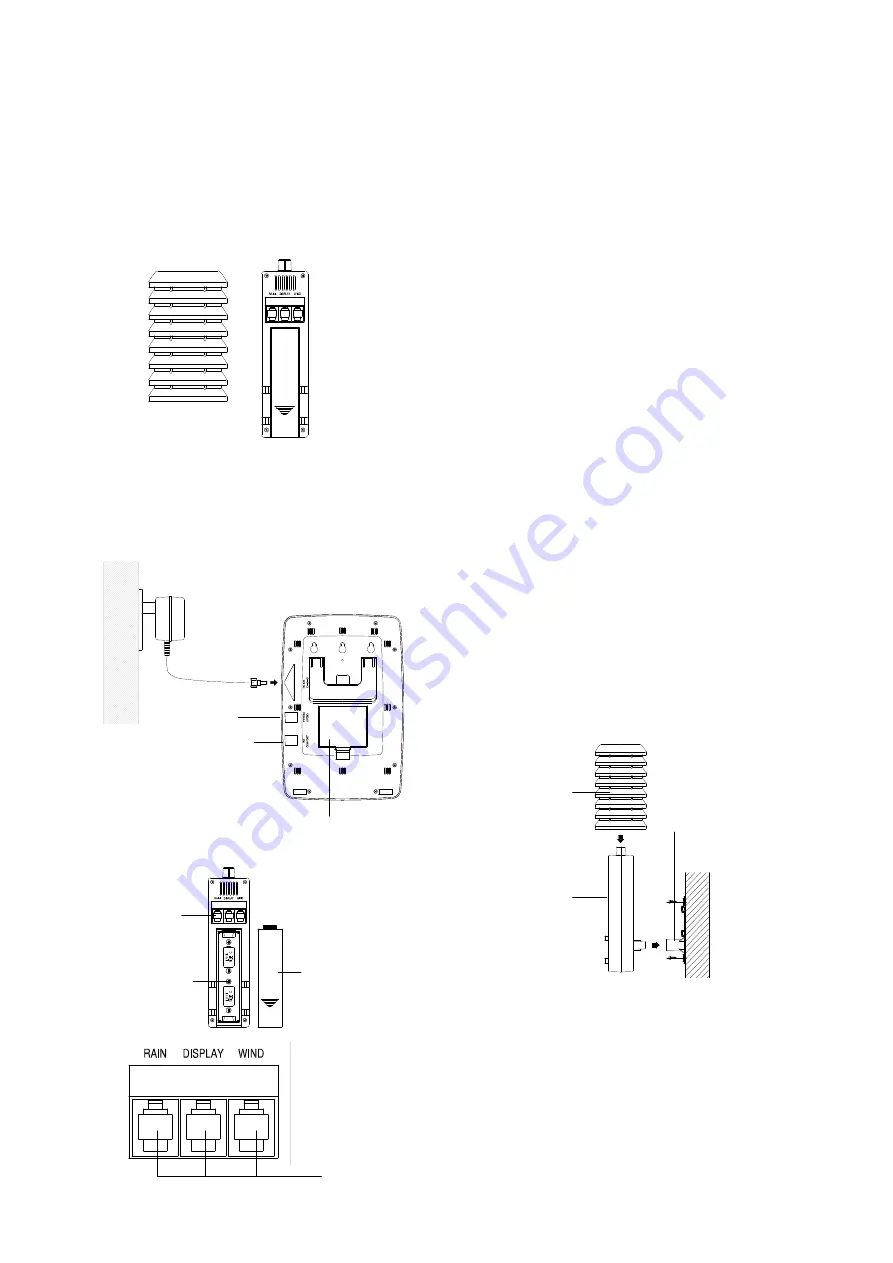
1)
Pull away the rain cover of the thermo-hygro
sensor to reveal the three sockets (for the wind
sensor, rain sensor and the base station)
2)
Connect the attached cables of wind and rain
sensors to the corresponding sockets of the
thermo-hygro sensor by clicking them into place
3)
Open the battery cover of the thermo-hygro
sensor located below the three sockets and insert
2 x C, IEC LR14, 1.5V batteries and close the
cover
4)
Open the base station’s battery cover located at
the back of the unit and insert 3 x AA, IEC LR6,
1.5V batteries into the battery compartment and
close the battery cover
SETTING UP USING THE AC ADAPTOR:
1)
Power up all the sensors as described in setting up using
batteries above
2)
Using the AC adaptor (included), plug it into the mains
outlet and power up the base station by inserting the
adaptor jack into the DC 6.0V socket located on the side of
the base station
Every time the thermo-hygro sensor is powered up (for example after
a change of batteries), a random security code is transmitted and this
code must be synchronized with the base station to receive weather
data.
When the base station is powered up, a short beep will sound and all
LCD segments will light up for about 5 seconds before it enters into a
15 minute learning mode to learn the sensors security code. After the
learning mode (or by pressing the MIN/MAX key at anytime), the base
station will start the WWVB radio controlled time reception.
NOTE FOR WWVB RADIO CONTROLLED TIME:
The time and date display is based on the signal provided by the
highly accurate government operated atomic clock in Ft. Collins,
Colorado. This radio-controlled clock does not only provide for the
weather station’s time and date display but also functions as the time
and date source for all of this weather station’s memory and history
values using time and date information.
MOUNTING THE THERMO-HYGRO SENSOR
An ideal mounting place for the thermo-hygro sensor would be the
outer wall beneath the extension of a roof, as this will protect the
sensor from direct sunlight and other extreme weather conditions.
To wall mount, use the 2 screws to affix the wall bracket to the desired
wall, plug in the thermo-hygro sensor to the bracket and secure both
parts by the use of the supplied screw and ensure that the cables from
the wind and rain sensors are correctly plugged in otherwise data
transmission errors could occur.
NOTE: For best 433 MHz reception mount the thermo-hygro
sensor on an outside wall near the location of the base station.
Battery
Compartment
Battery Cover
Thermo-Hygro Sensor
Sensor
sockets
Rain Cover
Wall Bracket
Main Unit
Sensor sockets
All manuals and user guides at all-guides.com
all-guides.com


