


9-18
User Authentication and Accounting (User Login, Job Accounting) > Setting User Login Administration
Server Settings
Set the server type when network authentication is enabled.
1
Display the screen.
1
[
System Menu/Counter
] key > [
Job Accounting/Authentication
]
2
Select "User Login Setting" [
User Login
] > [
Network Authentication
]
2
Configure the settings.
1
Select [
NTLM
], [
Kerberos
] or [
Ext.
] as the server type and enter the host name (256
characters or less) for the Authentication Server.
When selecting [
Ext.
] as the server type, enter the port number.
2
Select [
OK
].
NOTE
If the login user name entry screen appears during operations, enter a login user name
and password, and select [
Login
]. For this, you need to login as an administrator or as a
user with privileges to carry out this setting.
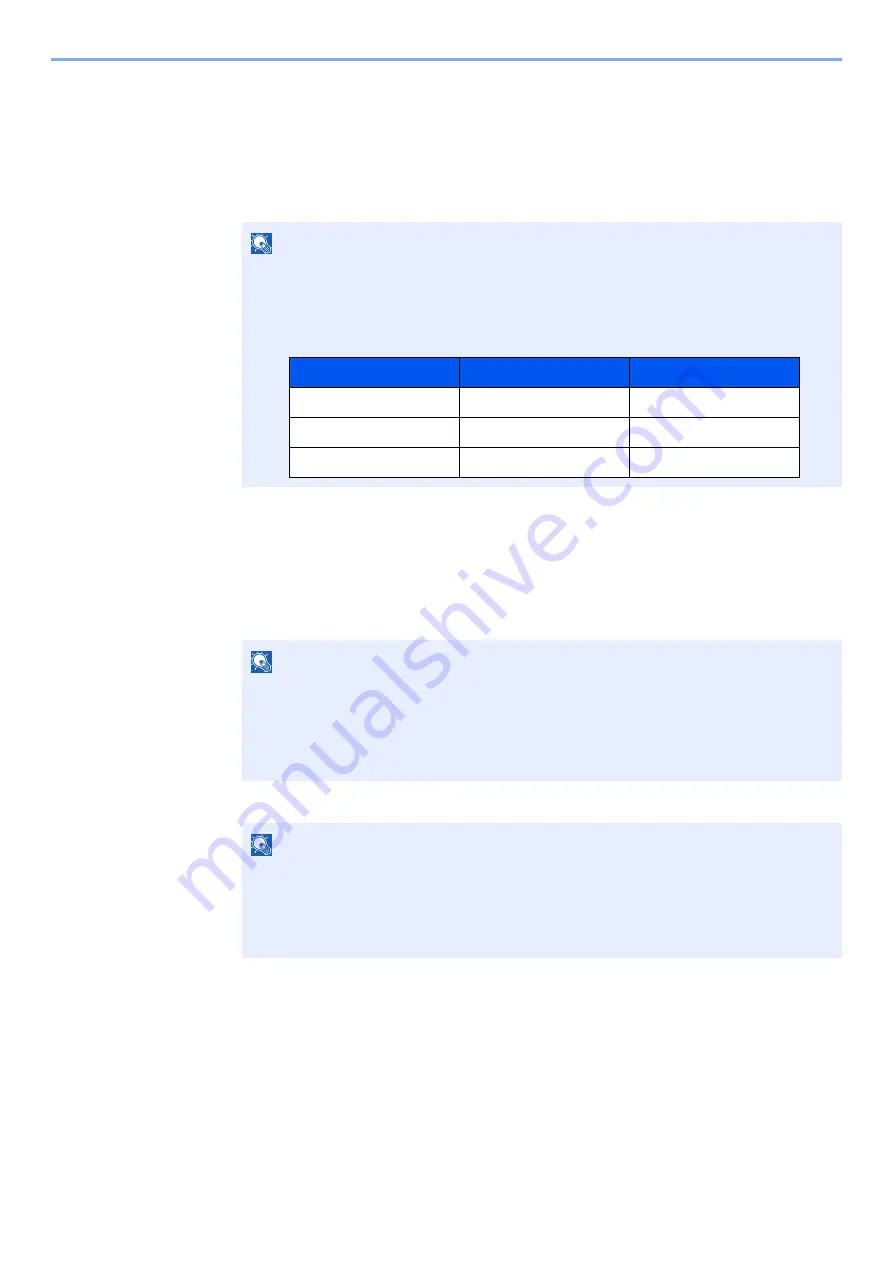
The factory default login user name and login password are set as shown below.
NOTE
• Selecting [
Add/Edit/Delete Domain
] displays the domain registration list. In the
domain registration list screen, select [
Add/Edit
], and enter the domain name. Up to
10 domain names can be registered.
• If two or more domains are registered, select [
Default Domain
] and select the default
domain.
NOTE
If the login user name and password are rejected, check the following settings.
• Network Authentication setting of the machine
• User property of the Authentication Server
• Date and time setting of the machine and the Authentication Server
Model Name
Login User Name
Login Password
358ci
3500
3500
408ci
4000
4000
508ci
5000
5000
Содержание 358ci
Страница 1: ...kyoceradocumentsolutions com Operation Guide 508ci 408ci 358ci...
Страница 83: ...2 13 Installing and Setting up the Machine Touch Panel Example System Menu Screen Move the screen up and down...
Страница 233: ...5 23 Operation on the Machine Sending Document via E mail 6 Press the Start key Sending starts...
Страница 539: ...10 20 Troubleshooting Regular Maintenance 3 Empty the Punch Waste Box 4 Install the Punch Waste Box 5 Close the cover...
Страница 541: ...10 22 Troubleshooting Regular Maintenance 4 Install the Punch Waste Box 5 Close the cover...
Страница 586: ...10 67 Troubleshooting Clearing Paper Jams 4 Remove any jammed paper 5 Push Right Cover 2 and Cassette 3 back in...
Страница 592: ...10 73 Troubleshooting Clearing Paper Jams 8 Remove any jammed paper 9 Push Right Cover 1...
Страница 611: ...10 92 Troubleshooting Clearing a Staple Jam 4 Install the Staple Cartridge Holder 5 Close the front cover...
Страница 613: ...10 94 Troubleshooting Clearing a Staple Jam 4 Install the Staple Cartridge Holder 5 Close the front cover...
Страница 657: ...Index 10 X XPS Fit to Page 6 85 Default 8 34 Z Zoom 6 42 Default 8 32...
Страница 658: ......
Страница 661: ...is a trademark of KYOCERA Corporation 2019 KYOCERA Document Solutions Inc 2019 7 2WHKDEN200...


