48 | kvm-tec
kvm-tec | 49
4. Network SettiNgS
4. Network SettiNgS
• User: In the case that a User interrupts the connection of another User, the
interrupted User may reclaim the original connection. Admins, Masters and
private connections can’t be interrupted.
• Groups: Each user can join up to 8 user groups. Each computer is defined as
belonging to one user group. By default all computers are in the same user group. This
system makes it possible to allow or deny different users access to a computer. The
user’s group access is set by pressing the buttons 1 – 8.
• Bound PC: When in User-PC Binding mode (
see 4.10)
each user must have a PC
bound to them. That user will only be able to connect to that PC. When selected the
User Detail menu, press RETURN a list of PCs on the network will be displayed to select
from.
4.4 MANAgINg ThE REMOTE UNITs
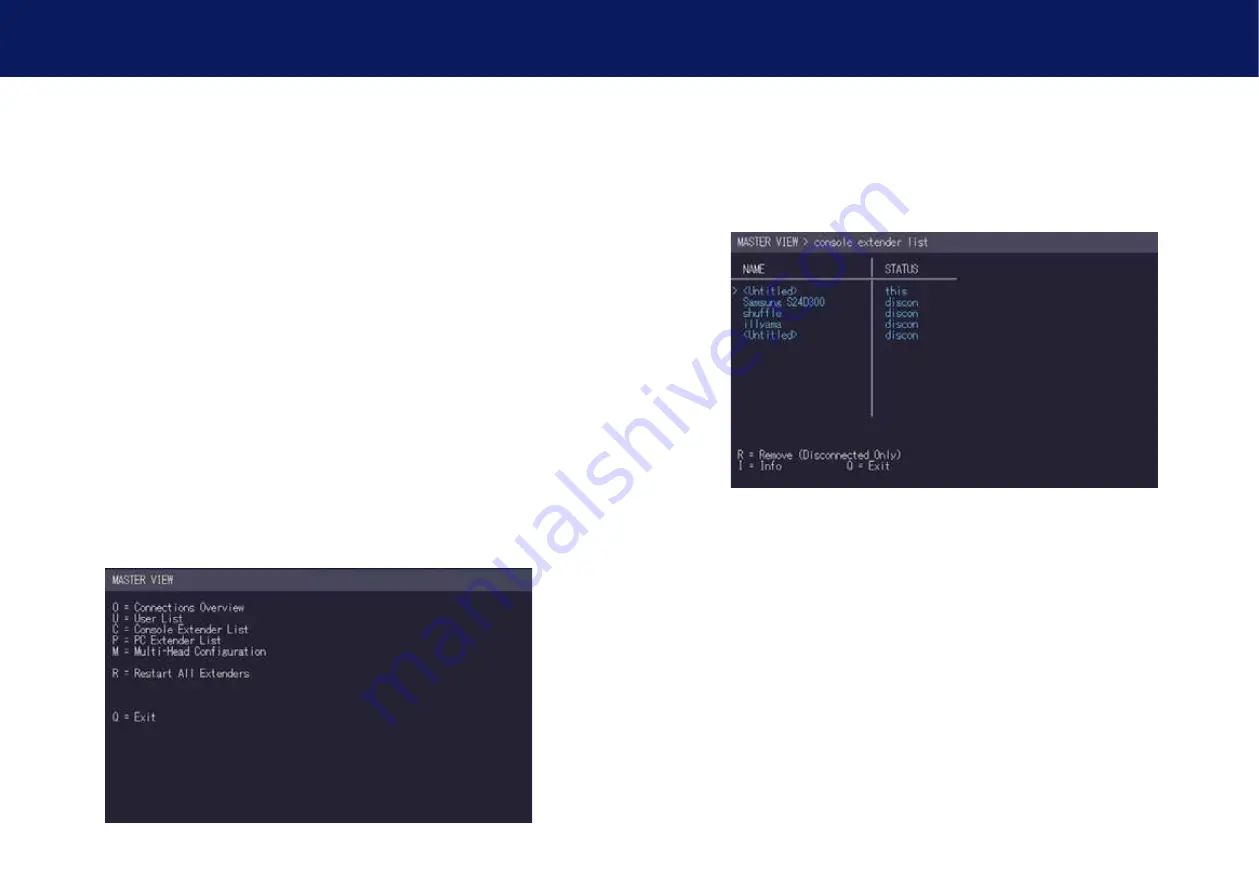
The Console Extender List allows you to view all remote units in the switching network and their
current status.
1. Make sure the Master View menu is open (see chapter „how to access the Network Settings
menu (Master View and Network Mode)”).
2. Press the C key. The Console Extender List menu opens.
• “this” defines the extender which you are currently using.
• “in use” indicates that the extender is in use.
• “free” indicates that this extender is not busy.
3. To edit the name of an extender, press the I key. The Console Extender Detail menu
opens.
4. Press the E key to edit the name of the extender.
Содержание Smartline SVX1
Страница 36: ...70 kvm tec 11 Notes...


