KVM-TEC Matrixline 2000 Fiber Скачать руководство пользователя страница 25

48    |    kvm-tec

6. MaINtaNcE & caRE

6. MaINtaNcE aNd caRE 

6.1 EXtENdER caRE

caution! 

Do not use solvent-containing cleaners. Do not use wipes, alcohols (e.g. spiritus) or

chemicals as these could damage the surface.

6.2. dIsPosal

This symbol on the product, the accessories or packaging indicates that this
product must not be treated as unsorted municipal waste, but must be collected
separately! Dispose of the product via a collection point for the recycling of
waste electrical and electronic equipment within the EU and in other European
countries that operate separate collection systems for waste electrical and

electronic equipment. By disposing of the product in the proper manner, 

you help to avoid possible hazards for the

environment and public health that could otherwise be caused by improper treatment of waste
equipment. The recycling of materials contributes to the conservation of natural resources.
Therefore do not dispose of your old electrical and electronic equipment with the unsorted
municipal waste.
The packaging is made of environmentally friendly materials, which may be disposed through

your local recycling facilities. By disposing of the packaging and packaging waste in the proper

manner, you help to avoid possible hazards for the environment and public health.
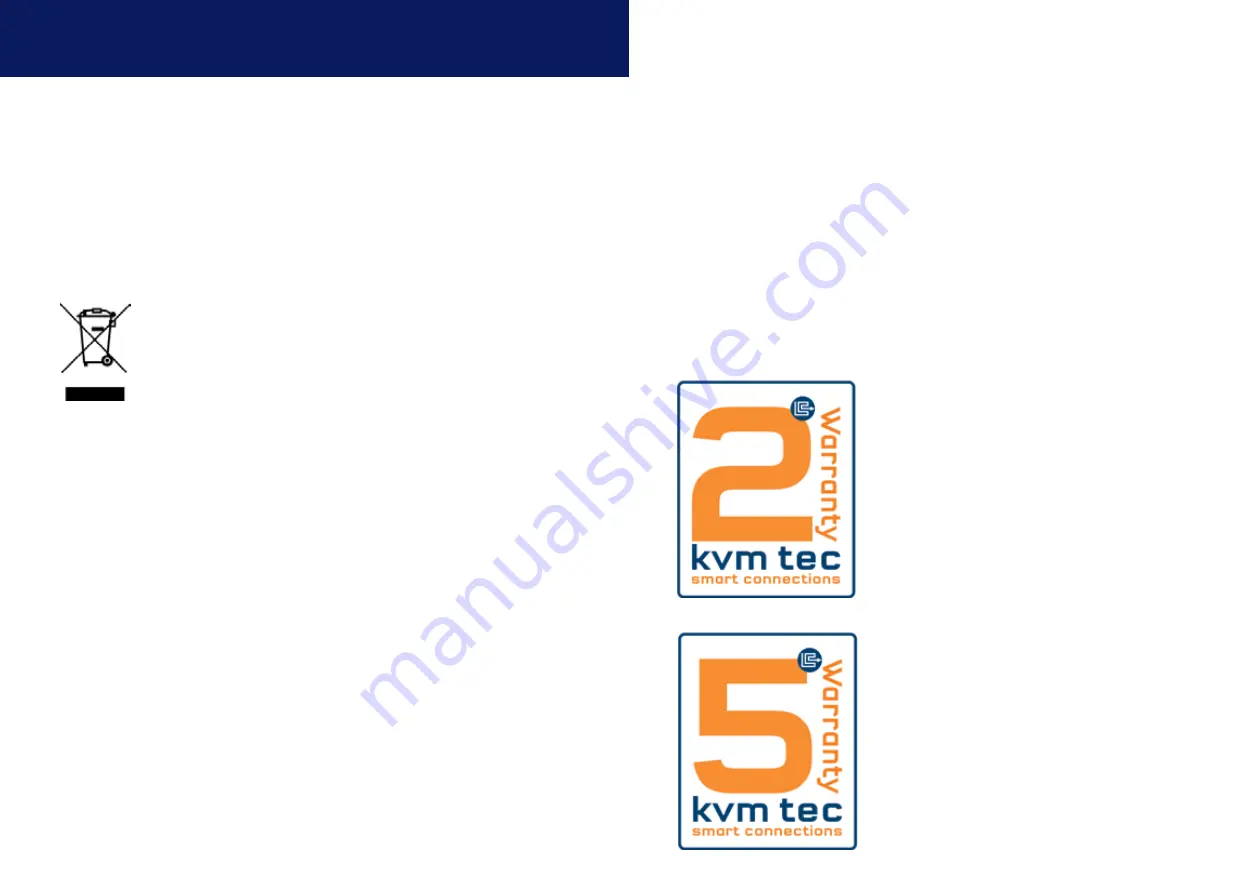
7. WaRRaNtY

7.1. staNdaRd WaRRaNtY

The warranty period is 24 months from the date of purchase. The warranty expires in case of:

• 


External effort

• 


improper maintenance

• 


Violation of the operating instructions

• 


lightning damage

Please, contact us first before returning the product.

7.2 EXtENdEd WaRRaNtY

2 years standard warranty

Art Nr 9003  warranty extension to 5 years


     per Set

Art Nr 9002   warranty extension to 5 years


      per Unit

Содержание Matrixline 2000 Fiber

Страница 1: ...annel www kvm tec com line matrix kvm tec User Manual Matrixline MX 6711 SET 6711L CPU LOCAL 6711R CON REMOTE Matrixline fiber MX2000 F 6811 SET 6811L CPU LOCAL 6811R CON REMOTE connect collaborate co...

Страница 2: ...re with Switching Manager 24 3 5 Defining what DDC data your PC uses 25 3 6 Viewing available devices 26 3 7 Managing favorite devices 27 3 8 Share list 28 3 9 Changing the settings of your extender 2...

Страница 3: ...edicine airports air traffic control industry public buildings The KVM Technology over IP benfits from the high security level in PC networks Another feature is the kvm tec feature USB save This featu...

Страница 4: ...ngs and instructions Keep all safety information and instructions for future reference and pass them on to subsequent users of the product The manufacturer is not liable for cases of material damage o...

Страница 5: ...e the product near heaters Do not drop or hit the product Unplug all connections before cleaning the product Do not use wipes or chemicals as these could damage the surface Wipe the housing with a dam...

Страница 6: ...i out DVI connection to monitor 9 Power Status LED displays the status of the extender Remote Extender CON Nr Name Function 10 in audio In from microphone etc 11 RS232 RS232 connector 12 out audio Out...

Страница 7: ...en Yes Green V fast Yes Main LED RJ45 Socket LEDs 2 1 Unpacking and checking the contents Before using the product for the first time it should be checked for damage In case of damage due to transport...

Страница 8: ...ders It consists of 19 Rack Shelf an alu faceplate and a power supply Rack Mounting Kit RMK FRN Part No 6132 The rack mounting kit RMK FRN is used to mount kvm tec Matrixline extenders It is equipped...

Страница 9: ...e included 12V 1A power supply 2 Connect the USB cable to a USB port on your PC and connect the other end of the USB cable to the CPU 3 Connect keyboard and mouse to CON 4 Connect the CPU and the CON...

Страница 10: ...the USB cable to the CPU Local Unit 3 Connect keyboard and mouse to the CON Remote Unit 4 Connect the CPU Local and the CON Remote Unit with a fiber cable 5 Connect the DVI cable to the DVI socket of...

Страница 11: ...een The monitor will displays your computer s desktop or any open applications 2 5 Replacing the SFP module The MVX1 F is delivered with a multimode SFP module To replace an SFP module with a differen...

Страница 12: ...rview of all upgrades O DDC Option DDC Option Fixed ice position 1020 x 1080 W Network Settings Network Settings G ExtenderSettings Settings Extender L Switching List List of all extenders in the swit...

Страница 13: ...ough 8 to use a predefined resolution which is saved 4 Press ESC to go back to the main menu In this view all extenders for which a firmware update is to be performed are displayed This function displ...

Страница 14: ...Viewing available devices The devices you can connect to are listed on the device list screen In the main screen menu press the L key 3 7 Managing favorite devices A total of 8 favorites can be define...

Страница 15: ...r The Extender Settings menu allows the user to change a range of further preferences Three of the selections VGA Audio and RS232 will take you to sub menus The other four can be enabled or disabled b...

Страница 16: ...2 Press the V key The VGA menu appears Press F1 to move the display area up Press F4 to move the display area down Press F2 to move the display area to the left Press F3 to move the display area to th...

Страница 17: ...ponding key 4 The Enter Parity menu opens 5 Press the appropriate button to select a parity 3 9 4 Setting the audio volume The volume of the audio input microphone on the remote unit can be changed Th...

Страница 18: ...Parity No Odd Even Mark Space possible Stopbits 1 2 Remote Unit CON Pinout DTE Pin Function direction 2 RxD IN 3 TxD OUT 4 DTR OUT 5 GND 8 CTS IN RS 232 CONNECTOR PINING 3 Extender settings 3 9 6 Alte...

Страница 19: ...the monitor shows the last image received before disconnection to activate or disactivate the function press 5 3 9 8 Using the power saving mode You can choose to enter power save mode if the remote u...

Страница 20: ...ing a keyboard layout 1 Press R in the Extender Settings menu The Remote Settings menu appears 2 Press the K key The Keyboard Locale menu opens Press E to select English QWERTY Press D to select Germa...

Страница 21: ...To edit the shortcuts 1 From the Extender Settings menu press the R key The Remote Settings menu appears 2 Press the H key The Keyboard Shortcuts menu opens 3 Use the arrows to select a command 4 Pre...

Страница 22: ...locks after restart in one minute the time can be set flexibly between one minute and 60 minutes To unlock you have to restart the Extender C Set the password You have to create your own password and...

Страница 23: ...n encoder with point to point mode In the main menu press P After logging in the user receives his personalized lists Devices Favorites List 4 1 Network settings and management Switching Systems All n...

Страница 24: ...ish audio connection plug stereo jack to the audio output of the PC green connection with local IN remote headset OUT Establish microphone connection plug stereo jack to the microphone input of the PC...

Страница 25: ...hat could otherwise be caused by improper treatment of waste equipment The recycling of materials contributes to the conservation of natural resources Therefore do not dispose of your old electrical a...

Страница 26: ...he length The shield should be contiguous and connected to both ends A shielded patch cable is allowed for connection to the device Schema EIA TIA 568 B 8 2 Requirements fiber cables 8 2 1 Multi mode...

Страница 27: ...mpany network The network switch must fulfil the following specifications 1 Gigabit Switch with true port to port transfer rates of 1 Gigabit second 9 Requirements network switch 9 requirements networ...

Страница 28: ...2253 81 912 Fax 0043 0 2253 81 912 99 Email support kvm tec com Web www kvm tec com Find our newest updates and FAQs on our homepage http www kvm tec com support 10 adDress Phone email kvm tec Inc USA...

Отзывы: