background image

22    |    kvm-tec

kvm-tec    |    23

2. extender InstallatIon

3. MaIn MenU & SeTTInGS

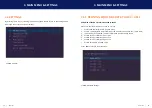
3. USInG on Screen MenU

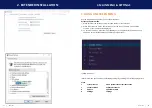
Use the monitor and keyboard to access the main menu.

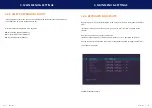
access to the main menu

1.   Make sure that the extenders, monitors and computer are turned on
2.   Press the Scroll Lock button five times one after the other. The main menu and the   
      overview of the submenus are displayed.
3.   To access a submenu, press the corresponding key or navigate with the arrow keys up
      and down to the corresponding line and then press Enter key.

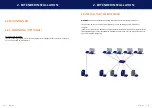
SCREEN „OSD menu“

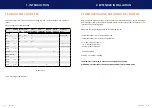
In the main menu you can make the following settings by selecting the corresponding letters:

Press 
S  

System status 

menu system status/ current status 

features Menu 

activated features  

Update 

update firmware   

G Settings 

settings

Содержание 6930

Страница 1: ...TE Check out our Installation Channel USER MANUAL kvm tec engineered 4K System 4K Extender DP 1 2 6930 media4Kconnect DP1 2 Extender Set 6950 redundant 6970 uncompresed media4Kconnect smart connections connect collaborate communicate control kvm tec C 4 ...

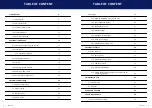
Страница 2: ...Using on screen menu 23 3 1 System status 24 3 2 Features menu 24 3 3 Update menu 25 3 4 Settings 28 3 4 1 Defining what DDC data your PC uses 29 3 4 2 Select keyboard layout 30 3 4 3 Keyboard shortcuts 31 3 4 4 Mouse Settings 32 3 4 5 Managing Local Settings 33 3 4 6 Video Sync Settings 34 3 4 7 Monitor power save mode 35 4 Extender Features 36 4 1 Menu Features 36 4 1 1 point to point 37 4 1 2 M...

Страница 3: ...onnect DP1 2 Extender Please familiarise yourself with the information within prior to using your product Use the product only in the manner as described and for the areas of application as stated Following proper use and maintenance your media4Kconnect KVM Extender will bring you joy for many years to come 7 1 Multi Mode standard 42 8 Switch specification 43 8 Requirements Network Switch 43 8 1 r...

Страница 4: ...aterial damage or personal injury caused by incorrect handling or non compliance with the safety instructions In such cases the warranty will be voided This product is not intended for use by persons including children with restricted physical sensory or intellectual capability or lack of experience and or knowledge unless they are supervised by a person who is responsible for their safety or prov...

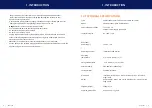
Страница 5: ... must not be cleaned Alterations to the product and technical modifications are not permitted Use the device with a suitable properly installed and easily accessible power outlet The appliance plug serves as a disconnection point 1 3 Technical specifications Type KVM Extender local unit CPU und remote unit CON Model media4Kconnect Fiber KVM Extender Power plug input voltage 2 x 12 VDC 2 A external...

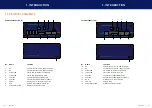
Страница 6: ...to keyboard mouse etc 9 Power Status LED Display of Extender Status usb dp kvm link media4Kconnect status media4Kconnect 3 1 2 9 4 8 7 6 5 Local Extender CPU Nr Name Function 10 DC Connection for 12V 2A power supply 1 11 DC Connection for 12V 2A power supply 2 12 Status LED Status LED for network secondary 13 Status LED Status LED for Network main 14 kvm link Connection for fibercables main 15 kvm...

Страница 7: ...es Green Yes Green V fast Yes Main LED Fiber Socket LEDs kvm tec 13 2 Extender Installation 2 1 Unpacking and checking the content Before using the product for the first time it should be checked for damage In case of damage due to transport inform the carrier immediately Before delivery the product is checked for its function and its operating safety Make sure that the packaging contains the foll...

Страница 8: ...nd an alu faceplate 2 3 Installing the extender WARNING Read and understand all safety information before installing the product The units can be set up to access point to point or over a Switching System with a host computer In the case of the latter an additional 10 G Network Switch and a Windows PC or tablet with the Switching Manager must be installed with a Network Switch each user can gain q...

Страница 9: ...wer supply for 12V 2A on the backside QUICK INSTALLATION 1 Connect the CON Remote and the CPU Local Unit with the supplied 12V 2A power supply 2 Now connect the USB cable to a USB socket of your PC and connect the other end of the USB cable to the Local Unit Connect the keyboard and mouse to the Remote Unit 3 Connect the Local and the Remote Unit with a network fiber cable 4 Connect the DP cable t...

Страница 10: ...ges to green after a successful connection The monitor will displays your computer s desktop or any open applications 2 5 Replacing the SFP module The Media4K is delivered with a multimode SFP module To replace an SFP module with a different SFP module 1 Remove the black dust protector from the SFP module 2 Pull the metal latch of the SFP module forwards until it is at a right angle 3 Replace the ...

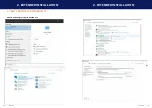
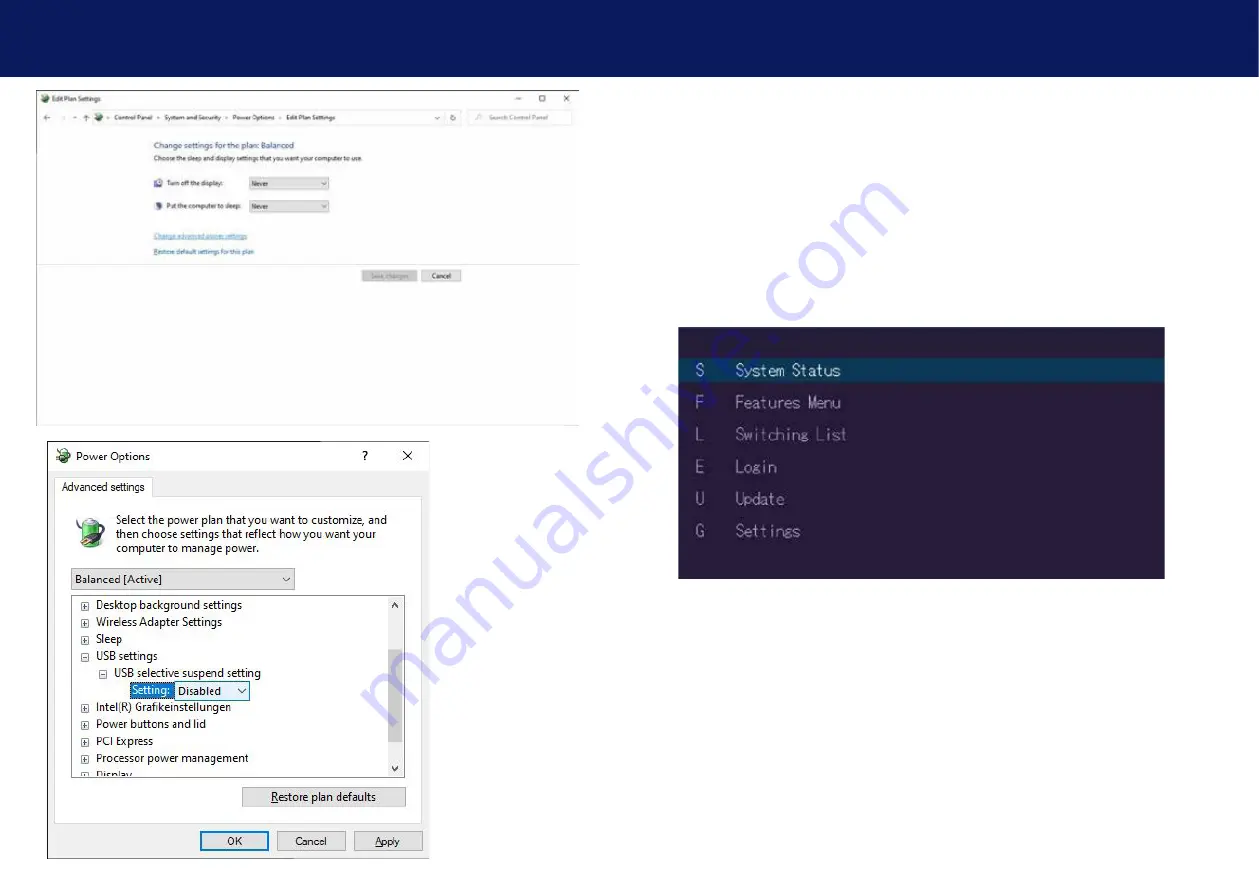
Страница 11: ...20 kvm tec kvm tec 21 2 extender Installation 2 extender Installation 2 7 Best practice for Windows 10 Disable USB Energy Savings in Windows 10 ...

Страница 12: ...mes one after the other The main menu and the overview of the submenus are displayed 3 To access a submenu press the corresponding key or navigate with the arrow keys up and down to the corresponding line and then press Enter key SCREEN OSD menu In the main menu you can make the following settings by selecting the corresponding letters Press S System status menu system status current status F Feat...

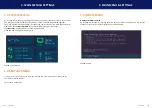
Страница 13: ... in the upper left corner The link status indicates whether a connection is possible Video and USB display data transfer status SCREEN System Status 3 2 Features menu Pressing the F key or selecting the arrow keys will take you to the features menu where you can operate the activated features go to chapter 4 FEATURES 3 MAIN MENU SETTINGS 3 3 Update menu Display of firmware version By pressing the ...

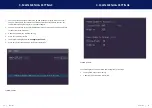
Страница 14: ...the CON REMOTE unit wait a few seconds until the USB stick is connected to the CON unit 3 Open the update menu with the U key 4 Press S to display this file 5 The firmware is displayed with Configuration found 6 Press U to start the update on the Remote CON Unit SCREEN Update 3 MAIN MENU SETTINGS SCREEN Update The UPDATE process is now started and takes place in two steps 1 Erasing flash erases th...

Страница 15: ...C Make sure that the main menu is open 5 x scroll 1 Press the O to display the DDC option menu 2 Press 1 to display the DDC information of the monitor connected to the remote CON 3 The Extender is connected The DDC information is automatically saved 4 Press 2 for a fix resolution 1920 x 1080 5 Press 3 for a fix resolution 2560 x 1440 6 Press 4 for a fix resolution 3840 x 2160 7 Press 5 for a Fix H...

Страница 16: ...NGS 1 4K Multiview Commander 3 4 3 Keyboard shortcuts By pressing the S key or by selecting the arrow keys you will access the Keyboard Shortcuts menu If you want to change one of the shortcuts you have to press the letter specified for the shortcut Now you can press any key or key combination Please note that only a key combination with the keys 1 or F1 is possible with point F Use the arrow keys...

Страница 17: ...Mouse Settings where you can adjust the speed of the mouse with the arrow keys SCREEN Mouse Settings 3 MAIN MENU SETTINGS 3 4 5 Managing Local Settings By pressing the L key or by selecting the arrow keys you can access the Menu Local Settings Press the L key to open the Local Settings Here you will find the Remote Wakeup setting SCREEN Local Settings 3 MAIN MENU SETTINGS ...

Страница 18: ...This feature can be used to determine the control loop for video synchronization The following modes can be used HARD key H Rapid rate of regulation MEDIUM M button Mean rate of regulation SMOOTH S button Slow speed of regulation 3 4 7 Monitor power save mode Power saving mode The monitor turns off when no video signal is transmitted SCREEN Monitor Power dasve mode 3 MAIN MENU SETTINGS ...

Страница 19: ...Switching System Pressing S takes you to the Matrix Switching System configuration If this function is active the Multiview Commander and Mouse Glide functions are controlled via the Switching Manager software see Switching Manager manual All functions of the switching system can be controlled via the Switching Manager software can be operated With this link you can download the Switching Manager ...

Страница 20: ...s these could damage the surface 5 2 Disposal This symbol on the product the accessories or packaging indicates that this product must not be treated as unsorted municipal waste but must be collected separately Dispose of the product via a collection point for the recycling of waste electrical and electronic equipment within the EU and in other European countries that operate separate collection s...

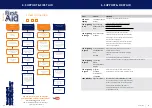
Страница 21: ...aviour kvm tec Support support kvm tec com Phone 43 2253 81912 30 6 Support First Aid Error Cause solution LED is not lighting The devices get no power Is the power supply connected Ne start device LED is lighting in red No connection between Loc and Rem Check if the RJ45 network cable is connected well Clicking noise when plugging in Control both if it does not work please send an e mail to suppo...

Страница 22: ...c connection cable type OM4 Duplex Multimode with LC plug 7 Cable requirements 8 Requirements Network Switch The entire switching network system requires its own dedicated network For security reasons it cannot be integrated into an existing company network The network switch must meet the following specifications 10 Gigabit Switch with a port to port transfer rate of 10 Gigabit second The followi...

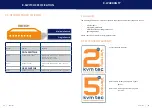
Страница 23: ...ommended Switches Multiple Switch Single Switch 8 switch specification 9 warranty The warranty period is 24 months from the date of purchase The warranty expires in case of External effort improper maintenance Violation of the operating instructions lightning damage Please contact us first before returning the product 9 1 extended warranty 2 years standard warranty Art Nr 9003 warranty extension t...

Страница 24: ...81 912 Fax 0043 0 2253 81 912 99 Email support kvm tec com Web www kvm tec com Find our newest updates and FAQs on our homepage http www kvm tec com support 10 adDress Phone email kvm tec Inc USA Sales p 1 213 631 3663 43 225381912 22 email officeusa kvm tec com kvm tec ASIA PACIFIC Sales p 9173573 20204 email sales apac kvm tec com kvm tec China Sales P 86 1360 122 8145 email chinasales kvm tec c...

Отзывы: