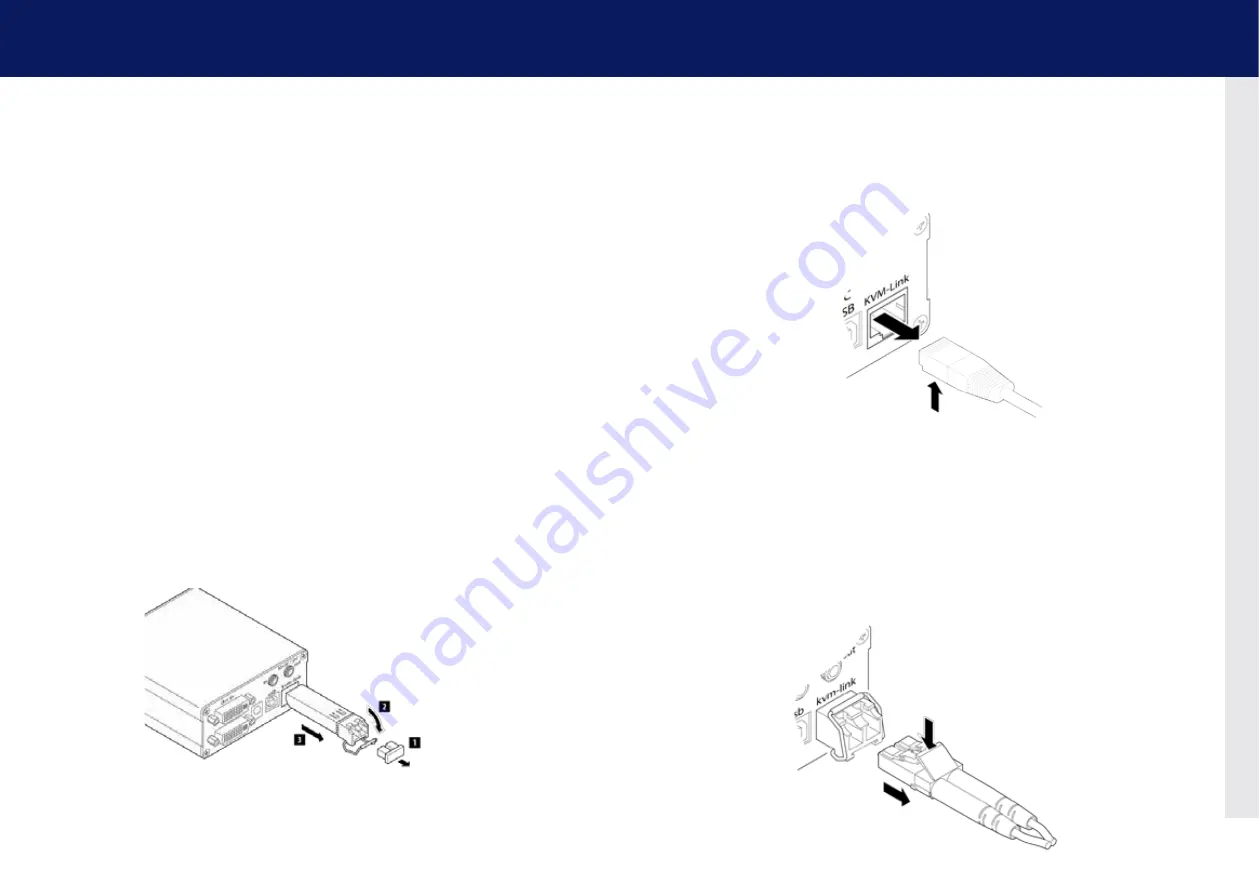
18 | kvm-tec
kvm-tec | 19
2. extender InstallatIon
2. extender InstallatIon
2.4 sTarT UP
To start up the system:
1. Make sure that the two monitors and the computer are switched on.
2. If you are using a Network Switch, connect the power cable to an earthed wall socket.
3. Connect both extender power cables ( 6 / 20 ) to an earthed wall socket. Switch on both
units. Both extenders start an initialization process. The status LED blinks some seconds
red and changes to green after a successful connection. The monitor will displays your
computer’s desktop or any open applications.
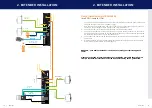
2.5 rEPlacInG THE sfP MoDUlE
The UVX1-F is delivered with a multimode SFP module.
To replace an sfP module with a different sfP+ module:
1. Remove the black dust protector from the SFP+ module.
2. Pull the metal latch of the SFP+ module forwards until it is at a right angle.
3. Replace the SFP+ module with the other module. Put the metal latch back in position. Only
use SFP+ modules from kvm-tec, or recommended by kvm-tec.
2.6 rEMoVInG a caT cablE
To remove a caT7 cable:
• Press the latch down and slowly pull the cable out.
2.7 rEMoVInG a fIbEr cablE
To remove a fiber cable:
• Press the latch down and slowly pull the cable out.


