Part 1 - INSTALLATION INSTRUCTIONS
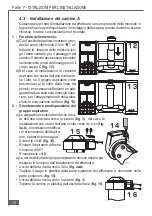
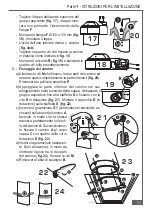
4.2 - Installation of the hood canopy C
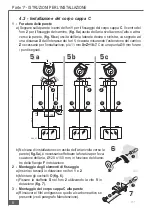
1 - Drilling the wall
a) Mark on the wall the centres of holes
1
for fixing of the hood canopy
C
. The centre of
hole
2
for fixing the chimney, (
fig. 5a
) air outlet directed upwards or towards the wall,
(
fig. 5b-c
) air outlet to the right or left hand side, must be marked at a distance
X
from the line between holes
1
, obtained by measuring the extension Z of the chimney
required for installation, plus 11 mm
X
=
Z
+18-7. Using a Ø8 mm drill bit, drill the
points marked in this way.
b) When installed with the air outlet directed towards the wall
(
fig. 5a
), it will be necessary to drill an air ducting opening,
measuring Ø120 or 150 mm, according to the diameter of
the flange
F
provided.
2 - Fitting the fixing elements
a) Insert the rawl plugs provided into holes
1
and
2
.
b) Fit the eye bolts
O
(
fig. 6
).
c) Fix the wall bracket
S
in hole
2
using the screw
V
provided
(
fig. 7
).
ø
120
ø
150
100 100
ø 8
7
Z
X
40
18
650
105
105
A08_05
2
1
1
2
1
1
2
1
1
5 a
5 a
5 b
5 b
5 c
5 c
6
6
7
7
Содержание KD 674.1 GE
Страница 2: ......
Страница 68: ...4329309 07 000727 ...

