


Steps”. Clicking on the provided link will
redirect here.
Web-interface - “First steps” start-up screen
Change to the Queue tab to upload your
print job to the 3D printer.
Web-interface - “Queue” print job overview
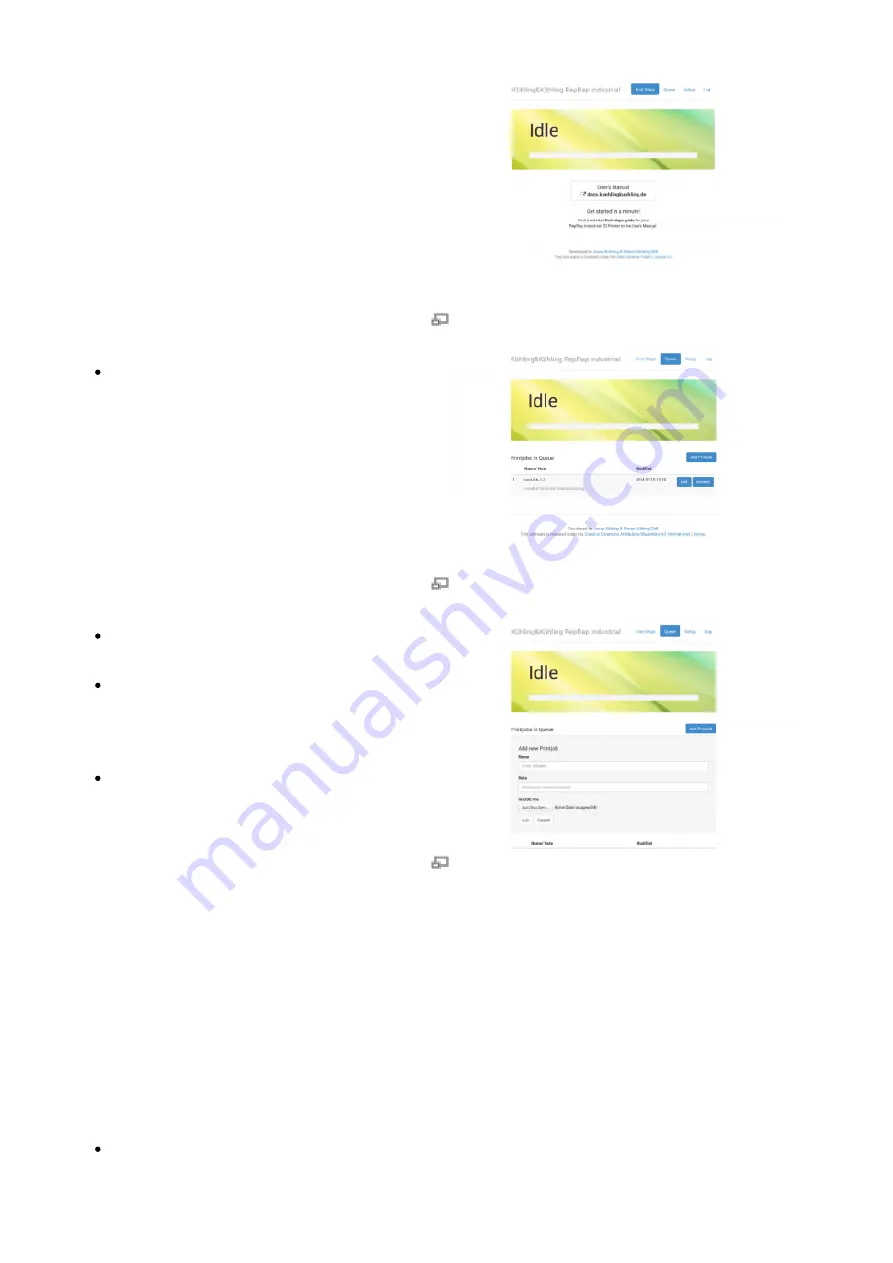
Click [Add Printjob] and then [Browse] to
select a G-code.
Enter the identification (name or number
or the like) of the print job in the text field
Name and if required add additional
information via the text field Note.
Click [Add] to upload the selected file to
the printer.
The print job is now available for printing on your
RepRap Industrial and can be selected directly
for printing via the touchscreen controller on the
3D printer.
Web-interface - adding print jobs via the
“Queue”
Starting the print job
Make sure that all previously described steps
have been carried out.
The next steps are carried out at the 3D printer's
GUI:
to start the print job.


