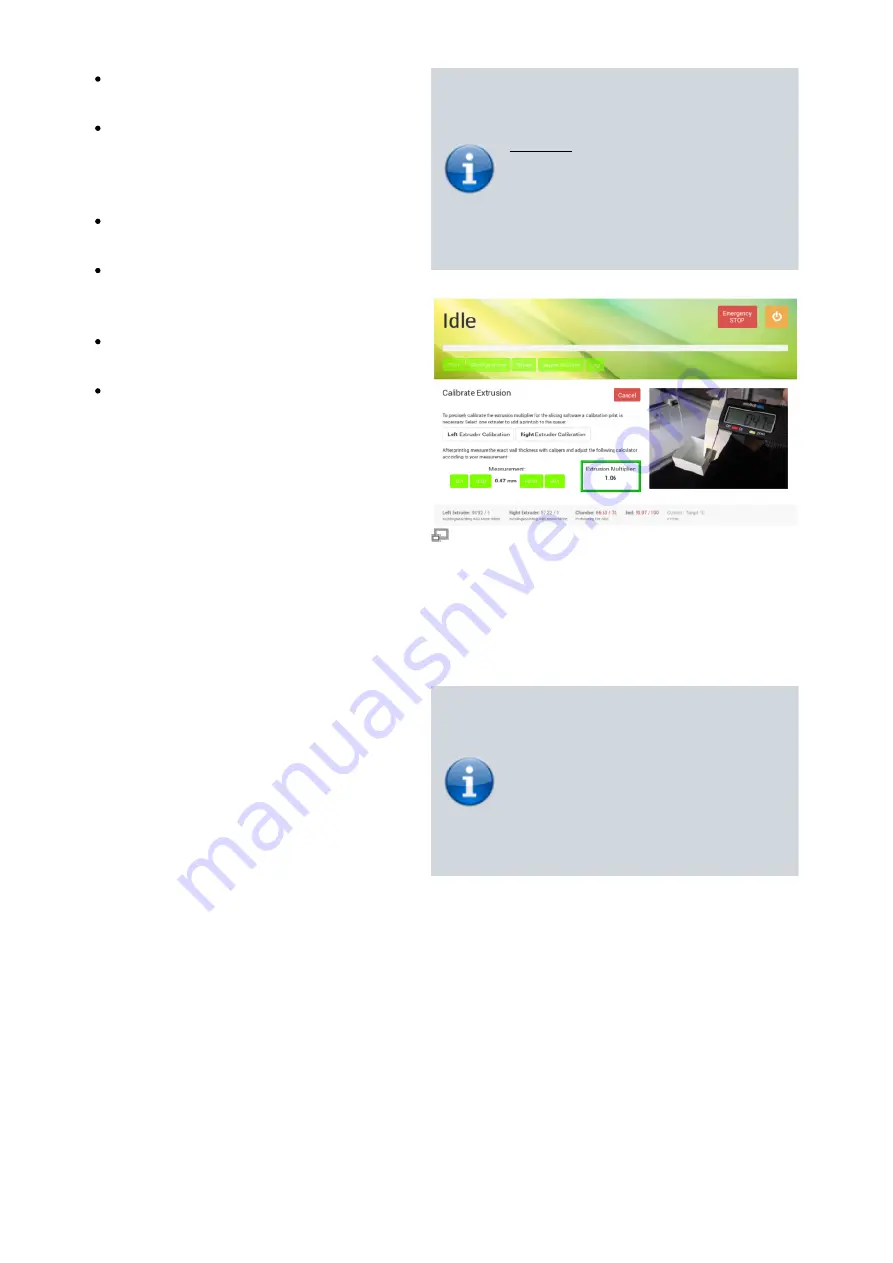
Choose the [Calibrate Extrusion] wizard
from the
Select the respective extruder by tapping
[Left Extruder Calibration] or [Right
Extruder Calibration]. A preinstalled print
job will be loaded into the queue.
Change to the Print menu and select and
start the print job.
After the print job has been finished,
return to the [Extrusion Calibration]
wizard.
Enter the measured value via the touch
buttons.
The necessary extrusion multiplier is
calculated automatically. Record the value
for later use in the slicing software (see
).
Regard that the preinstalled
extrusion calibration print job is
solely for printing ABS with the
0.35mm nozzle tip on both hot
ends. Printing it with other materials
or nozzle tip diameters requires
altered settings as described in the
of this manual.
The extrusion multiplier is calculated
automatically from the measurement and must
be saved in the filament profile of the slicing
software.
Creating your own first print job
You will find all necessary installation and setup
procedures required for the first print in the
following paragraphs. All software mentioned
additionally is available “Open Source”.
INFO
The manufacturer cannot be held
liable for any malfunction resulting
from use of other than the
recommended software.
Installation and setup of the slicing software
First you need to install a slicing software on
your computer to translate .stl-files (Surface
Teselation Language - a 3D format with
triangulated surfaces needed for processing)
into printable G-codes.
Kühling&Kühling recommend using the Slic3r
slicing software to prepare your digital 3D
models for printing. This slicing software
provides a lot of features necessary for


