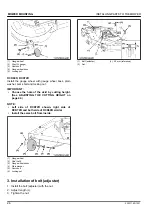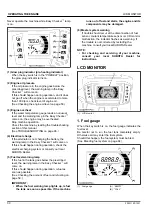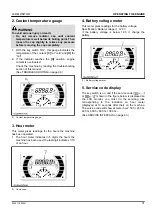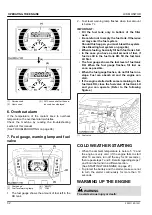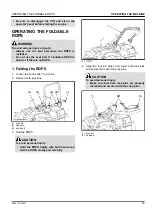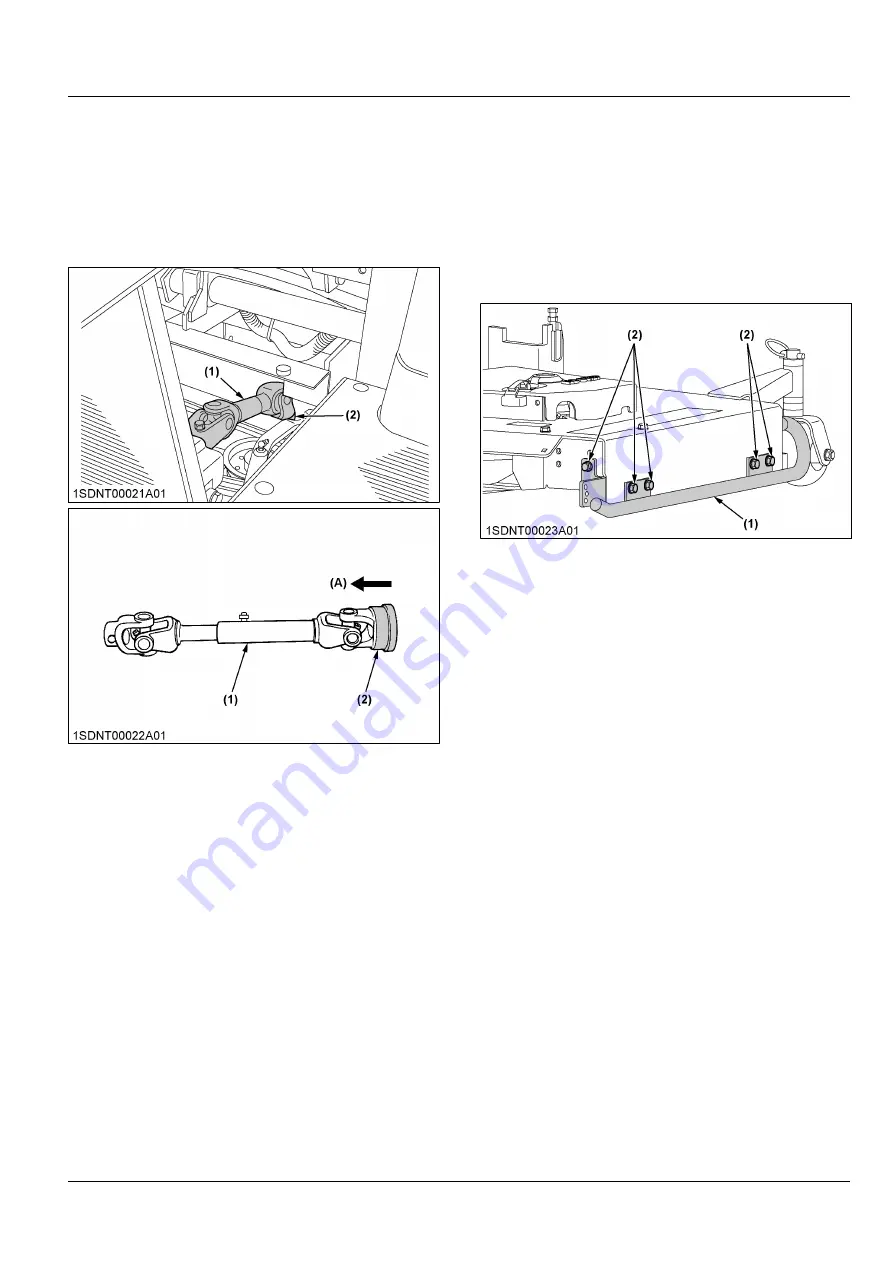
9. Install universal joint.
Pull back the coupler of the universal joint.
Push the universal joint onto the PTO shaft until the
coupler locks.
IMPORTANT :
• Tug the universal joint backward and
forward to make sure it is locked securely.
(1) Universal joint
(2) Coupler
(A) “PULL”
10. After mounting the mower, check the mower level. If
necessary, adjust the mower level and anti-scalp
rollers.
ADJUSTING THE MOWER
(See OPERATING THE MOWER on page 44 and
ADJUSTMENT on page 87.)
DISMOUNTING THE MOWER
DECK
For dismounting the mower deck, reverse the above
procedures.
INSTALLING PARTS TO THE
MOWER
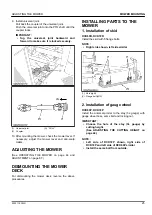
1. Installation of skid
RCK60R, RCK72R
Install the skid with 5 flange bolts.
NOTE :
• Right side shown, left side similar
(1) Skid (right)
(2) Flange bolt (M10)
2. Installation of gauge wheel
RCK60P, RCK72P
Install the anti-scalp roller to the stay (3L gauge) with
gauge wheel boss, sems bolt and locking nut.
IMPORTANT :
• Choose the hole of the stay (3L gauge) by
cutting height.
(See ADJUSTING THE CUTTING HEIGHT on
page 44.)
NOTE :
• Left side of RCK72P shown, right side of
RCK72P and left side of RCK60P similar
• Install the sems bolt from outside.
ADJUSTING THE MOWER
MOWER MOUNTING
ZD1211,ZD1221
25
Содержание ZD1211-60
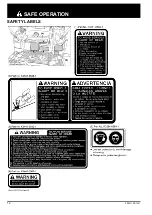
Страница 15: ...SAFETY LABELS SAFE OPERATION 12 ZD1211 ZD1221 ...
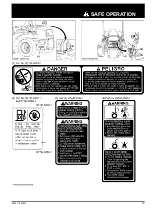
Страница 16: ...SAFE OPERATION ZD1211 ZD1221 13 ...
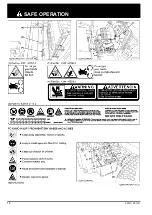
Страница 17: ...SAFE OPERATION 14 ZD1211 ZD1221 ...
Страница 18: ...SAFE OPERATION ZD1211 ZD1221 15 ...

