


2
SETUP
12
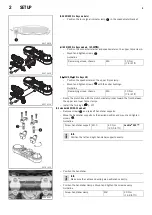
S01467-01
–
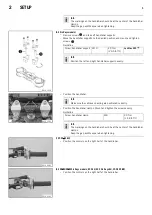
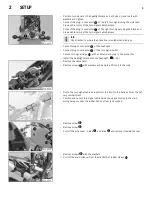
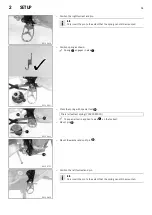
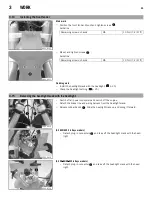
Connect the tail light plug-in connector to the main wiring harness plug-in con-
nector.
S01462-10
–
Position the CDI unit, and mount and tighten screws
with the washers.
Info
The wiring harness runs under the CDI unit.
–
Position the turn signal cable harness and main wiring harness and secure with
cable ties.
S01465-10
–
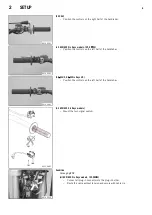
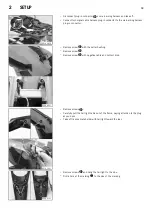
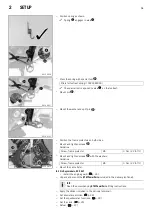
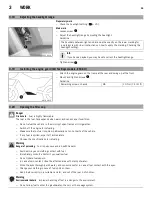
Mount the main silencer with rubber sleeve
.
–
Mount and tighten screws
with the washers.
Guideline
Remaining screws, chassis
M6
10 Nm
(7.4 lbf ft)
S01464-10
–
Attach the side cover in area
and engage it in area
.
–
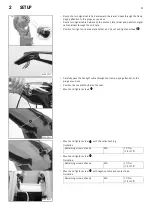
Mount and tighten screw
.
Guideline
Screw, subframe
M8
35 Nm
(25.8 lbf ft)
Loctite
®
2701™
–
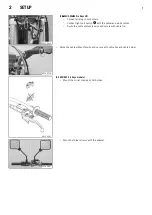
Mount and tighten screw
.
Guideline
Remaining screws, chassis
M6
10 Nm
(7.4 lbf ft)
–
Install the battery. (
–
Install the fuel tank. (
E00496-11
–
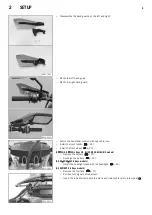
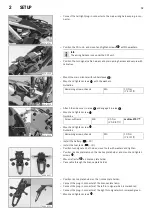
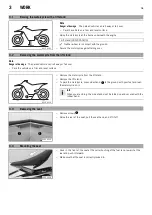
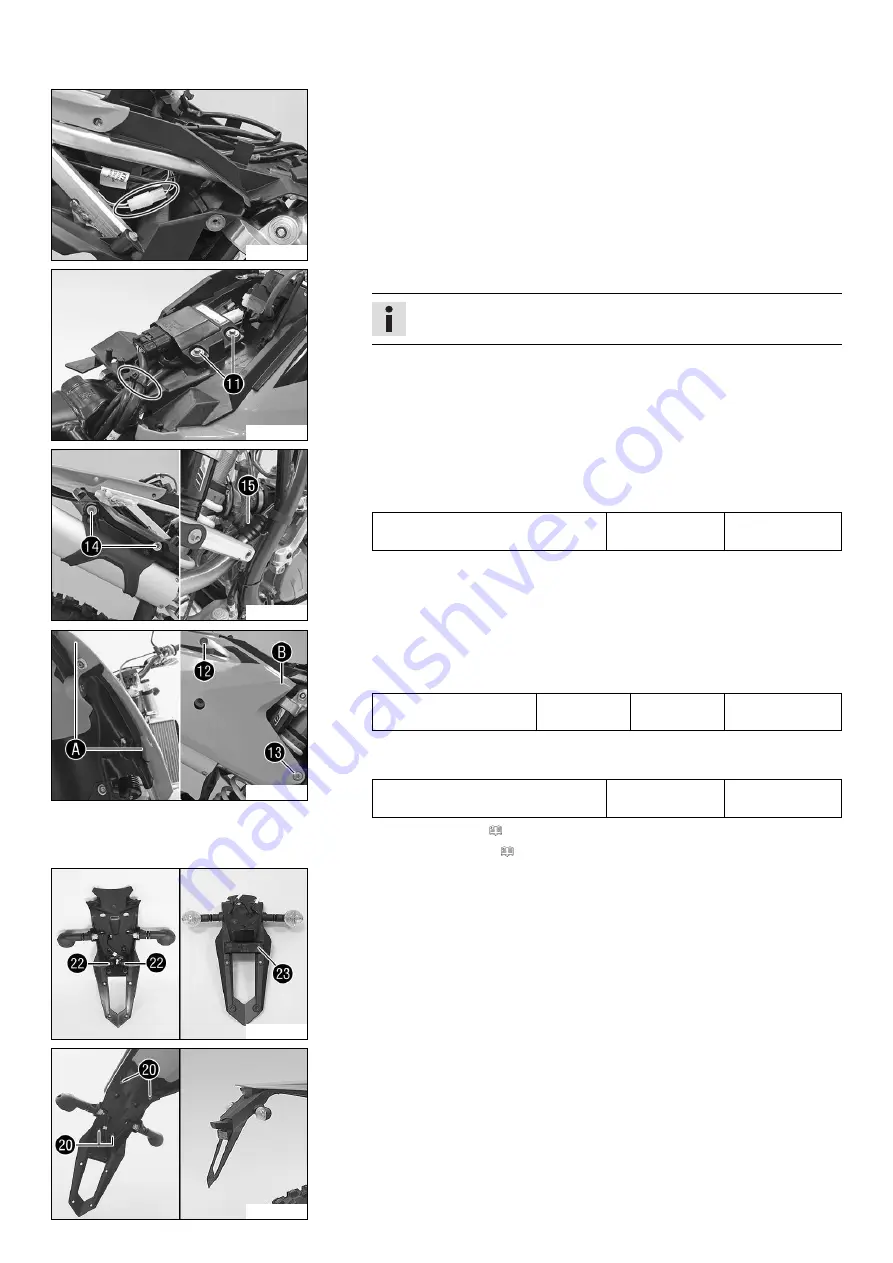
Position turn signal on both sides, mount nuts with washers and tighten.
–
Position license plate lamp on the license plate holder, and mount and tighten
screws
.
–
Mount reflector
on license plate holder .
–
Pass cable through the license plate holder.
E00497-11
–
Position license plate holder on the license plate holder.
–
Connect the plug-in connector of the license plate lamp.
–
Connect the plug-in connector of the left turn signal which is marked red.
–
Connect the plug-in connector of the right turn signal which is marked green.
–
Mount and tighten screws
.
Содержание F7103Q3
Страница 2: ......
Страница 35: ...6 AUXILIARY SUBSTANCES 33 Long life grease Recommended supplier Motorex Bike Grease 2000 ...