


©
KRAMER ELECTRONICS LTD.
Issue 1-16 May 30, 2017
13
3.
System Description
3.1
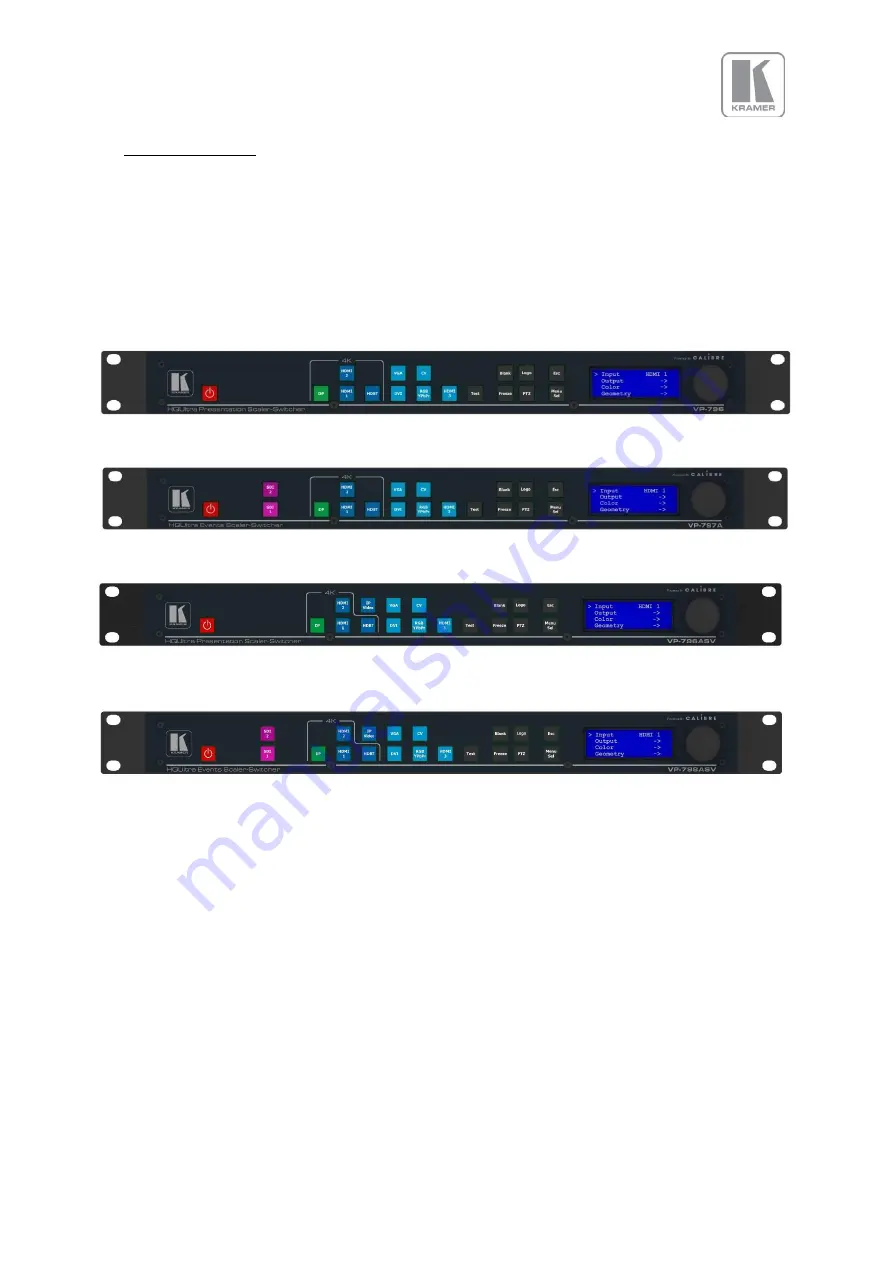
Front Panel Layout
The front panel includes several buttons allowing the user to select between the different inputs and
to perform other functions, a jog wheel and an LCD screen. From the front panel you can navigate the
menus, select the an input and direct access to key functions. The front panel layout is similar
between the different models except for the SDI, HDBT selection keys. Only models featuring these
inputs included these buttons.
VP-796, VP-796A
1 < ------------- 2 -------------- > 3 <- 4-> 5 6 7
VP-797A
1 < ------------- 2 -------------- > 3 <-- 4--> 5 6 7
VP-796ASV
1 < -------- 2 --------- > 3 <- 4-> 5 6 7
VP-797ASV, VP-798ASV
1 < -------- 2 --------- > 3 <- 4-> 5 6 7
1
–
Standby key: By pressing the Standby key, the unit is put into standby mode. This is indicated by a
“STANDBY” message on the LCD with
the back light turned off. When the unit starts up, the red
Standby key flashes. Once the unit is operational, the Standby key is solid red.
2
–
Input channel selection keys: All input channels can be directly selected. The active channel key is
illuminated.
3
–
Test Pattern key: Directly activates a Test Pattern. Use the jog wheel to scroll through the
available test patterns.
4
–
Direct function keys: Four functions can be directly accessed by pressing their assigned key:
Freeze (stop/resume live video), PTZ (activate/deactivate Pan Tilt Zoom), Logo (show/skip a
predefined logo), Blank (blank the output screen/resume live video).


