


Kramer Electronics Ltd.
VIA Capmus², VIA Campus² PLUS
– For Web Administrator: Configuring Settings – Gateway Management
Pages
57
b. Edit the Session Name and the Description and click
Update
.
The recording file information is updated.
▪
Click the
Delete
icon.
The selected recording is permanently deleted.
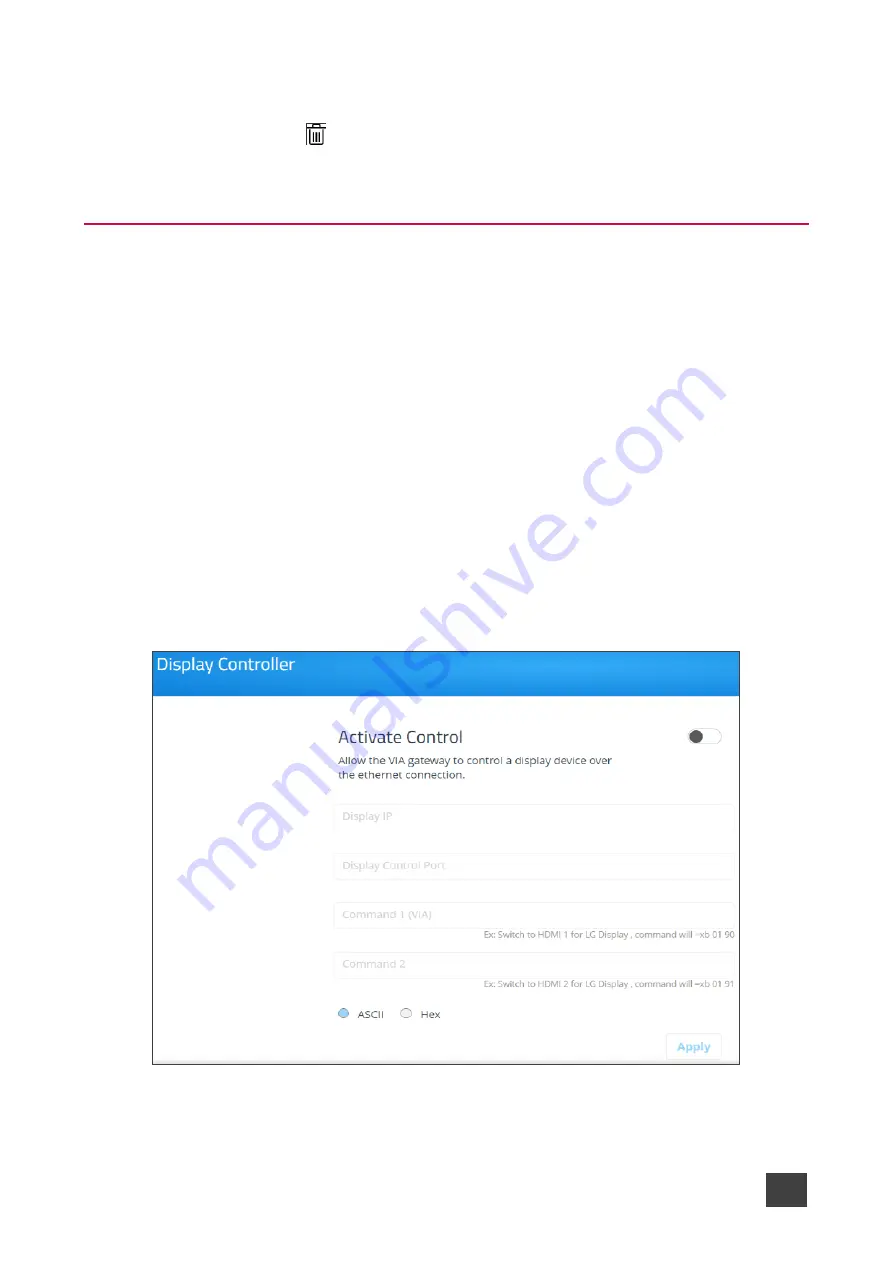
Configuring Display Controller
VIA Capmus², VIA Campus² PLUS
enables you to control a display screen that is connected
to the same network as your
VIA Capmus², VIA Campus² PLUS
.
This feature enables you to configure one of the following actions:
•
When the first person joins the meeting, the main display powers ON and when the last
person logs out of the meeting, the main display powers OFF.
•
Send a switch HDMI Input command, to toggle between the VIA input and any other
device connected to the same display.
To configure your VIA Capmus², VIA Campus² PLUS as a display controller:
1. Connect the display to be controlled to the same network as your
VIA Capmus², VIA
Campus² PLUS
.
2. Click
VIA Management
>
Display Controller
on the navigation pane.
The Display Controller
page appears.
Figure 59: Display Controller Settings
3. Click the
Activate Control
switch.