


Kramer Electronics Ltd.
MV-4X
– Using Embedded Web Pages
40
▪
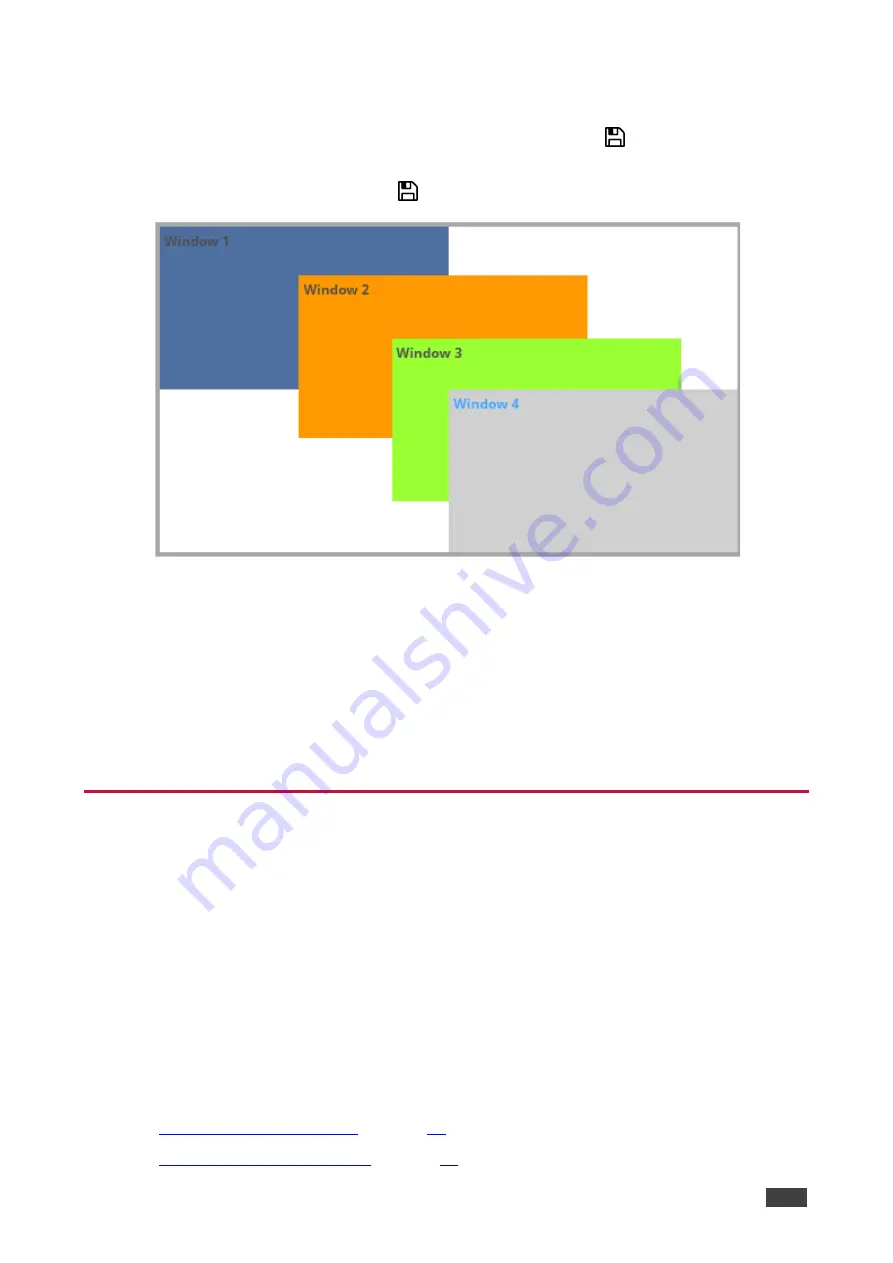
Set Priority (Layer) from the drop-down box (1 to 4, where 1 is the top layer).
in this example, Window 4 is set to Priority 1.
▪
Next to Size, define the size of the window and then click
.
▪
Set the position of the window by entering its exact location (H and V), by aligning it
to a display side and clicking
, or by simply clicking and dragging a window.
Figure 25: Preset Mode
– Setting the Position of a Window (for example, Stacking the Windows)
▪
Mirror the image horizontally using the Mirror slider.
▪
Enable a border around the window using the Border slider.
▪
Select the Border Color from the drop-down box.
5. If required, click
RESET TO DEFAULT
to reset the changes made to a selected window
to their default parameters.
The window in the Preset mode is configured.
Defining the Auto-Layout Parameters
In the Auto Layout operation mode,
MV-4X
automatically sets the operation mode depending
on the number of currently active signals. For example, in the Auto Layout mode, if 2 active
inputs are present, you can set the preferred layout for 2 inputs (Side by Side (default), PoP
or PiP), if a third input is connected and active, the auto layout will then be set to Pop Side or
PoP bottom (depending on your selection).
In Auto Layout, window settings are disabled.
The Auto Layout operation mode becomes active automatically and the defined layout is
viewed immediately when the number of the of active sources changes.
To set the inputs and outputs mode see:
•
•