


Kramer Electronics Ltd.
MV-4X
– Operating and Controlling MV-4X
20
Setting the Preset Parameters
MV-4X
enables storing and recalling up to 4 presets via the OSD or the embedded web pages
Configuring/Recalling a Preset
).
Presets include the window position, routing state, window source, window layer, aspect ratio,
border and border color, rotation state and window state (enabled or disabled).
To store/recall a preset:
1. Set the device to the desired configuration.
2. On the front panel press
MENU
. The menu appears.
3. Click
Preset
and perform the following actions according to the information in the
following table:
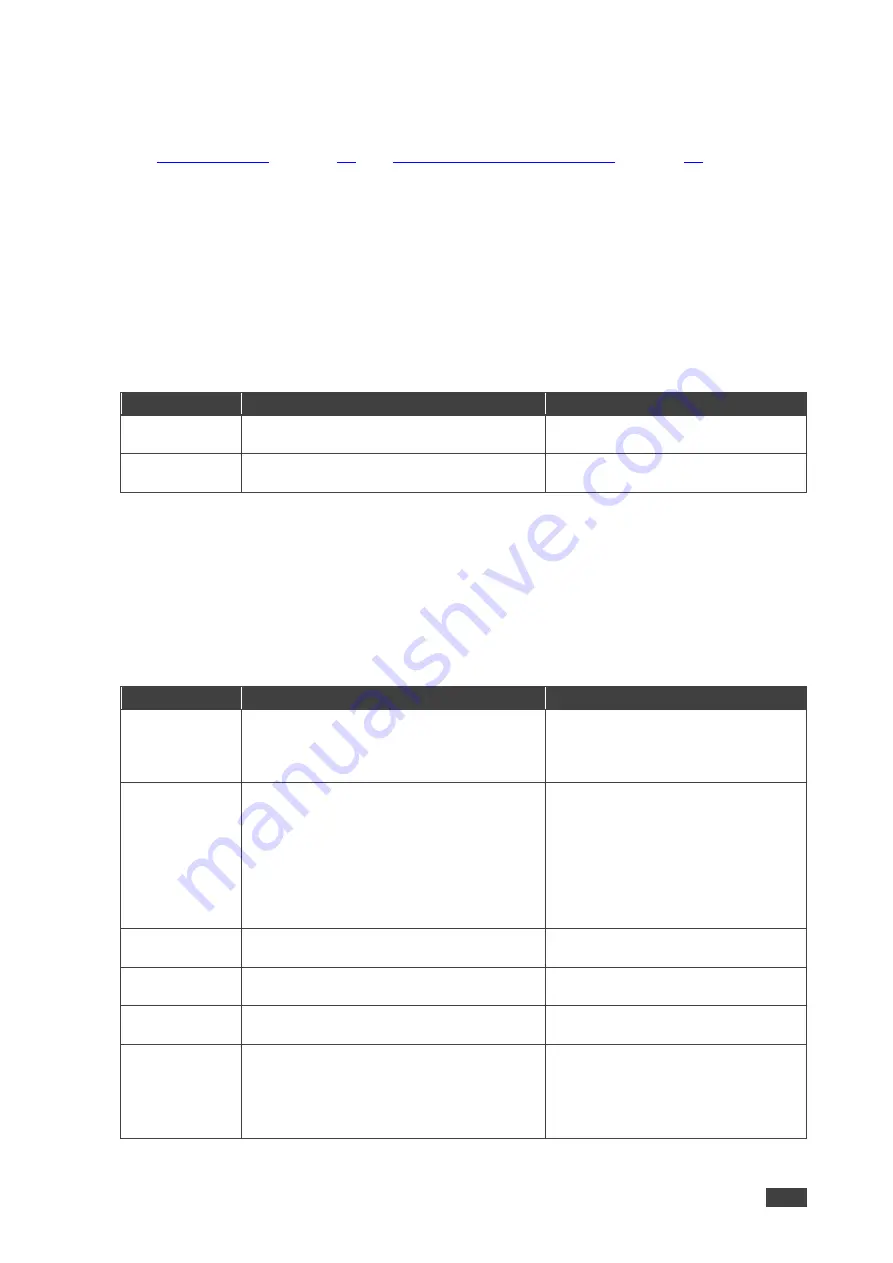
Menu Item
Action
Options
Save
Select a preset and Press
Enter
.
Preset1 (default), Preset2, Preset3,
Preset4
Recall
Select a Preset and Press
Enter
.
Preset1 (default), Preset2, Preset3,
Preset4
Presets are stored/recalled.
Configuring the Setup
To configure the Setup:
1. On the front panel press
MENU
. The menu appears.
2. Click
Setup
and define the settings according to the information in the following table:
Menu Item
Function
Options
Auto Sync Off
Set the amount of time to continue
outputting sync with a black screen if there
are no live sources and no operations
executed on the device.
Off (default), Fast, Slow, Immediate
Firmware
Update
To upgrade the firmware via USB:
•
Copy new firmware file (*.BIN) to the
root directory of a USB memory stick.
•
Select
Yes
.
•
Insert the USB memory stick into the
PROG USB port on the rear panel.
The new firmware uploads automatically.
Yes, No (default)
User EDID
Reset
Select
Yes
to reset the device User EDIDs
to their factory default states.
Yes, No (default)
Factory Reset
Select
Yes
to reset the device to its factory
default parameters.
Yes, No (default)
User Boot
Logo Clear
Select
Yes
to remove all user uploaded
boot graphics.
Yes, No (default)
AS OUT A/B
Set auto switching status for output A/B:
Select
Off
for manual switching.
Select
Auto Scan
to switch a valid input
when no signal is found on the selected
input.
Off (default), Auto Scan, Last
Connected