Assembly Manual
Kozyard LLC Products
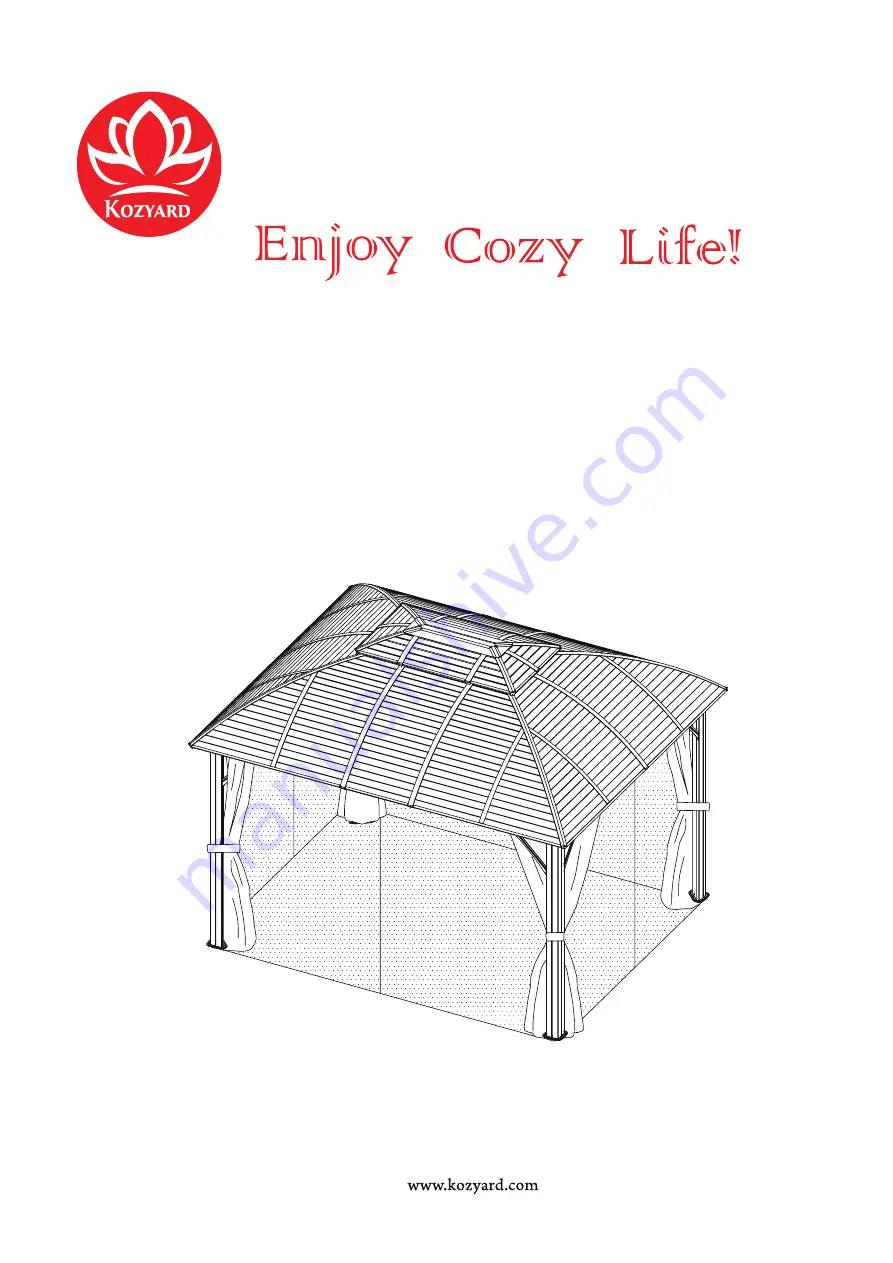
10’x12’ Odyssey Permanent Gazebo
with Double Roof
Copyright 2016 - 2019 Kozyard LLC. | All Rights Reserved.
Страница 1: ...Assembly Manual Kozyard LLC Products 10 x12 Odyssey Permanent Gazebo with Double Roof Copyright 2016 2019 Kozyard LLC All Rights Reserved...
Страница 2: ...struction you may need to use a drill 2 You will need one or more step ladders 5 Use the hex keys included in the box 2 1 Two or more people are required for assembly 7 Do not fully tighten screws unt...
Страница 3: ...POLE BEAM BEAM BEAM BEAM CORNER ROOF BAR ROOF BAR FINISHING BAR FINISHING BAR FINISHING BAR FINISHING BAR FINISHING BAR FINISHING BAR FINISHING BAR SOLIDIFYING BAR ROOF BAR...
Страница 4: ...ING PART FINISHING END PANELS PANELS PANELS PANELS PANELS PANELS PANELS PANELS PANELS PANELS FINISHING END FINISHING END JOINT COVER INSIDE ROOF CONNECTOR OUTSIDE ROOF CONNECTOR FINISHING BAR SOLIDIFY...
Страница 5: ...oles Part A with plates Part B using screws 1 as shown in diagram PANELS 158 8x 17 6 12 M6 16 M6 15 M6 HOOK PLASTIC LOCK SOLID SIDEWALL MOSQUITO SIDEWALL JOINT COVER SCREWS SCREWS SCREWS SCREWS SCREWS...
Страница 6: ...ect Part C and C1 into one beam using screws 1 as shown in diagram Connect Part C2 and C3 into one beam using screws 1 as shown in diagram C2 1 C C3 C3 6 1x S4 1 C2 1 16x M6x C3 2x C2 2x C1 C1 2x 1 C...
Страница 7: ...Step 3 Use screws 1 2 and 3 to connect poles and beams as shown in diagram 2 3 1 6 2 16x 8x 3 3 6...
Страница 8: ...Step 4 Affix the frame with corner solidifying bars Part L and L1 by using screws 1 as shown in diagram 6 12...
Страница 9: ...each slot of sidewall track Part C and Part C1 Put 7 hooks to each slot of sidewall track Part C2 and Part C3 Step 5 After you finish putting the hooks into the tracks secure part AA using screws 5 T...
Страница 10: ...Step 6 Finish connecting beams using corner covers Part M and screws 4 as shown in diagram Affix middle beams using joint cover Part N and screws 4 and 5 as shown in diagram 5 4 4 4 4 5...
Страница 11: ...the corner roof bar Part D using screws 1 as shown in diagram Affix the supporting part Part P to the corner roof bar using screws 1 Set up roof frame Step 7 Attach the corner roof bar Part D and mai...
Страница 12: ...Step 9 Attach Roof Bars Part E to inside roof connector and main beam using Screws 1 2 as shown in diagram 6 2 2 M6x12...
Страница 13: ...onnector Part Q1 to inside roof Part Q using screw 2 as shown in diagram Affix finishing bars Part F F1 and F2 to roof bars Part D E using fnishing end Part R and R1 and screws 1 and 2 as shown in dia...
Страница 14: ...rt T T1 and T2 into the slots of roof bars as shown in diagram Step 12 Affix finshing bars Parts G G1 and G2 to roof bars Part E and D using finishing end Part R and R2 and screw 1 as shown in diagram...
Страница 15: ...p 13 Affix roof bars Parts H and H1 to beam using supporting part Part S and screws 1 as shown in diagram Insert roof bars Part H and H1 to the slot of corner roof bar Part D as shown in diagram M6x12...
Страница 16: ...ep 14 Affix solidifying bars Parts J and J1 to corner roof bar Part D using screw 1 as shown in diagram Affix solidifying bars Parts J and J2 to roof bar Part E using screw 1 as shown in diagram M6x12...
Страница 17: ...U1 V3 V2 W1 4x V2 4x V3 U1 V1 U V W 4x V1 U V1 4x V U1 4x U1 V U U1 V1 V V3 W1 V2 W 4x U Start from V and install piece by piece in a clockwise sequence Only W and W1 can joinly insert into the slot F...
Страница 18: ...2 V U E D Y V3 V2 V3 W1 V2 V1 W V 1 Insert V into the slot of H and E then put V2 from above to the slot and join with V Connection between V and V2 V1and V3 Wand W1 Join W1 and W then insert into the...
Страница 19: ...Step 16 Affix finishing bars Parts K K1 and K2 to roof bars using finishing end Part R and R2 and screws as shown in diagram M6X12 4 6 4...
Страница 20: ...Step 17 Hang up solid sidewall as shown in diagram Z Z Z Z Z Z Z Z Z...
Страница 21: ...When you close the curtain please tie fabric strape to poles as shown in diagram X4 1 Securing just the netting 2 Securing netting and curtains 3 Use all ties for windy conditions There are three ways...
Страница 22: ...Copyright 2016 2019 Kozyard LLC All Rights Reserved Support Toll Free 1 866 355 0018 www kozyard com email support kozyard com Kozyard LLC 2825 80Th AVE SE Suite 202 Mercer Island WA 98040...