185
Sequencer operating mode
Record mode: Step Backing Sequence page
Reference
Hint:
Save the Song to a card, by selection the “Save Song” com-
mand from the page menu, to avoid losing it when turning the
instrument off.
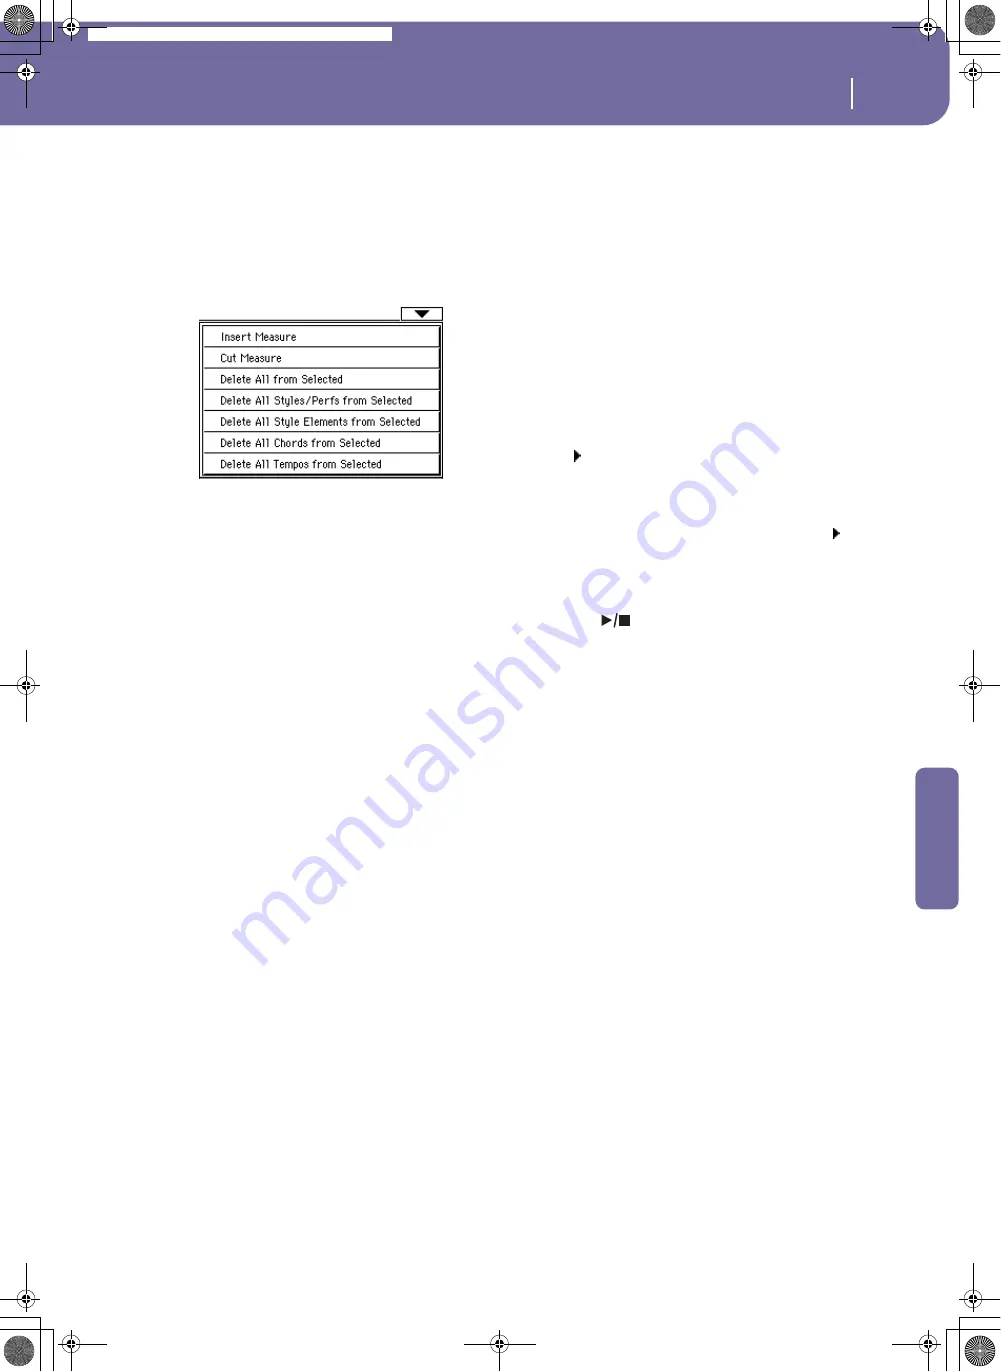
Step Backing Sequence page menu
Press the page menu icon to open the menu. Press a command to
select it. Press anywhere in the display to close the menu without
selecting a command.
Insert Measure
Use this command to insert an empty measure starting from the
current measure. All Chord/Acc events contained in the current
measure will be moved to the following measure. The event at
the Mxxx.xx.000 position (i.e., exactly at the beginning of the
measure, like a Time Signature or Style change) will not be
moved.
Cut Measure
Use this command to delete the current measure. All Chord/Acc
event contained in the following measures will be moved one
measure back.
Delete All from Selected
Use this command to delete events of all types, starting from the
current position.
Note:
All events on the very first tick (M001.01.000), like Perf,
Style, Tempo, Chord, Style Element selection, cannot be deleted.
Delete All Styles/Perfs from Selected
Delete All Styles Elements from Selected
Delete All Chords from Selected
Delete All Tempos from Selected
Select one of these commands to delete all events of the corre-
sponding type, starting from the current position to the end of
the Song.
To delete all events of the same type from the whole
Song
, go back to the M001.01.000 position, and select one of
these commands.
Note:
All events on the very first tick (M001.01.000), like Perf,
Style, Tempo, Chord, Style Element selection, cannot be deleted.
Step Backing Sequence procedure
Here is the general Step Backing Sequencer recording procedure.
Hint:
Before entering Step Backing Sequence mode to edit an exist-
ing Song, select the “Save Song” command from the page menu,
and save the Song to a card. This way, you will have a copy of the
Song, in case you don’t like the results of your editing.
1.
While in Sequencer mode, press the RECORD button, and
choose the “Step Backing Sequence” recording option.
2.
Select the Measure parameter, and go to the desired posi-
tion in the Song, by using the TEMPO/VALUE dial. Alter-
natively, you can move the locator using the “soft”
transport buttons in the display. See ““Soft” transport but-
tons” on page 184.
3.
Select the parameter type (Style, Performance, Tempo…)
to insert, edit or delete at the current position. If an arrow
( ) appears next to a parameter, the shown event has been
inserted at the current position.
4.
Use the TEMPO/VALUE dial to modify the selected event.
Delete it by pressing the Del button next to the event.
When editing a parameter without the arrow ( ) next to it,
a new event is inserted at the current position.
5.
Exit the Step Backing Sequence recording mode, by press-
ing the Done button in the display.
6.
Press
(
PLAY/STOP) in the SEQUENCER 1 section to
listen to the consequence of your editing. If they are fine,
save the Song to a card.
Pa588-100UM-ENG.book Page 185 Monday, May 26, 2008 4:34 PM
Содержание Pa588
Страница 1: ...User s Manual ENGLISH OS Ver 1 0 1 E ...
Страница 8: ...4 Table of Contents Pa588 100UM ENG book Page 4 Monday May 26 2008 4 34 PM ...
Страница 9: ...Introduction Pa588 100UM ENG book Page 5 Monday May 26 2008 4 34 PM ...
Страница 34: ...30 Interface basics Shortcuts Pa588 100UM ENG book Page 30 Monday May 26 2008 4 34 PM ...
Страница 35: ...Quick Guide Pa588 100UM ENG book Page 31 Monday May 26 2008 4 34 PM ...
Страница 79: ...Reference Pa588 100UM ENG book Page 75 Monday May 26 2008 4 34 PM ...
Страница 239: ...Appendix Pa588 100UM ENG book Page 235 Monday May 26 2008 4 34 PM ...
Страница 251: ...Pa588 100UM ENG book Page 247 Monday May 26 2008 4 34 PM ...


