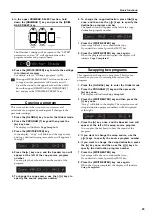
Basic functions
22
This parameter simulates the noise that occurs when a
key is pressed. Here you can adjust the volume of that
noise. Higher settings will increase the noise volume.
9. Press the [
®
] key once to access the “Off Click
Level” parameter
, and use the [-] [+] keys to adjust
the setting.
This parameter simulates the noise that occurs when a
key is released. Here you can adjust the volume of
that noise. Higher settings will increase the noise
volume.
10.Press the [WRITE/ENTER] key to write the settings
into internal memory
.
For details, refer to “Writing a program” (p.20).
Other parameters
The CX-3 has other parameters that apply various effects
to the sound. In the factory-set programs, these effects are
set as appropriate for each sound.
If you want to make detailed adjustments to the sound of
a program, you can edit the following parameters in
Normal Edit mode or EX Edit mode.
• Percussion settings: Group 3 (p.26)
• Amp simulator settings: Group 4 (p.27)
• Reverb settings: Group 5 (p.27)
• Rotary speaker settings: Group 6 (p.27)
• Controller settings: Group 7 (p.28)
Editing the drawbar parameters
When the DRAWBAR SELECT section [DRAWBAR
PRESET] key is pressed, the drawbars will sound at the
levels saved with the current program. These settings are
saved individually for each program.
Normal mode
If the [DRAWBAR PRESET] key is pressed in both upper
and lower DRAWBAR SELECT sections, the “UPPER”
parameters will be used when you play the upper
keyboard, and the “LOWER” parameters will be used
when you play the lower keyboard.
If you want to edit these settings, use the following
procedure.
1. Select a program in Normal mode.
2. Press the [EDIT] key
.
You will enter Normal Edit mode.
3. Press the PROGRAM [2] key
.
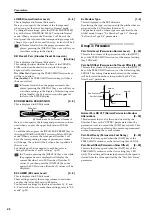
The left side of the display will indicate
UPPER
, and
to the right of this the “UPPER” parameter settings
will be displayed.
If you are unable to adjust the “UPPER” parameter
settings, make sure that the DRAWBAR SELECT
section [DRAWBAR PRESET] key is selected.
If the [DRAWBAR PRESET] key is not selected, its
LED will begin to blink.
4. Move the bars of the Drawbar 1 or Drawbar 2
sections (you may use either) to adjust the draw-
bar parameters.
Any bar you move will input a new value for that
parameter, and the display will change accordingly.
5. Press the [
®
] key once to display the “LOWER”
parameters.
6. Move the bars of the Drawbar 1 or Drawbar 2
sections to adjust the drawbar parameters.
7. Press the [WRITE/ENTER] key to write the settings
into internal memory
.
For details, refer to “Writing a program” (p.20).
EX mode
In EX mode, the lower keyboard will play the “EX
LOWER” parameter settings that are preset in the pro-
gram, regardless of the current setting in the DRAWBAR
SELECT section.
To edit these settings, use the following procedure.
1. Select a program in EX mode.
2. Press the [EDIT] key
.
You will enter EX Edit mode.
3. Press the PROGRAM [2] key
, and then press the
[
®
] key once.
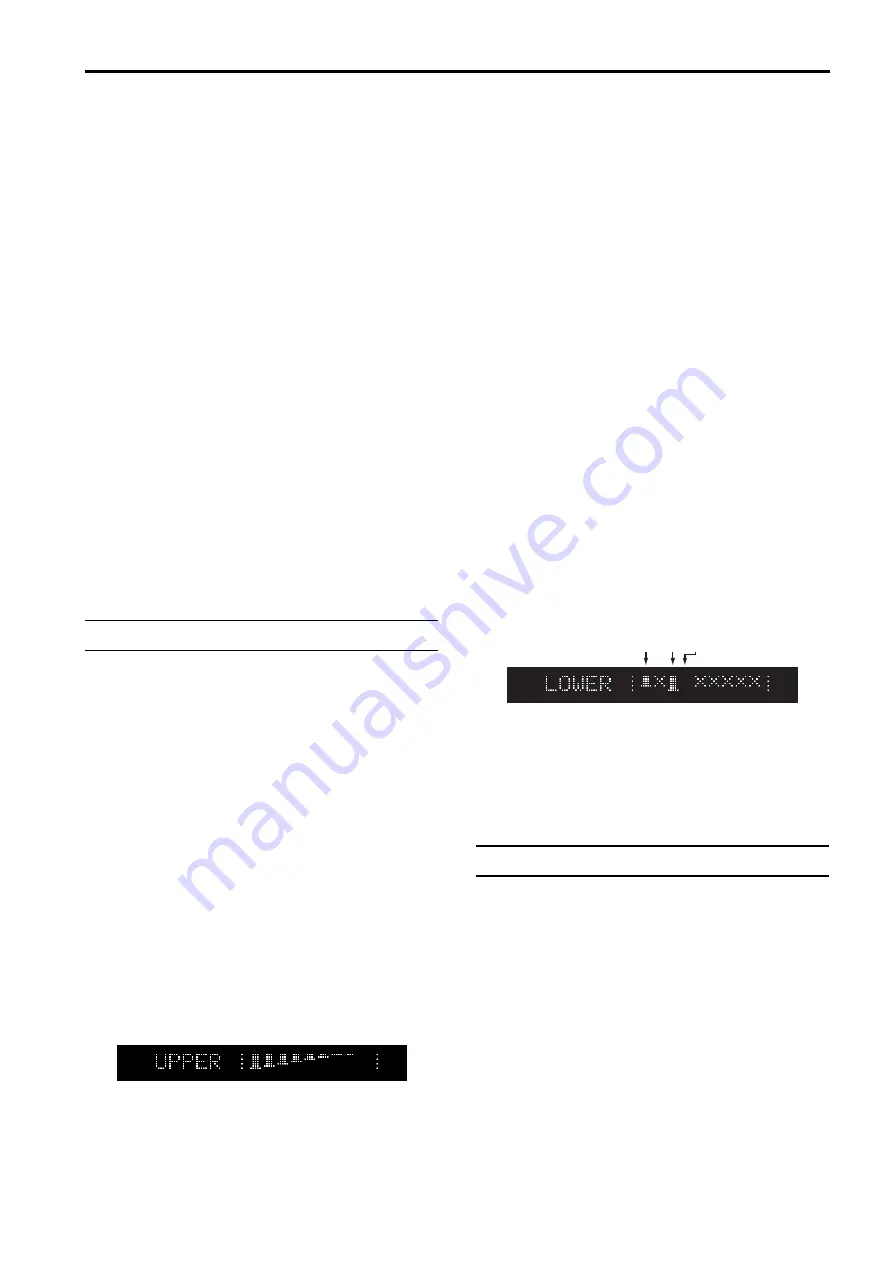
The “EX LOWER” parameters will be displayed.
4. Use the [
√
][
®
] keys to select a bar
.
You can make settings for the three bars 16', 8', and 4'.
16'
8'
4'
5. Use the [-][+] keys to adjust the value.
The display will show the value as you adjust it.
6. Press the [WRITE/ENTER] key to write the settings
into internal memory
. For details, refer to “W
riting
a program” (p.20).
Copying drawbar parameters
The front panel Drawbar 1 or Drawbar 2 settings can be
copied directly to the “UPPER” or “LOWER” parameters
of a Normal program, or to the “EX Drawbar Level”
parameters of an EX program.
As an example, here's how you can select a Normal
program, use the front panel Drawbar 1 bars to create a
sound, and then copy the settings to the “UPPER”
parameters of the program.
1. Select a program in Normal mode.
2. In the upper DRA
WBAR SELECT section, press the
[DRAWBAR 1] key.
3. While playing the keyboard, use the front panel
Drawbar 1 bars to create the desired sound.
Содержание CX-3 Combo Organ
Страница 1: ...Owner s Manual 4 E...


