background image

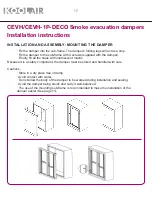
INSTALLATION AND ASSEMBLY: MOUNTING THE DAMPER

CEVH/CEVH-1P-DECO Smoke evacuation dampers 
Installation instructions


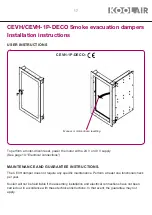
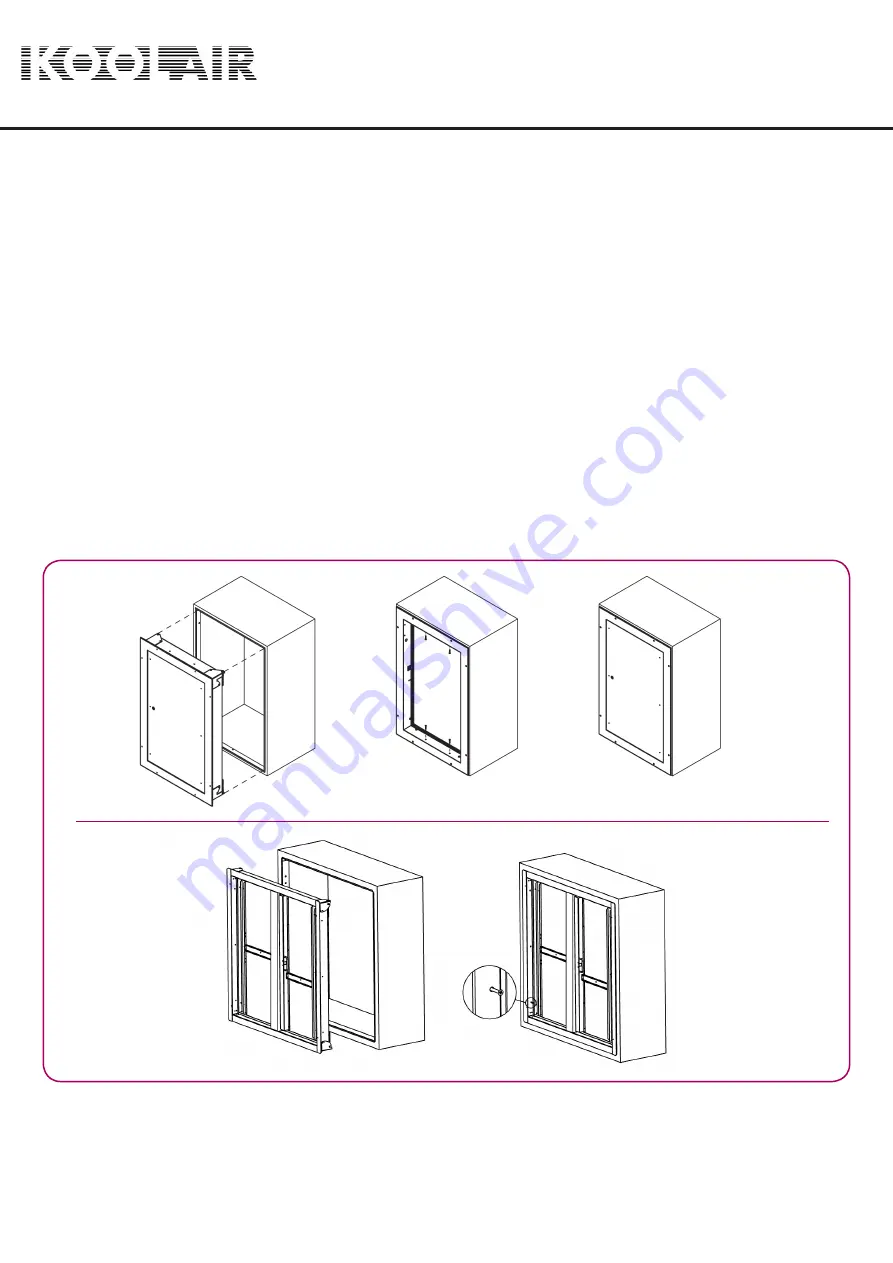
· Fix the damper into the sub-frame. The damper’s folding legs will act as a stop.


· Fix the damper to the sub-frame with 4 screws (supplied with the damper).


· Finally, fill all the holes with intumescent mastic.

Because it is a safety component, the damper must be stored and handled with care.

Cautions:


· Store in a dry place free of damp. 


· Avoid contact with water.


· Do not allow the body of the damper to be warped during installation and sealing


· Avoid the damper being struck and carry it well-balanced.


· The use of the mounting sub-frame is recommended to make the installation of the 


damper easier (See page 11).

12

Содержание CEVH

Страница 1: ...www koolair com CEVH CEVH 1P DECO Mounting instructions Smoke evacuation damper ...

Страница 2: ...tion of smoke evacuation performance 6 CEVH damper drawing dimensions and free area 7 CEVH 1P DECO damper drawing dimensions and free area 8 Installation and assembly CEVH 9 Installation and assembly CEVH 1P DECO 10 Installation and assembly Mounting sub frame 11 Installation and assembly Fitting the damper 12 Installation and assembly Fitting the RPK grille 13 Electrical connections 14 User instr...

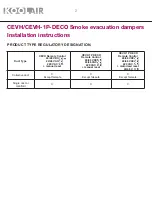
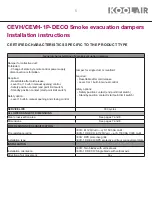
Страница 3: ... VAC 220 VAC manual reset CEVH 1P DECO Remote Control 24 48 VDC 24 48 VAC 220 VAC motorised reset 24 48 V Collective duct X Except fail safe X Except fail safe X Except fail safe Single duct or manifold X X X CEVH CEVH 1P DECO Smoke evacuation dampers Installation instructions PRODUCT TYPE REGULATORY DESIGNATION 2 ...

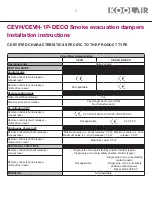
Страница 4: ...AC 48 VDC 48 VAC 220 VAC Remote control schunt release motor driven reset Not applicable 24 V 48 V Continuous Power in W Remote controlled shunt release manual reset Maximum value o c shunt release 3 5 W Maximum value c c shunt releasae 1 6 W Maximum value o c shunt release 3 5 W Remote control shunt release motor driven reset Maximum value 3 5 W ADDITIONAL FUNCTIONS Remote controlled shunt releas...

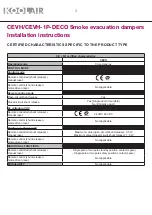
Страница 5: ...ctive duct Uc voltage in VDC Remote controlled shunt release manual reset 24 VDC 48 VDC Remote control shunt release motor driven reset Not applicable Continuous Power in W Remote controlled shunt release manual reset Maximum value open circuit shunt release 3 5 W Maximum value closed circuit shunt release 1 6 W Remote control shunt release motor driven reset Not applicable ADDITIONAL FUNCTIONS Re...

Страница 6: ...Damper for single duct or manifold Required Resettable after cold release Level 0 or 1 built in manual control Safety options Safety position contact end point limit switch Standby position contact start point limit switch SERVICE LIFE 300 cycles ALLOWED RANGE OF DIMENSIONS Clear cross section area See pages 7 and 8 Dimensions See pages 7 and 8 FIRE RESISTANCE CLASSIFICATION Fire resistance rating...

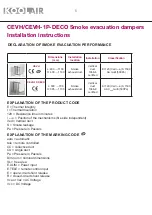
Страница 7: ... CU single duct Pa Pressure in Pascals Dim nom nominal dimensions SL free area E ALIM Power input E TELE remote control input E open circuit shunt release R closed circuit shunt release Vca or Vac AC Voltage Vcc DC Voltage DECLARATION OF SMOKE EVACUATION PERFORMANCE L 400 1100 H 400 1100 EI 120 Ved i o S 1500 AA multi 500Pa L 300 700 H 385 1100 EI 120 Ved i o S 1500 AA C300 multi 500Pa CEVH Instal...

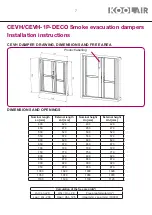
Страница 8: ...height Hn mm External height Hht mm 400 429 400 429 450 479 450 479 500 529 500 529 550 579 550 579 600 629 600 629 650 679 650 679 700 729 700 729 750 779 750 779 800 829 800 829 850 879 850 879 900 929 900 929 950 979 950 979 1000 1029 1000 1029 1050 1079 1050 1079 1100 1129 1100 1129 Calculation of the free area dm2 Lht Ln 29 Hht Hn 29 Free area formula dm2 Lpa Lht 239 Hpa Hht 125 Hpa mm x Lpa ...

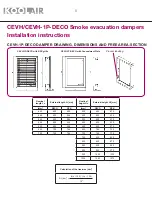
Страница 9: ...ng Nominal length Ln External length Lt mm Nominal height Hn External height Ht mm mm DECO RPK mm DECO RPK 400 450 494 400 450 470 450 500 544 450 500 520 500 550 594 500 550 570 550 600 644 550 600 620 600 650 694 600 650 670 650 700 744 650 700 720 700 750 794 700 750 770 750 800 820 800 850 870 850 900 920 900 950 970 950 1000 1020 1000 1050 1070 Calculation of the free area dm2 Hn 100 Ln 100 S...

Страница 10: ...haped plate Use of the CEVH damper in installations with ducts other than those tested under certified conditions For multi compartment systems multi ducts tested according to the EN standard were used in each case or ducts made from a material with a density equal to or greater than those used in the certification tests The duct must be installed according to the manufacturer s current drawings R...

Страница 11: ...s with ducts other than those tested under certified conditions For multi compartment systems multi ducts tested according to the EN standard were used in each case or ducts made from a material with a density equal to or greater than those used in the certification tests The duct must be installed according to the manufacturer s current drawings RPK CEVH 1P Frame Smoke exhaust duct 10 ...

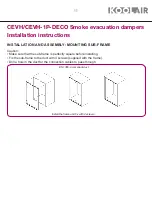
Страница 12: ...MOUNTING SUB FRAME Caution Make sure that the sub frame is perfectly square before installing Fix the sub frame to the duct with 4 screws supplied with the frame Drill a hole in the duct for the connection cables to pass through EN 1366 8 compliant duct Install the frame and fix with 4 screws 11 ...

Страница 13: ...he damper Finally fill all the holes with intumescent mastic Because it is a safety component the damper must be stored and handled with care Cautions Store in a dry place free of damp Avoid contact with water Do not allow the body of the damper to be warped during installation and sealing Avoid the damper being struck and carry it well balanced The use of the mounting sub frame is recommended to ...

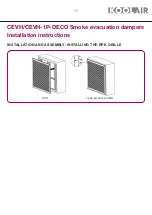
Страница 14: ...CEVH CEVH 1P DECO Smoke evacuation dampers Installation instructions INSTALLATION AND ASSEMBLY INSTALLING THE RPK GRILLE RPK x4 Screw Ø 3 9x38 DIN 13 ...

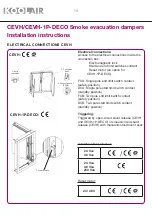
Страница 15: ... end limit switch contact safety position DCU Single pole start limit switch contact standby position FCB Two pole end limit switch contact safety position DCB Two pole start limit switch contact standby position Triggering Triggered by open circuit shunt release CEVH and CEVH 1P DECO or closed circuit shunt release CEVH with manual motor driven reset Available shunt releases Reset motor 24 Vcc 48...

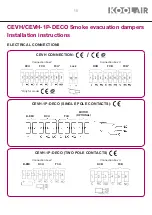
Страница 16: ... ELECTRICAL CONNECTIONS CEVH CONNECTION CEVH 1P DECO SINGLE POLE CONTACTS CEVH 1P DECO TWO POLE CONTACTS Connection box 2 Connection box 2 Only for model Connection box 3 Connection box 3 DCU B EMI B EMI DCB DCB FCU DCU DCU FCB FCB FCU FCU FCU Lock MOTOR OPTIONAL FCB 15 ...

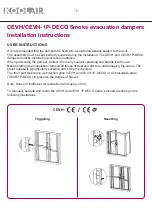
Страница 17: ...tioning the damper protect it from any sealant splashing and handle it with care Before starting the installation remove all traces of dust and dirt to avoid damaging the vanes The shunt release is a particularly sensitive part of the mechanism The front part must have a protection grille CEVH and CEVH 1P DECO or a fibrosilicate plate CEVH 1P DECO to preserve the degree of fire cut Note Sense of i...

Страница 18: ...n reset power the motor with a 24 V or 48 V supply See page 14 Electrical connections The CEVH damper does not require any specific maintenance Perform at least one functional check per year Koolair will not be held liable if the assembly installation and electrical connections have not been carried out in accordance with these technical instructions In that event the guarantee may not apply 17 ...

Страница 19: ...This document is protected by intellectual property rights Partial or total reproduction of its contents without proof of formal permission from KOOLAIR SL is forbidden CEN MICEVH 0419 00 18 ...

Страница 20: ...nº 2 La Fuensanta 28936 Móstoles MADRID Tel 34 91 645 00 33 Fax 34 91 645 69 62 e mail comercial comercial koolair com e mail Koolair info koolair com Koolair S L reserves the right to change publisher datas and drawings at any time without prior notice written ...

Отзывы: