C353P
3-30
Installing the printer driver for Windows
3
18
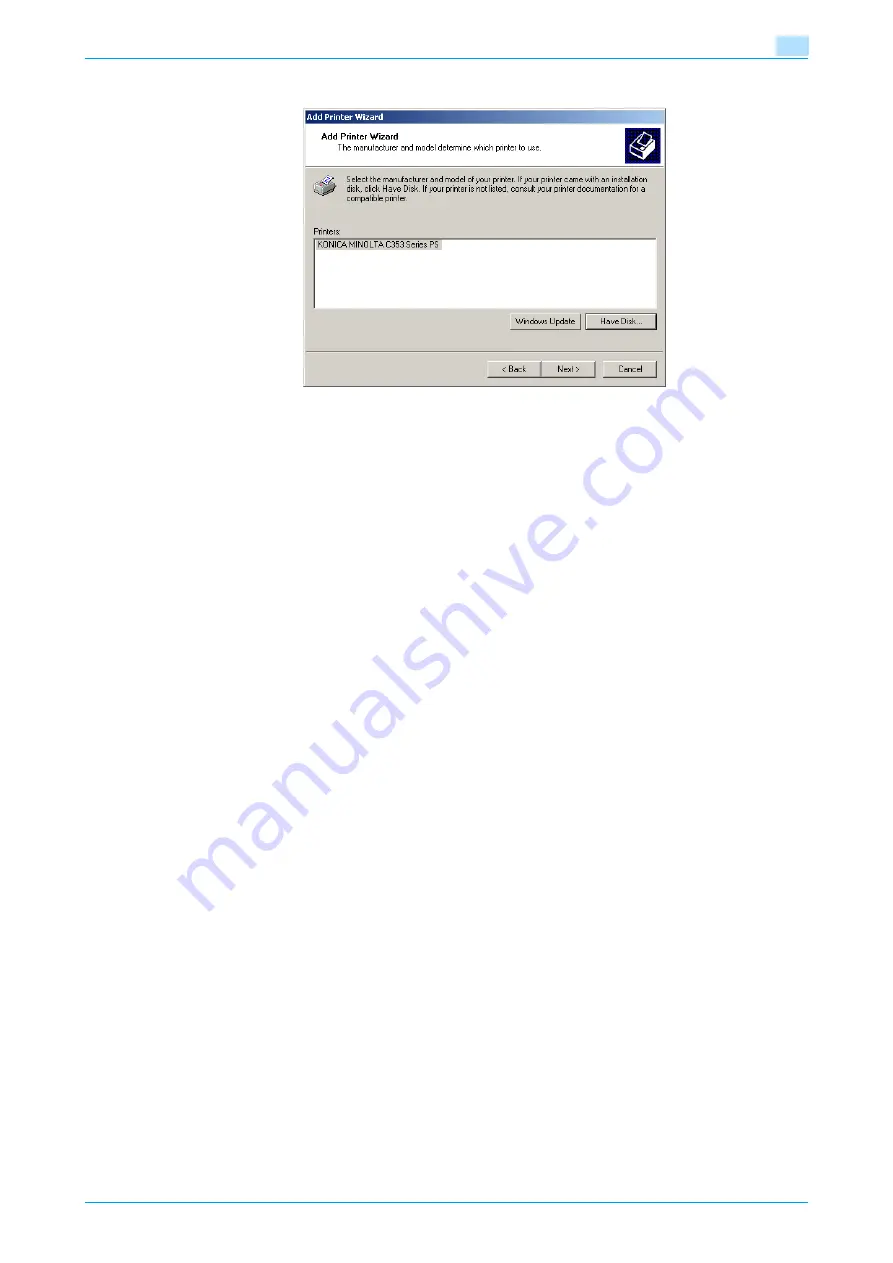
Click the [Next] button.
19
Follow the on-screen instructions.
–
When the Digital Signature dialog box appears, click the [Yes] button.
20
Click the [Finish] button.
21
After installation is completed, make sure that the icon of the installed printer appears in the Printers
window.
22
Remove the CD-ROM from the CD-ROM drive.
This completes the printer driver installation.
3.5.2
Network connection (SMB)
When using the SMB printing, specify the port by specifying the printer during the printer driver installation
process.
TCP/IP setting for this machine
Specify the IP address in the TCP/IP Setting screen of this machine.
!
Detail
For details on specifying the IP address of this machine, refer to
"Network settings" on page 2-2
SMB setting for this machine
In "Print Setting" in the SMB Setting screen of this machine, specify the NetBIOS name, print service name,
and workgroup.
!
Detail
For details on the SMB settings of this machine, refer to
"Network settings" on page 2-2
.
Содержание BIZHUB C353P
Страница 1: ...User s Guide...
Страница 27: ...C353P x 26 Explanation of manual conventions...
Страница 28: ...C353P x 27...
Страница 31: ...C353P x 30...
Страница 32: ...1 Before using the machine...
Страница 77: ...C353P 1 46 Before using the machine 1...
Страница 78: ...2 Network settings...
Страница 97: ...C353P 2 20 Network settings 2...
Страница 98: ...3 Installing the printer driver for Windows...
Страница 135: ...C353P 3 38 Installing the printer driver for Windows 3...
Страница 136: ...4 Installing the printer driver for Macintosh...
Страница 153: ...C353P 4 18 Installing the printer driver for Macintosh 4...
Страница 154: ...5 Print functions of the printer drivers for Windows...
Страница 172: ...6 Print functions of the printer driver for Macintosh...
Страница 199: ...C353P 6 28 Print functions of the printer driver for Macintosh 6...
Страница 200: ...7 Function detail description...
Страница 242: ...8 Settings for control panel...
Страница 249: ...C353P 8 8 Settings for control panel 8 User Setting Menu...
Страница 251: ...C353P 8 10 Settings for control panel 8 System Setting Menu...
Страница 252: ...C353P 8 11 Settings for control panel 8...
Страница 254: ...C353P 8 13 Settings for control panel 8 Admin Settings Menu...
Страница 270: ...9 PageScope Web Connection...
Страница 328: ...C353P 9 59 PageScope Web Connection 9 Specify the following settings...
Страница 363: ...C353P 9 94 PageScope Web Connection 9...
Страница 364: ...10 Troubleshooting...
Страница 389: ...C353P 10 26 Troubleshooting 10 9 Close the fusing unit upper cover 10 Close the upper right side door...
Страница 415: ...C353P 10 52 Troubleshooting 10...
Страница 416: ...11 Replacing consumables...
Страница 440: ...12 Care of the machine...
Страница 445: ...C353P 12 6 Care of the machine 12...
Страница 446: ...13 Specifications...
Страница 454: ...14 Authentication unit Biometric type AU 101...
Страница 476: ...15 Authentication unit IC card type AU 201...
Страница 496: ...16 Appendix...
Страница 497: ...C353P 16 2 Appendix 16 16 Appendix 16 1 Configuration page...
Страница 498: ...C353P 16 3 Appendix 16 16 2 Font list 16 2 1 PCL Font List...
Страница 499: ...C353P 16 4 Appendix 16 16 2 2 PS Font List...
Страница 500: ...C353P 16 5 Appendix 16 16 2 3 Demo page...
Страница 508: ...17 Index...
Страница 515: ...C353P 17 8 Index 17...
Страница 516: ...http konicaminolta com Copyright 2007 2007 9 A02E 9990 00...


