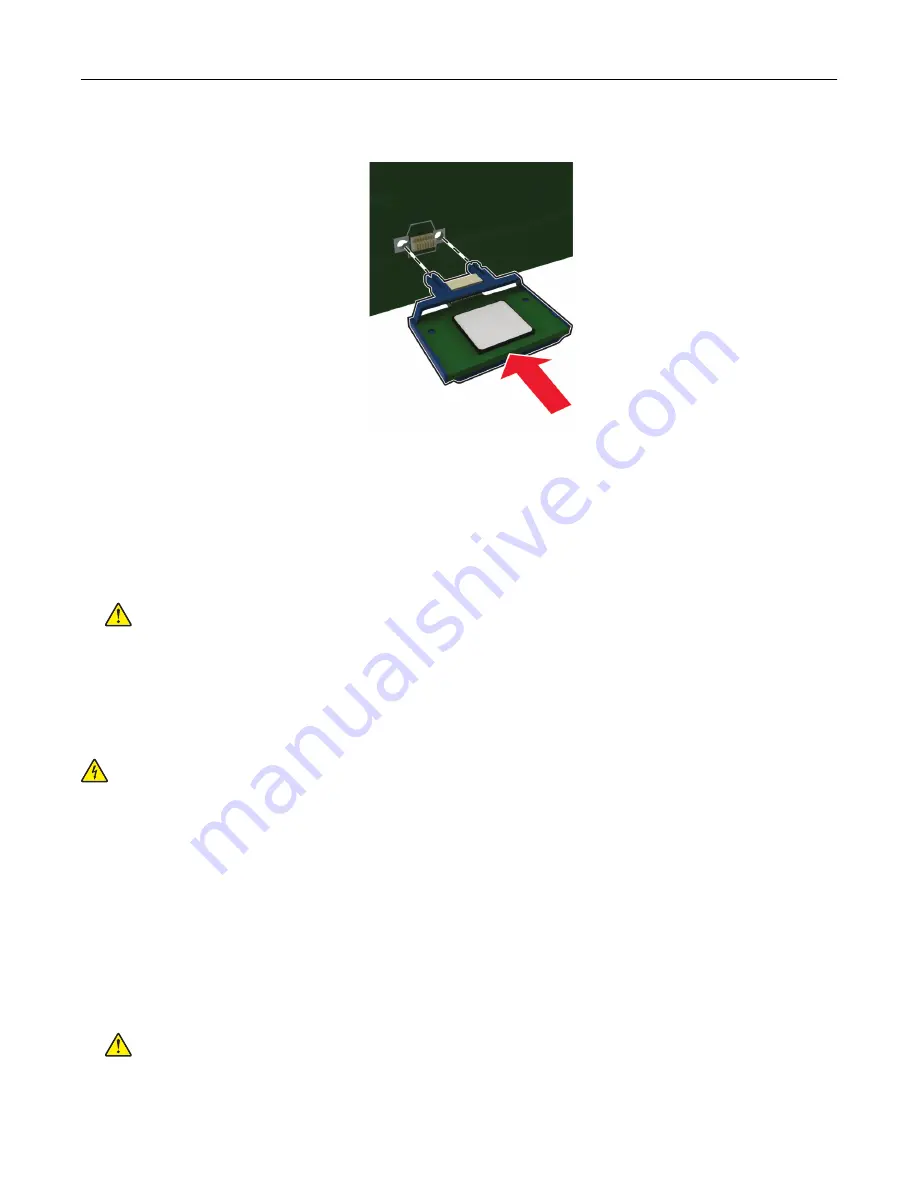
5
Push the card firmly into place.
Note:
The entire length of the connector on the card must touch and be flush against the controller
board.
Warning—Potential Damage:
Improper installation of the card may cause damage to the card and the
controller board.
6
Close the access cover.
7
Connect the power cord to the printer, and then to the electrical outlet.
CAUTION—POTENTIAL INJURY:
To avoid the risk of fire or electrical shock, connect the power cord
to an appropriately rated and properly grounded electrical outlet that is near the product and easily
accessible.
8
Turn on the printer.
Installing optional trays
CAUTION—SHOCK HAZARD:
To avoid the risk of electrical shock, if you are accessing the controller
board or installing optional hardware or memory devices sometime after setting up the printer, then turn
the printer off, and unplug the power cord from the electrical outlet before continuing. If you have any
other devices attached to the printer, then turn them off as well, and unplug any cables going into the
printer.
1
Turn off the printer.
2
Unplug the power cord from the electrical outlet, and then from the printer.
3
Unpack the optional tray, and then remove all packing material.
Note:
If optional trays are already installed, then unlock them from the printer before lifting the printer. Do
not try to lift the printer and trays at the same time.
4
Align the printer with the optional tray, and then lower the printer until it
clicks
into place.
CAUTION—POTENTIAL INJURY:
If the printer weight is greater than 18 kg (40 lb), then it requires
two or more trained personnel to lift it safely.
Upgrading and migrating
115
Содержание bizhub 3602P
Страница 1: ...bizhub 3602P USER S GUIDE...
Страница 4: ...Upgrading and migrating 113 Hardware 113 Software 116 Firmware 119 Notices 120 Index 127 Contents 4...
Страница 63: ...4 Remove the used pick tires one after the other 5 Unpack the new pick tires Maintaining the printer 63...
Страница 65: ...4 Remove the tray insert and then ip the tray base Maintaining the printer 65...
Страница 66: ...5 Remove the used pick roller assembly 6 Unpack the new pick roller assembly Maintaining the printer 66...


