381298/C
113
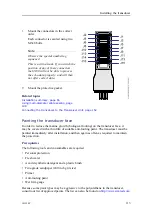
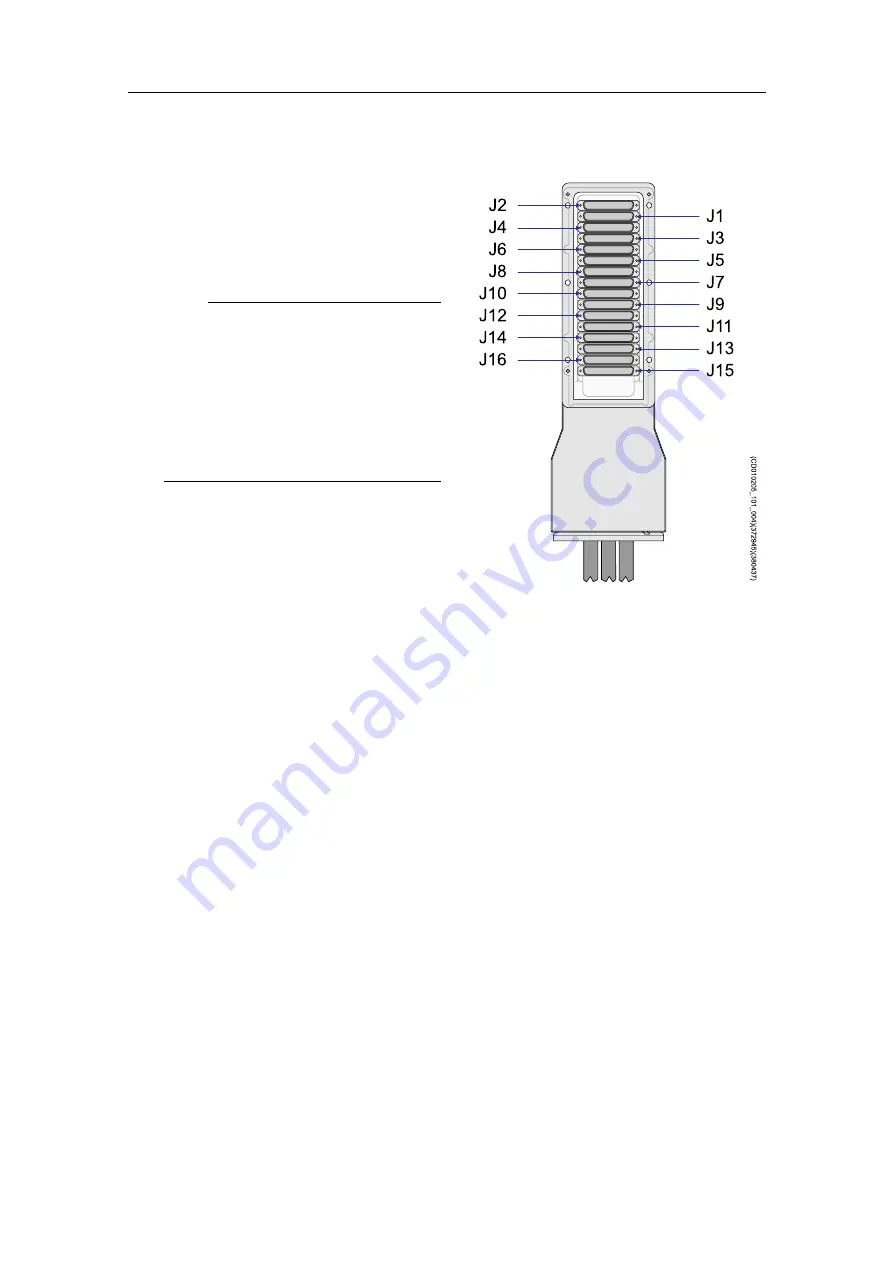
J2
J1
J4
J3
J6
J5
J8
J7
J10
J9
J12
J1 1
J14
J13
J16
J15
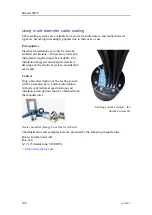
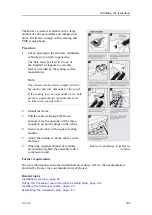
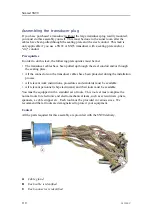
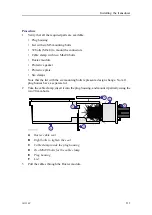
(CD010205_101_004)(372945)(380437)
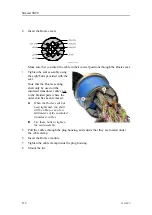
•
Mount the connectors in the correct
order.
Each connector is secured using two
M3x8 bolts.
Note
Observe the special numbering
sequence!
This is a critical task. If you switch the
position of any of these connectors,
the SN90 will not be able to process
the echo data properly, and will then
not offer correct data.
9
Mount the protective gasket.
Related topics
Installation summary, page 65
Using multi-diameter cable sealing, page
108
Connecting the transducer to the Transceiver Unit, page 152
Painting the transducer face
In order to reduce the marine growth (biological fouling) on the transducer face, it
may be covered with a thin film of suitable anti-fouling paint. The transducer must be
painted immediately after installation, and then again as often as required to maintain
the protection.
Prerequisites
The following tools and consumables are required.
• Personal protection
• Fresh water
• A mild synthetic detergent and a plastic brush
• Fine-grade sandpaper (240 inch grit size)
• Primer
• Anti-fouling paint
• Wet film gauge
Because some paint types may be aggressive to the polyurethane in the transducer,
consult our list of approved paints. The list can also be found on
.
Содержание Simrad SN90
Страница 2: ......
Страница 117: ...381298 C 115 Related topics Installation summary page 65 Installing the transducer ...
Страница 226: ...224 381298 C 427 385 All measurements in mm The drawing is not in scale 385609 Rev B CD12_385609_001_002 Simrad SN90 ...
Страница 236: ...234 381298 C 372915 Clamping frame Simrad SN90 ...
Страница 295: ......
Страница 296: ... 2016Kongsberg Maritime ISBN 978 82 8066 179 1 ...
Страница 297: ......

