10.2.7.5 Install and start WorkBench
WorkBench installs automatically from the DVD included with the drive. WorkBench is also
available on the Kollmorgen Web site: www.kollmorgen.com.
Once installation is complete, click the WorkBench icon to start the program. WorkBench
will show a list of all the drives that it can find on your local network. Select the drive you
wish to configure and then click
Next
.
If multiple drives are detected, a drive can be uniquely identified using one of the following
methods:
1. The MAC address of the drive. This address is printed on the sticker on the side of the
drive.
2. The name of the drive. The drive name is set using WorkBench. A new drive defaults to
“No_Name.”
3. Blinking the display. Select a drive and click
Blink
to force the display on the front of the
drive to blink on and off for 20 seconds.
10.2.7.6 Set drive IP address in WorkBench
If WorkBench does not automatically show your drive, then you can set the IP address manu-
ally in WorkBench as follows:
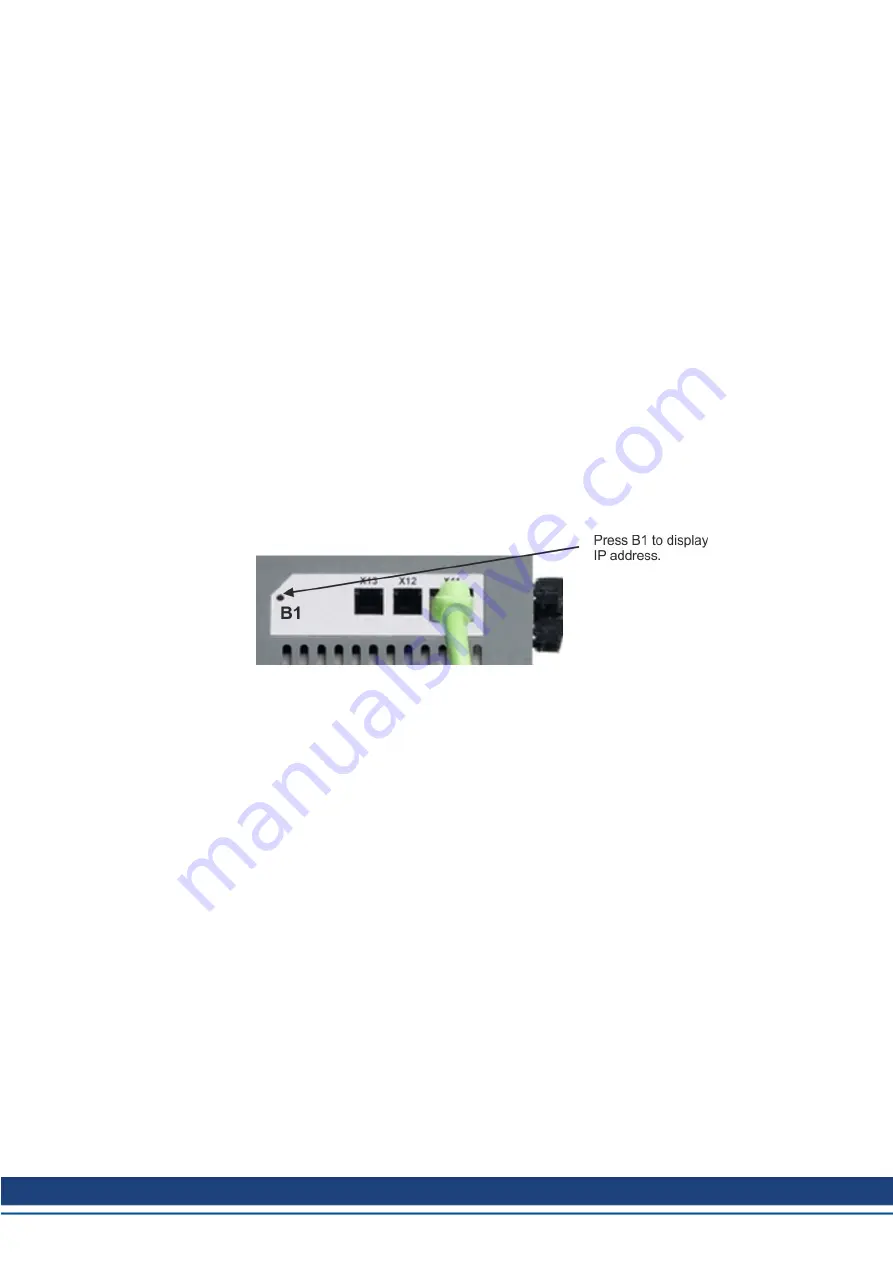
1. Display the IP address. You can show the drive IP address on the drive display by press-
ing button B1. The display shows the digits and dots of the IP address in sequence (for
example, 192.168.0.25).
2. Enter the drive IP address. Once the IP address has been determined, manually enter the
drive IP address into the
Specify Address
box in WorkBench. Then click
Next
to con-
nect.
10.2.7.7 Enable the drive using the setup wizard
Once a connection to the drive has been established, the AKD Overview screen appears.
Your drive appears in the navigation area on the left of the screen. Right click on your drive
name and select
Setup Wizard
from the drop-down menu. The Setup Wizard guides you
through the initial drive configuration, which includes a simple test motion.
After completing the Setup Wizard, your drive should be enabled. If the drive is not enabled,
check the following:
1. The hardware enable (HW) must be in the enabled state (pin 4 on X8 connector).
2. The software enable (SW) must be in the enabled state. Activate using the
Enable/Dis-
able
button on the upper toolbar on WorkBench or in the Overview screen.
3. No faults may be present (click the
Clear Fault
button on the upper tool bar to clear any
faults).
The status of HW enable, SW enable, and Faults is displayed in the lower toolbar of the
WorkBench software. The drive is connected if the lower right corner shows
Online
.
You can now use the Settings View in WorkBench to complete advanced configuration of
your drive.
AKD Installation | 10 Setup
Kollmorgen | kdn.kollmorgen.com | October 2017
191
Содержание AKD series
Страница 162: ...AKD Installation 9 Electrical Installation Wiring diagram X24 162 Kollmorgen kdn kollmorgen com October 2017 ...
Страница 179: ...9 20 6 CAN Bus Wiring AKD Installation 9 Electrical Installation Kollmorgen kdn kollmorgen com October 2017 179 ...
Страница 214: ... AKD Installation 11 Index 214 Kollmorgen kdn kollmorgen com October 2017 ...


