Window Air Conditioner and Heater
Owner’s Manual
For more information on other great EdgeStar products on the web, go to http://www.edgestar.com
WAC25001W
Страница 1: ...Window Air Conditioner and Heater Owner s Manual For more information on other great EdgeStar products on the web go to http www edgestar com WAC25001W...
Страница 2: ...et with another appliance Do not use this unit with an extension cord and or adapter plug Do not use this unit near flammable gases combustibles or close proximity to heating appliances During operati...
Страница 3: ...e LCDI plug This should trip the plug and cut the power to the air conditioner If the plug does not trip and you are able to turn on the unit please contact EdgeStar support DO NOT USE YOUR WINDOW AIR...
Страница 4: ...KET 8 EXTEND SIDE CURTAINS TO WINDOW FRAME 9 COMPLETING INSTALLATION 9 CONTROL PANEL OPERATIONS 10 TO TURN UNIT ON 10 TO CHANGE TEMPERATURE 10 TO ADJUST FAN SPEEDS 10 TO SELECT OPERATING MODE 10 To op...
Страница 5: ...on the ratings label on the back of your unit and are needed to obtain warranty service You may also want to staple your receipt to this manual as it is the proof of your purchase and is also needed...
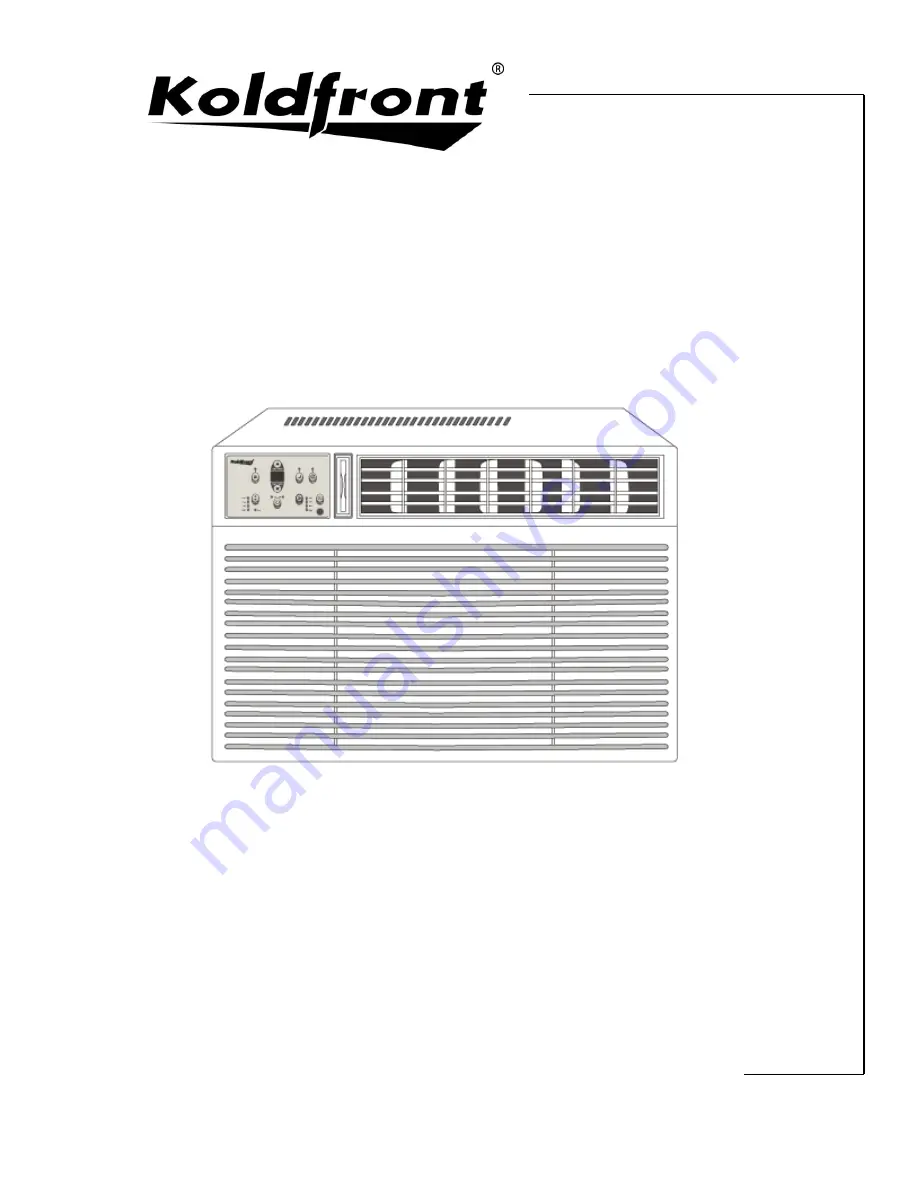
Страница 6: ...Parts Identification Side View Front View CAUTION Make sure the drain plug is firmly installed before using the unit to prevent leaking Control Panel Louver Air Outlet Side and Back Vent Front Air Int...
Страница 7: ...his unit Wear protective gloves to avoid injury from sharp edges Use proper lifting and carrying techniques If you have multiple windows choose the one closest to an electrical outlet that will be abl...
Страница 8: ...Lift the front grill upwards to remove and place to the side 3 Remove the four front screws These will be needed to re install the front panel Figure 2 4 Push both sides of the metal cabinet to releas...
Страница 9: ...re the shipping screws were removed at the top of the unit Figure 6 10 If the unit comes with internal packaging it must be removed prior to installing the air conditioner back into the cabinet Figure...
Страница 10: ...elow Top View 5 Insert the bottom of the side curtain housing to the bottom channel on the air conditioner as shown below Bottom View 6 Insert 2 washer head locking 7 16 screws into the holes located...
Страница 11: ...behind the top angle to hold the cabinet in place 3 Fasten the cabinet to the window sill with 2 screws into the holes in the bottom of the unit The user may want to pre drill pilot holes into the wi...
Страница 12: ...e window sill and tighten to the bottom of the cabinet as shown in Figure 10 2 Assemble the sill angle bracket to the support brackets at the marked position Figure 10B 3 Install the support brackets...
Страница 13: ...ow width Insert the seal into the space between the upper and lower sashes as seen below 2 Attach the right safety lock Figure 14 3 What goes here 4 Lift the air conditioner and carefully slide it int...
Страница 14: ...room temperature see To Operate on Fan only section To Adjust Fan Speeds To adjust the fan speed press Fan Speed Each time the button is pressed the fan speed mode is shifted Auto Low Medium or High N...
Страница 15: ...ooling will continue To Use Energy Saver Feature To start the Energy Saver press This feature is available on Cool Dry and Auto The fan will continue to run for 3 minutes after the compressor shuts of...
Страница 16: ...ure when the unit is on NOTE when the unit is off there is no display To Check Filter Feature This feature is a reminder to clean the Air Filter for more efficient operation The LED light will illumin...
Страница 17: ...al Tips The Cool mode has an automatic 3 minute start delay if the unit is turned off and on too quickly This prevents overheating of the compressor and possible circuit breaker tripping The fan will...
Страница 18: ...imer depending on function ONE TOUCH button When pushed the system will automatically shift to COOL operation with auto fan speed the setting temperature is 26 C 80 F And the timer setting program wil...
Страница 19: ...thoroughly dry before replacing 6 You also have the option of cleaning the filter with a vacuum Warning Never use hot water over 40 C 104 F to clean the air filter Never attempt to operate the unit wi...
Страница 20: ...w air conditioner Do not cover the air outlet exhaust while in use Use the timer to operate the unit before it is needed For example set the timer to turn on the unit in cooling mode for 3 or more hou...
Страница 21: ...ilter Straighten tube away from coil Compressor shut off by changing modes Wait approximately 3 minutes and listen for compressor to restart when set in the COOL mode Air conditioner is cooling but ro...
Страница 22: ...ly hot Air movement sound this is normal Set FAN speed to a higher setting to bring air past cooling coils more frequently If too loud set to a slower FAN setting Window vibration poor installation Re...
Страница 23: ...Air Conditioner and Heater Model WAC25001W Voltage Frequency 208 230V 60Hz BTUs Cooling Heating 25 000 16 000 Current Cooling Heating 11 3 22 5A Color White Coolant R410A 36 7 oz Timer 24 Hour Dimensi...
Страница 24: ...product or to instruct in proper usage of the product Damages or operating problems resulting from misuse abuse operation outside environmental specifications uses contrary to instructions provided in...
Страница 25: ...m E mail service edgestar com Register your product download owner s manuals access additional troubleshooting resources and obtain more information on other great EdgeStar Koldfront products on the w...