background image

Installation Guide

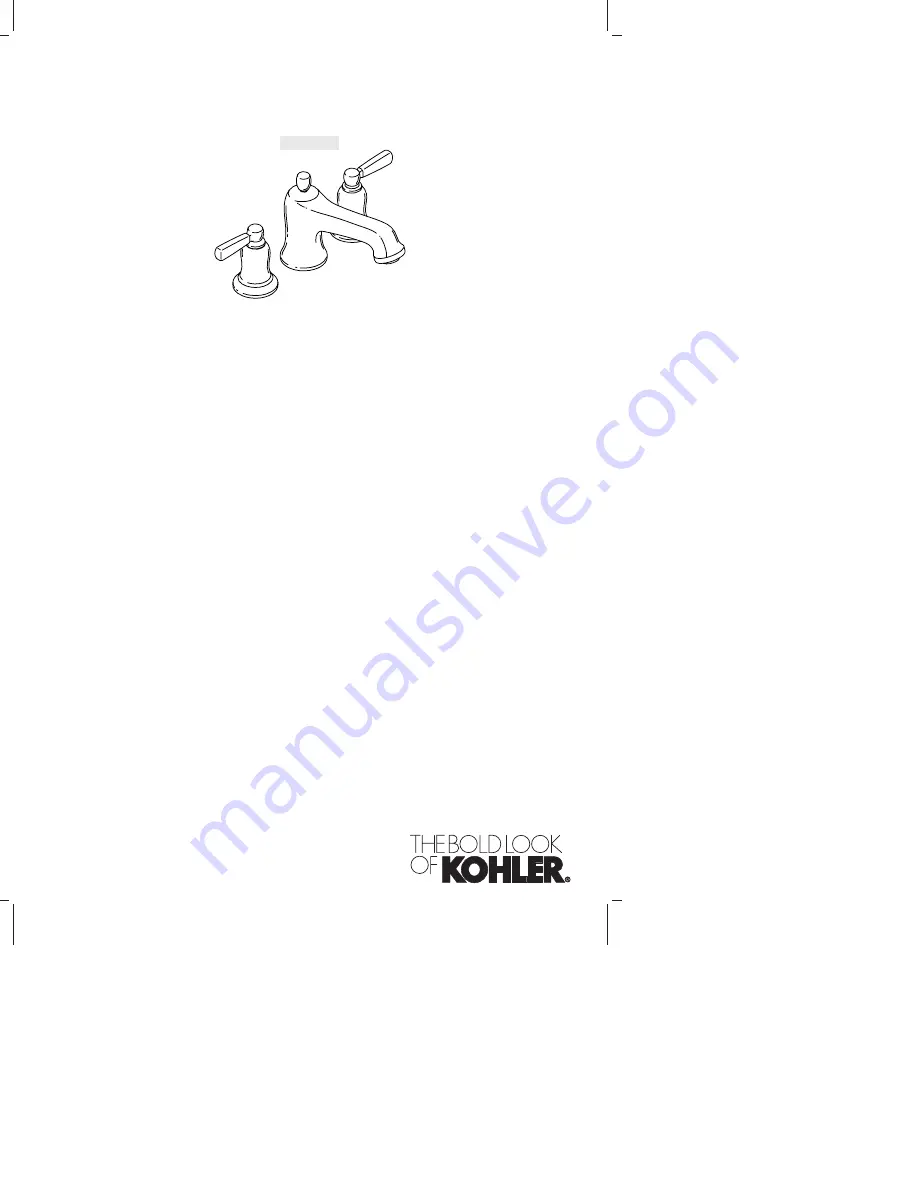
Bath/Deck Mount Faucet Trim

M

product numbers are for Mexico (i.e. K-12345

M

)

Los números de productos seguidos de

M

corresponden a México (Ej.

K-12345

M

)

Français, page“ Français-1”

Español, página“ Español-1”

K-T10585

1036164-2-A

Содержание 513268

Страница 1: ...Bath Deck Mount Faucet Trim M product numbers are for Mexico i e K 12345M Los n meros de productos seguidos de M corresponden a M xico Ej K 12345M Fran ais page Fran ais 1 Espa ol p gina Espa ol 1 K...

Страница 2: ...d with the valve for installation procedures Deep rough in kit 73444 allows an additional 1 2 1 3 cm of tile thickness Please read all instructions before you begin Shut off the main water supply Obse...

Страница 3: ...g the plug Make sure the valves are closed cold fully counterclockwise hot fully clockwise Turn off the main water supply Wrap a rag around the pipe plug to prevent water spray IMPORTANT Water may pur...

Страница 4: ...e spout supply tube NOTE Before installing the spout sleeve assembly make sure the O ring is properly positioned in the groove on the outside of the sleeve Back off the setscrews in the spout sleeve a...

Страница 5: ...of the spout base according to the manufacturer s instructions Position the spout on the sleeve and carefully press down until the spout contacts the finished deck Rotate the spout until it is aligne...

Страница 6: ...spline adapter If the brass spline adapter is required attach using the screw supplied The plastic spline adapter slides on with no attachment Position the handle assemblies facing in opposite directi...

Страница 7: ...kwise Remove the aerator assembly Turn on the main water supply and check for leaks Turn on the hot and cold valves and run water through the spout to remove debris Check for leaks Turn off the hot an...

Страница 8: ...ont au verso Merci encore d avoir choisi la compagnie Kohler Avant de commencer La valve est vendue s par ment Veuillez s il vous pla t lire les instructions d installation emball es avec la valve Le...

Страница 9: ...et et l examiner pour en d celer tout dommage Remettre le robinet dans l emballage jusqu l installation Kohler Co se r serve le droit d apporter toutes modifications au design des robinets et ceci san...

Страница 10: ...nt ferm s c t froid compl tement vers la gauche c t chaud compl tement vers la droite Fermer l alimentation d eau principale Enrouler une serviette autour du bouchon du tube pour emp cher l eau de gic...

Страница 11: ...imentation du bec REMARQUE Avant d installer l ensemble du manchon du bec s assurer que le joint torique soit proprement positionn dans la rainure l ext rieur du manchon Desserrer les vis de retenue s...

Страница 12: ...Se pr parer pour l installation du bec cont Serrer les vis de retenue Purger le tube d alimentation de tous d bris 1036164 2 A Fran ais 5 Kohler Co...

Страница 13: ...u bec selon les instructions du fabricant du mastic Positionner le bec sur le manchon et presser d licatement vers le bas jusqu ce que le bec touche le comptoir fini Pivoter le bec jusqu ce qu il soit...

Страница 14: ...5 16 5 9 cm Si l adaptateur cannelures en laiton est requis raccorder avec la vis fournie L adaptateur cannelures en plastique s adapte sans attache Positionner les ensembles de poign es de fa on ce q...

Страница 15: ...r l alimentation d eau principale et v rifier s il y a des fuites Ouvrir les valves d eau chaude et froide et faire couler l eau travers le bec pour chasser tous les d bris V rifier s il y a des fuite...

Страница 16: ...escoger a Kohler Antes de comenzar La v lvula se vende por separado Lea las instrucciones incluidas con la v lvula para ver los procedimientos de instalaci n El juego de instalaci n profunda n 73444...

Страница 17: ...a grifer a nueva y rev sela para ver si est da ada Vuelva a colocarla en la caja hasta que la instale La empresa Kohler se reserva el derecho de modificar el dise o de la grifer a sin previo aviso tal...

Страница 18: ...n cerradas agua fr a completamente a la izquierda agua caliente completamente a la derecha Cierre el suministro de agua Envuelva el tap n de tubo en un trapo para impedir que el agua salga a presi n...

Страница 19: ...la con el lado plano orientado hacia el frente por el tubo de suministro del surtidor NOTA Antes de instalar montaje de la manga del surtidor aseg rese de que el empaque de anillo O ring est correctam...

Страница 20: ...ga con los tornillos de fijaci n descentrados sin estar orientados hacia el frente o hacia atr s del tubo de suministro del surtidor Apriete los tornillos de fijaci n Purgue el tubo de suministro para...

Страница 21: ...l surtidor seg n las instrucciones del fabricante Coloque el surtidor en la manga y presione hacia abajo con cuidado hasta que el surtidor est en contacto con la cubierta acabada Gire el surtidor hast...

Страница 22: ...io utilizar el adaptador de ranura de lat n m ntelo con el tornillo incluido El adaptador de ranura de pl stico se ajusta sin necesidad de tornillos Coloque los montajes de la manija orientados en dir...

Страница 23: ...stro principal de agua y verifique que no haya fugas Abra las v lvulas del agua fr a y caliente y deje correr el agua por el surtidor para eliminar los residuos Verifique que no haya fugas Cierre las...

Страница 24: ...USA 1 800 4 KOHLER Canada 1 800 964 5590 M xico 001 877 680 1310 kohler com 2004 Kohler Co 1036164 2 A...

Отзывы: