CFH-V20
PAC K AG E CO N T E N T S
GETTING STARTED
1. IS APP
To get started, download the iS
app from the Apple App Store or the
Google Play Store.
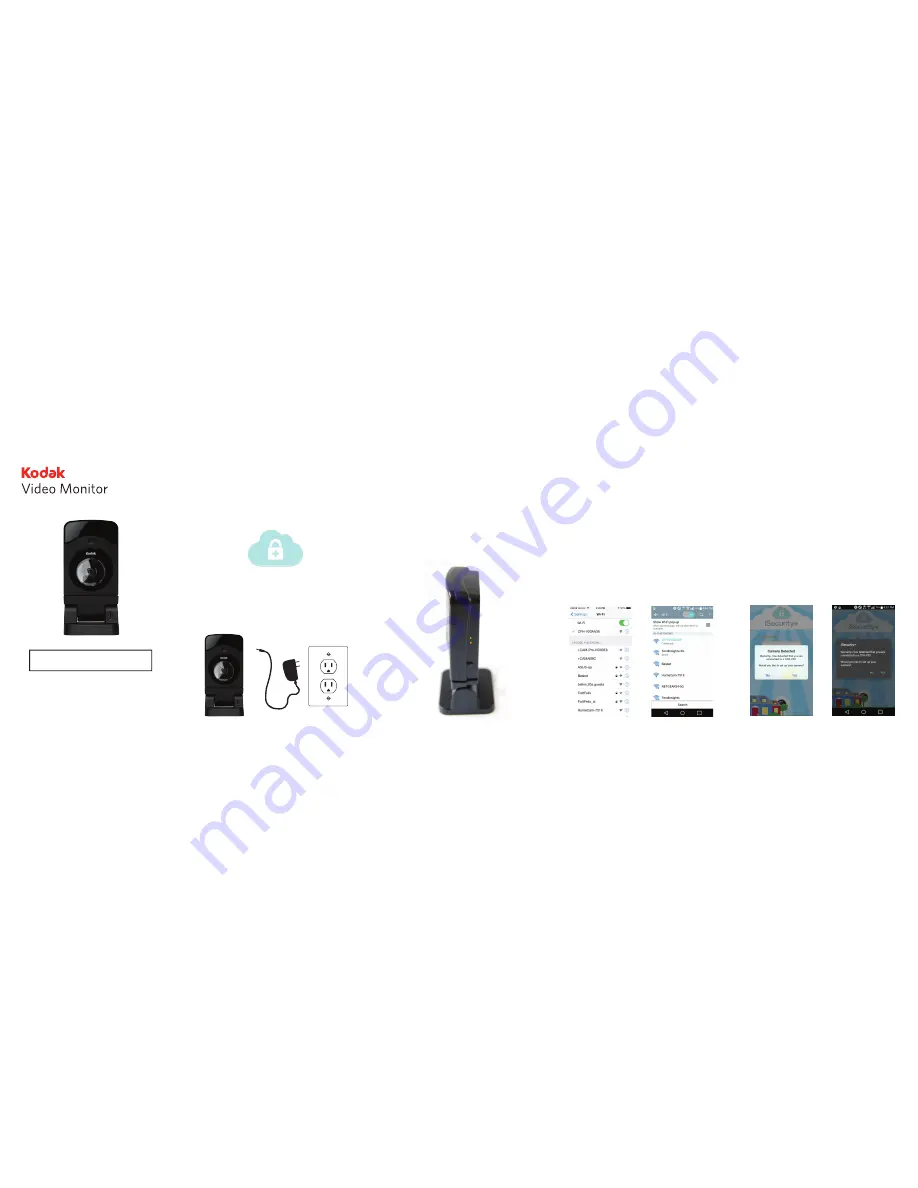
3A. WI-FI SETUP MODE
Once connected, the video monitor
will automatically go into setup mode:
Top LED light will be solid green and the
bottom LED light will blink and alternate
between green and orange (this may take
up to 2 minutes when the video monitor
is first powered on).
Before connecting to the video monitor,
please turn on the Wi-Fi on your smart-
phone or tablet as well as your personal
Wi-Fi network. Then, go to your smart-
phone or tablet settings under the Wi-Fi
settings, connect to the CFH-V20XXXX
(last 4 digits of the MAC ID, as seen on
the back of the camera) network. Make
sure that you see the Wi-Fi symbol after
connecting to the video monitor.
2. CONNECT TO POWER
Connect the KODAK Video Monitor
CFH-V20 to the AC power adapter, and
plug the power cord into the electrical outlet.
CFH-V20 WI-FI VIDEO MONITOR
POWER ADAPTER
MOUNTING KIT
QUICK INSTALLATION GUIDE
3B. CONNECT SMARTPHONE OR TABLET
iOS
Android
TO KODAK VIDEO MONITOR CFH-V20
4A. LAUNCH IS APP
Once your smartphone or tablet
establishes its connection to the
KODAK Video Monitor CFH-V20
(usually takes around 30 seconds),
launch the iS app. If you don’t
see the pop-up prompt, please close
the app and re-launch it. The iS
app will automatically detect your
video monitor. When prompted, click
“yes” to setup your video monitor.
iOS
Android


