background image

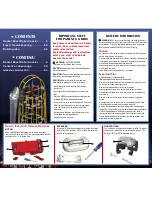
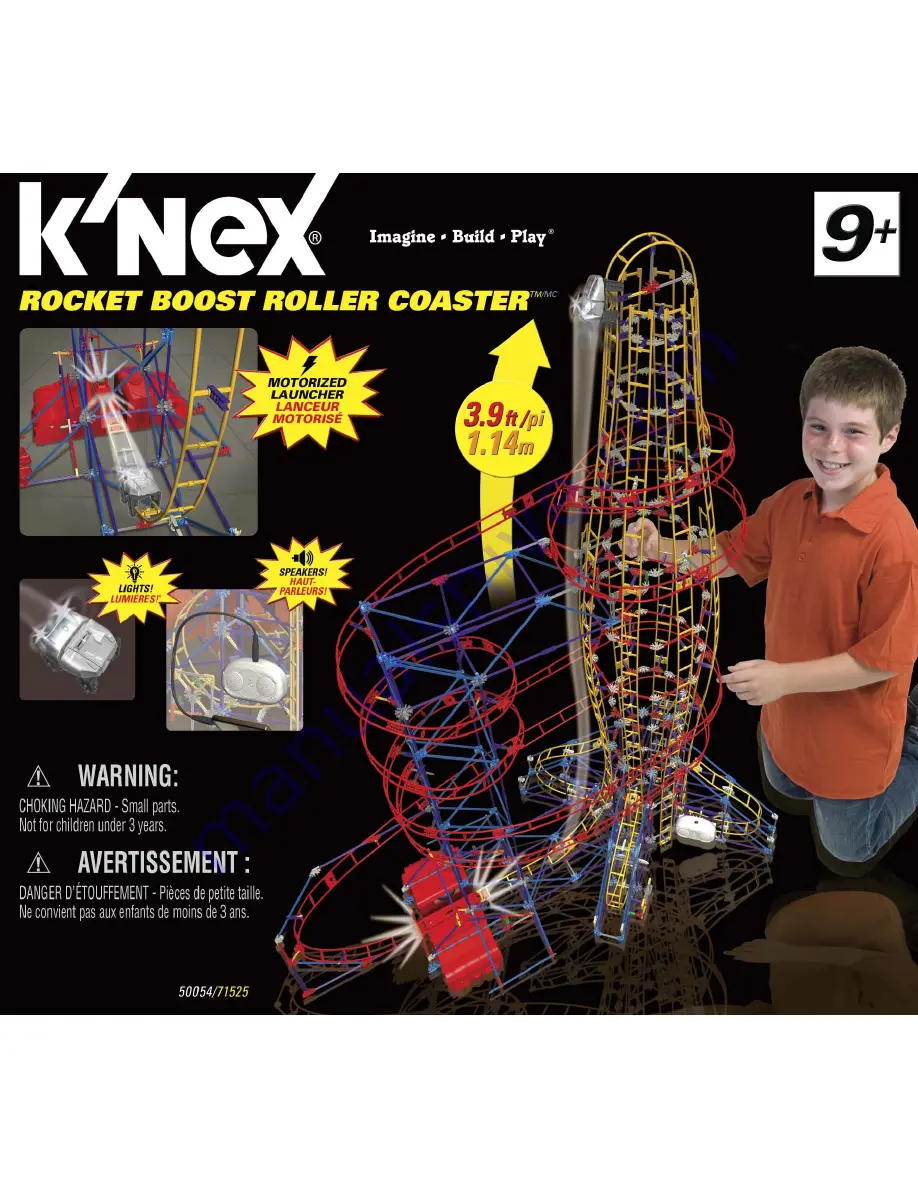
Содержание Rocket Boost Roller Coaster

Страница 1: ......

Страница 2: ...d be used Always remove weak or dead batteries from the product do not short circuit supply terminals Insert batteries with correct polarity as shown Important Tips Alkaline batteries are recommended Rechargeable batteries are not recommended Remove rechargeable batteries from toy before charging they must be charged only under adult supervision Non rechargeable batteries must not be recharged Kee...

Страница 3: ...erence received including interference that may cause undesired operation This model is tested to comply with FCC standards FOR HOME OR OFFICE USE This equipment has been tested and found to comply with the limits for a Class B digital device pursuant to part 15 of the FCC Rules These limits are designed to provide reason able protection against harmful interference in a residential installation T...

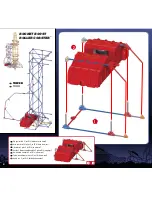
Страница 4: ...oteur Instalaste 3 pilas C o LR14 en el motor Hast du 3 Batterien der Baugröße C oder LR14 eingelegt Hai installato 3 batterie C o LR14 nel motore Foram instaladas as pilhas 3 C ou LR14 no motor Heb je er 3 C of LR14 batterijen ingestoken EN NL PT IT DE ES FR TOWER TOUR FR EN ROCKET BOOST ROLLER COASTERTM MC ...

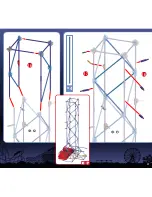
Страница 5: ...5 1 6 1 2 1 3 1 3 5 4 6 3 ...

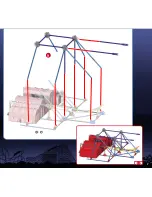
Страница 6: ... à la tour Al construir conecta siempre la pista de lado superior a lado superior Die einzelnen Schienenstücke müssen immer mit der Oberseite nach oben zeigen wenn sie miteinander verbunden werden Collega sempre la rotaia parte superiore a parte superiore in tutta la costruzione Liga sempre a face superior da pista à face superior durante a montagem Maak steeds de bovenkant van het spoor vast aan ...

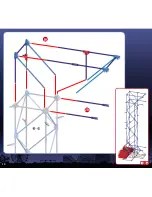
Страница 7: ...7 1 9 9 1 8 ...

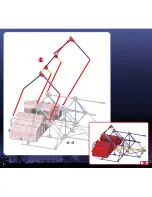
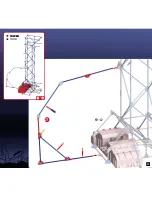
Страница 8: ...1 10 10 1 9 8 ...

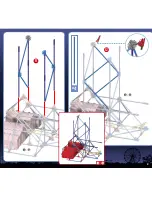
Страница 9: ...9 11 1 10 x4 12 1 11 1 12 ...

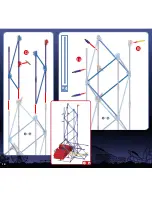
Страница 10: ...10 1 15 13 14 15 1 12 1 13 x4 ...

Страница 11: ...11 16 1 15 1 18 17 18 1 16 x4 ...

Страница 12: ...12 1 20 20 19 1 18 ...

Страница 13: ...13 1 21 21 1 20 TOWER TOUR FR EN ...

Страница 14: ...14 x3 22 23 22 23 x3 ROCKET 1st Stage FUSÉE Première étape FR EN ...

Страница 15: ...22 23 15 25 22 25 22 26 x3 24 26 24 x3 x3 x3 ...

Страница 16: ...16 22 26 27 27 22 28 x3 28 x3 x3 ...

Страница 17: ...17 22 28 30 29 30 31 22 29 x3 31 x3 ...

Страница 18: ...18 30 31 33 30 33 30 34 32 34 32 ...

Страница 19: ...19 30 37 35 36 37 30 34 35 ...

Страница 20: ...20 30 38 30 37 30 39 30 38 39 38 ...

Страница 21: ...30 39 22 29 22 29 22 29 22 41 40 41 21 ...

Страница 22: ...22 30 42 30 41 Rotate model Tourner le modèle FR EN 42 ...

Страница 23: ...23 30 44 43 44 30 42 43 43 43 x3 Rotate model Tourner le modèle FR EN ...

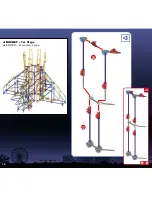
Страница 24: ...24 30 46 30 44 45 46 45 ROCKET 1st Stage FUSÉE Première étape FR EN ...

Страница 25: ...25 47 48 49 ROCKET 2nd Stage FUSÉE Deuxième étape FR EN ...

Страница 26: ...26 51 50 52 53 47 50 51 48 49 47 53 ...

Страница 27: ...27 47 57 55 54 56 57 54 55 47 53 ...

Страница 28: ...28 47 57 58 60 59 61 58 59 47 61 ...

Страница 29: ...29 47 61 62 63 64 65 47 65 62 63 ...

Страница 30: ...30 47 66 47 65 66 ROCKET 2nd Stage FUSÉE Deuxième étape FR EN ...

Страница 31: ...una guía para conectar la segunda fase a la primero Benutzen Sie diese Spur wie eine Anleitung um das zweite Stadium an das erste anzuschließen Usare questa pista come una guida per collegare la seconda fase al prima Use esta faixa como um guia para conectar se a segunda fase para a primeiramente Gebruik dit spoor als gids om het tweede stadium met de eerste te verbinden NL PT IT DE ES EN FR ...

Страница 32: ...32 71 70 69 68 70 71 ROCKET 3rd Stage FUSÉE Troisième étape FR EN ...

Страница 33: ...33 71 68 69 70 73 72 73 72 74 75 68 75 ...

Страница 34: ...34 68 75 68 79 78 77 76 79 77 76 ...

Страница 35: ...35 80 68 79 82 81 83 80 81 68 83 ...

Страница 36: ...36 68 83 68 85 84 85 84 ...

Страница 37: ...37 68 87 68 85 87 86 86 ...

Страница 38: ...38 68 89 68 87 88 89 88 ...

Страница 39: ...39 68 91 68 89 91 90 90 ROCKET 3rd Stage FUSÉE Troisième étape FR EN ...

Страница 40: ...mo una guía para conectar la tercera fase a la segunda Benutzen Sie diese Spur wie eine Anleitung um das dritte Stadium an das zweite anzuschließen Usare questa pista come una guida per collegare la terza fase al seconda Use esta faixa como um guia para conectar se a terceira fase para a segunda Gebruik dit spoor als gids om het derde stadium met de tweede te verbinden NL PT IT DE ES EN FR ...

Страница 41: ...41 1 93 22 92 93 1 21 ...

Страница 42: ... à la tour Al construir conecta siempre la pista de lado superior a lado superior Die einzelnen Schienenstücke müssen immer mit der Oberseite nach oben zeigen wenn sie miteinander verbunden werden Collega sempre la rotaia parte superiore a parte superiore in tutta la costruzione Liga sempre a face superior da pista à face superior durante a montagem Maak steeds de bovenkant van het spoor vast aan ...

Страница 43: ...1 97 97 1 95 43 96 96 ...

Страница 44: ...1 99 98 99 1 97 44 98 ...

Страница 45: ...1 101 100 1 99 45 101 100 ...

Страница 46: ...46 1 103 1 101 102 103 102 ...

Страница 47: ...47 104 1 103 105 1 105 104 ...

Страница 48: ...48 106 107 1 105 1 107 106 ...

Страница 49: ...49 108 109 1 107 1 109 108 ...

Страница 50: ...50 110 111 1 109 1 111 110 ...

Страница 51: ...51 112 113 1 111 1 113 112 ...

Страница 52: ...52 114 115 1 113 1 115 114 ...

Страница 53: ...53 116 117 1 115 1 117 116 ...

Страница 54: ...54 118 119 1 117 1 119 118 ...

Страница 55: ...55 120 121 1 119 1 121 120 ...

Страница 56: ...56 122 123 1 121 1 123 122 ...

Страница 57: ...57 124 125 1 123 1 125 124 ...

Страница 58: ...n inclus iPod est une marque déposée de Apple Inc FR EN To attach the car slide onto an open end of the track If the car gets stuck on the way down make sure they are not hitting any K NEX parts Pour fixer la voiture au circuit l y glisser à partir d une extrémité de piste ouverte Si la voiture reste coincée en cours de descente vérifier qu elle ne heurte pas des pièces K NEX FR EN 1 127 126 127 1...

Страница 59: ... est conçu pour être utilisé uniquement dans la direction indiquée sur le schéma Ne pas laisser la voiture tomber sur le moteur car cela risquerait de l endommager Pour un fonctionnement optimal il est recommandé de nettoyer les côtés de la voiture de temps en temps avec un chiffon humide Si le moteur ne marche pas érifier si les piles sont neuves et si elles sont installées correctement Si ça ne ...

Страница 60: ...rleurs Utiliser un petit tournevis à pointe cruciforme pour desserrer la vis et pour enlever le couvercle des piles Insérer 2 piles AAA ou LR03 neuves dans le compartiment à piles en respectant avec la polarité Voiture La voiture comprend 3 piles déjà installées Utiliser un petit tournevis à pointe cruciforme pour desserrer les vis puis retirer la porte de la pile Introduire 3 piles LR41 AG76 neuv...

Страница 61: ...Sound Modul auf keinen Fall ans Ohr oder in die Nähe des Ohrs halten Bei falscher Anwendung kann es zu Gehörschäden kommen VORSICHT Die Haare des Kindes können in Kontakt mit bewegenden Teilen des Spielzeugs kommen und sich verfangen Versuche nicht andere wagen zu starten Die Schienen dürfen nicht blockiert oder mit dem Körper verdeckt werden Helfen Sie Ihrem Kind beim Bauen mit K NEX und machen S...

Страница 62: ... assim poderes desfrutar do processo de construção Não o faças à pressa Tenta fazer com que o teu modelo esteja virado exactamente na mesma direcção indicada nas instruções Instalar todas as baterias antes que você comece construir Tanto o produto como as respectivas cores podem variar Informações sobre as pilhas AVISO Como acontece com toda as pilhas pequenas as pilhas usadas neste brinquedo deve...

Страница 63: ... dit deel reeds is opgebouwd Gelieve het nieuwe deel vast te koppelen op de plaats aangeduid door de pijlen Spoor Maak steeds de bovenkant van het spoor vast aan de bovenkant tijdens de opbouw Druk de koppelstukken goed erin tot ze klikken Motor De wagen rijdt in de richting van de pijl op de motor Wacht altijd een paar seconden na het aanzetten van de motor vóór zacht het duwen van de auto naar d...

Страница 64: ......
Отзывы: