49
(6)
Go to the
Shapes Tools
(
Tools
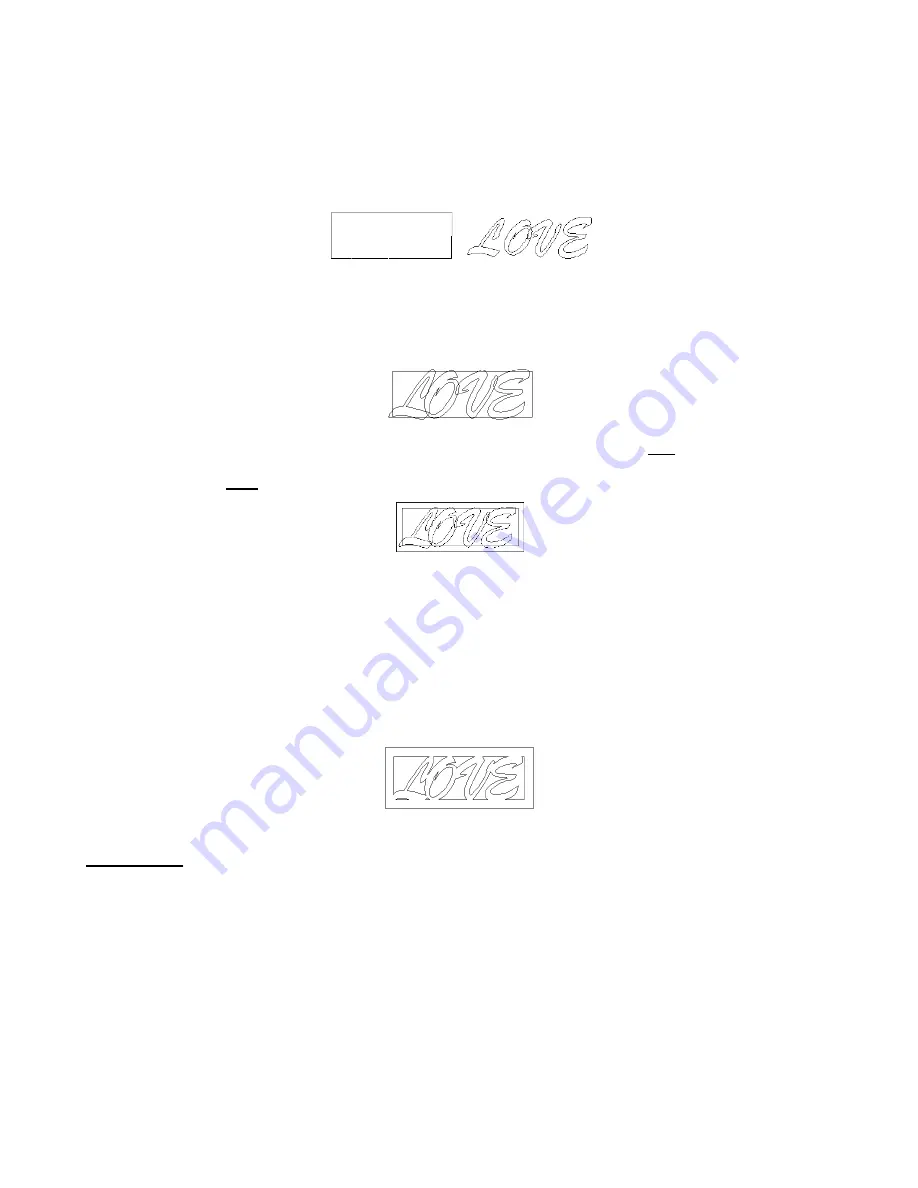
toolbar) and select the
Rectangle
shape. Drag to draw a rectangle. If you
need a specific size for a project, then go ahead and set the dimensions.
(7)
Using the steps in
Section 5.2 Text Basics
, create the title using the font of your choice. Note that when
welding more than one letter, you may wish to use all upper case characters so that the letters are the
same height. In this example, we are using a font called Brush Script Italic.
(8)
Select the title and go to
Arrange>Text to Graphics
. The purpose of this step is to break apart the
individual letters so they can be rearranged and even resized, as necessary, to overlap the rectangle AND
one another (if desired). It may be necessary to change the width of the rectangle to properly fit the
letters.
(9)
Once you are satisfied with the arrangement of the letters, select the rectangle only and go to
Transform>Contour Object
. Create a second rectangle outset from the first. Make sure the
Group
Objects
box is
NOT
checked in this window before clicking on the
Select
tool icon on the
Tools
toolbar.
(10) Click on the inner rectangle, then hold down the
Shift
key and click on the outer rectangle. Then click on
the
Weld Tools
(
Tools
toolbar) and use the third tool (
XOR Weld
) to transform the two rectangles into a
frame. In Outline Mode you will not see a difference however, in
Fill
Mode, you will see that a frame has
been created.
(11) Use
Ctrl-A
to select the frame and all letters. Click on the
Weld
tools (
Tools
toolbar) and choose the
Basic Weld
tool (first icon the left). The overlapping lines will vanish and your welded title/frame is ready
to cut.
5.11 Badges
(1)
Badges is a feature which allows you to create nametags, place cards, personalized invitations, etc. from a
list of names in a text file. You can have multiple fields on the badge, such as name, business,
department, etc. The badge itself can be in any shape you choose, including your own designs.
Remember, however, that the KNK is not a printer and text is either cut or printed in outline form. Of
course, Banner Fill can be turned on to “fill in” in the letters if using a pen. Refer to
Section 9.4 Using
Banner Fill for Embossing or Drawing in Color.
(2)
In the following example, a heart and two text objects have been created. One text object has the word
“Name” and the other has the word “Hometown”
. When typing your words, as soon as you press the icon
to go into text mode, drag your mouse to create a text box versus just clicking once in the Sign Blank. This
will then allow you the option, later, to have longer names (such as Elizabeth versus Sam) to be
compressed to fit the text box limits inside your shape.


