42
o
Another way to provide room for error is to use
Transform>Outline
or
Transform>Contour Object
to
deliberately set the cut line outside the boundaries of the image and, thus,
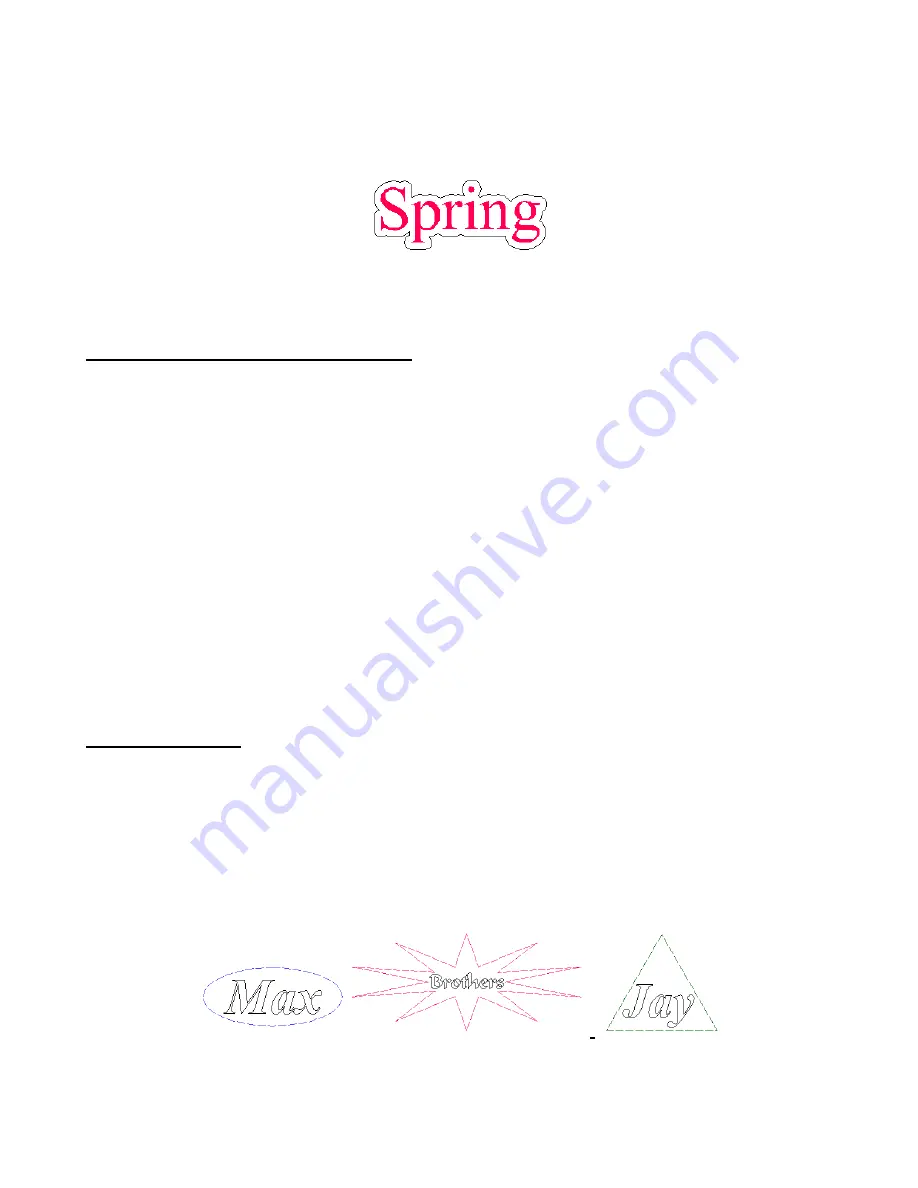
place an outline of “white”
around the outside of the colored image. This is similar to the tag example shown earlier in this section
where the outside boundary line could be hidden during the printing process. Refer to
Sections 5.4
and 5.5.
o
If you are importing an image to auto-trace for a Print and Cut, then be sure to duplicate it before the
auto-trace and save the duplicate as the original images to line up with your tracing. During the auto-
trace process, the original will become a monochrome image that you will want to delete.
Alternative Reverse Cut and Print Method
The following method is often used by paper crafters to print onto scraps of cardstock, vellum, or even
ribbon. It’s based on printing once onto regular printer paper and then placing your scrap or ribbon in the
exact spot on the printout where the printing occurred and running the paper through the printer again.
To apply this same method to a print and cut project on the Klic-N-Kut:
(1) Prepare the image and trace line as before, however no registration marks are required.
(2) Print the image onto ordinary printer paper and set aside.
(3) Using the Klic-N-Kut, cut the image from your cardstock, paper, or other material. This is just like cutting
an ordinary die cut.
(4) Use a repositionable adhesive to mount the cutout on top of the printout, aligning carefully with the
printed image.
(5) Run the sheet through the printer a second time and the image should be printed perfectly onto the
cutout. Carefully remove the cutout.
(6) If you place the adhesive on the printout, then after removing the die cut, you should be able to press
the next die cut over the same printed image again, without needing to use more adhesive.
4.8 Contour Cutting
Go to
Cut>Contour Cut
to create a contour cut line around either a vector or bitmap image. In the Smart
Bar will be settings for the color of the contour line, the offset of the contour line, shape (pointed, rounded
or mitered), as well as additional settings for tracing bitmap images. Note that Contour Cutting is very
similar to creating an outline from
Transform>Outline or Transform>Contour Object
(refer to
Sections
5.4 and 5.5)
but the contour will be shown as a dashed line. Otherwise, the cutting will be the same… you
can choose to turn on/off the contour cut color in the
Cut
window.
A geometric contour cut (e.g. any polygon, oval, star, gear) can also be applied by going to
Cut>Die Cut
.
In the Smart Bar, one selects the desired shape, color, size, and angle.


