26
INSTALLATION
OPERATION AND CARE
Care
■
■
Clean using a dry and soft feather duster, clean cloth, dust cloth or dusting mitt. A vacuum with the soft brush attachment can
also be used.
■
■
Ultrasonic cleaning or use of chemical solvents and scrubbing cleansers are not recommended. This will damage the product.
■
■
Protect all fine wood and wood hybrid products from exposure to steam or high moisture areas, rain, or outside irrigation
systems to ensure their long life.
■
■
When cleaning any window, spray glass cleaner on a cloth rather than spraying directly on the window. This will prevent
damage to the wood finish by splattering cleaner.
Louver and Louver Pin Replacement
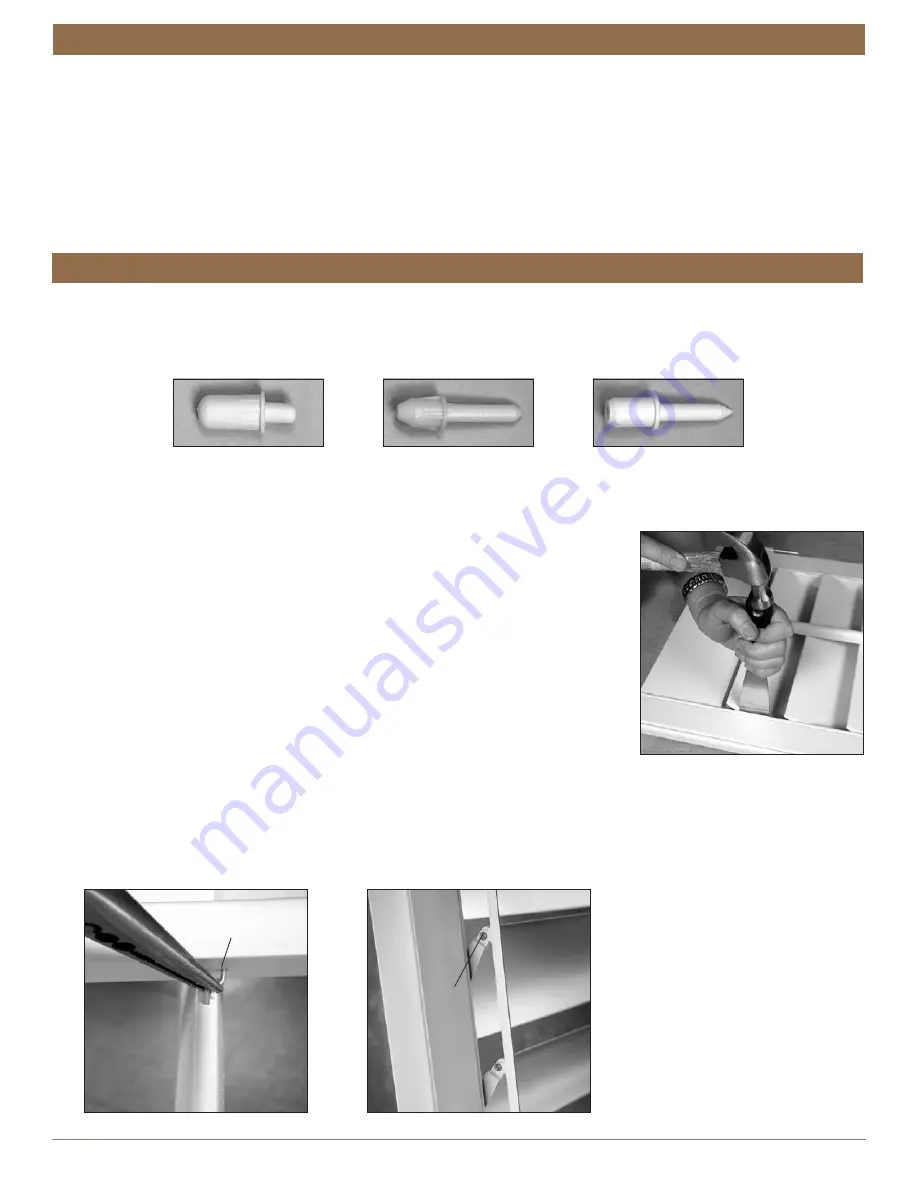
Louvers connect to stiles via two louver pins, one at each end of the louver. There are three types of louver pins:
Remove the Louver
1.
Lay the panel on a flat surface and cut through a louver pin on either end of the louver
using a painter’s putty knife and a hammer or rubber mallet.
■
➤
The putty knife should have a thin but rigid shaft with a sharp beveled edge.
■
➤
Position the putty knife between the stile and louver. Strike the putty knife with the
hammer or mallet to cut through the louver pin.
2.
Detach the louver from the tilt bar.
■
➤
Front tilt:
The front tilt bar connects to the louver with interlocked staples. Use offset needle-nose pliers to remove the
staple from the
front of the louver
. (If the staple is to be reused, lay it aside.)
■
➤
Rear tilt:
The rear tilt bar connects to the notched end of the louver with a knurled pin. Loosen the pin by gently pulling the
rear tilt bar away from the louver, then pull it out using needle-nose pliers. (If the pin is to be reused, lay it aside.)
Replacement Louver Pin
Spring-loaded for louver
replacement
Tension Louver Pin
Provides louver tension
Standard Louver Pin
Provides no tension
Rear Tilt
Knurled
Pin
Front Tilt
Staples
TROUBLESHOOTING


