DCP 30/70 L / DCP 30/70 S / DCP 30 LX/SX
Issue: 11/2009
36
4 .3
Lens Adjustments
With a remotely controlled lens, holder and anamorphic lens, the associated settings
(lens file) and the functions of the anamorphic lens (pivot in or out) can be loaded by
activating a macro. Activating a macro is carried out on the button panel or the DCP
Communicator.
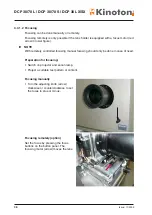
Zooming, focusing, shifting, positioning and activating the anamorphic lens holder can
be carried out manually or remotely via the button panel. Normally the specific settings
of the lenses were carried out by the service technician at installation and saved in a
macro. Therefore you easily have just push the corresponding macro button to activate
the lens settings. Normally an additional adjustment is not necessary.
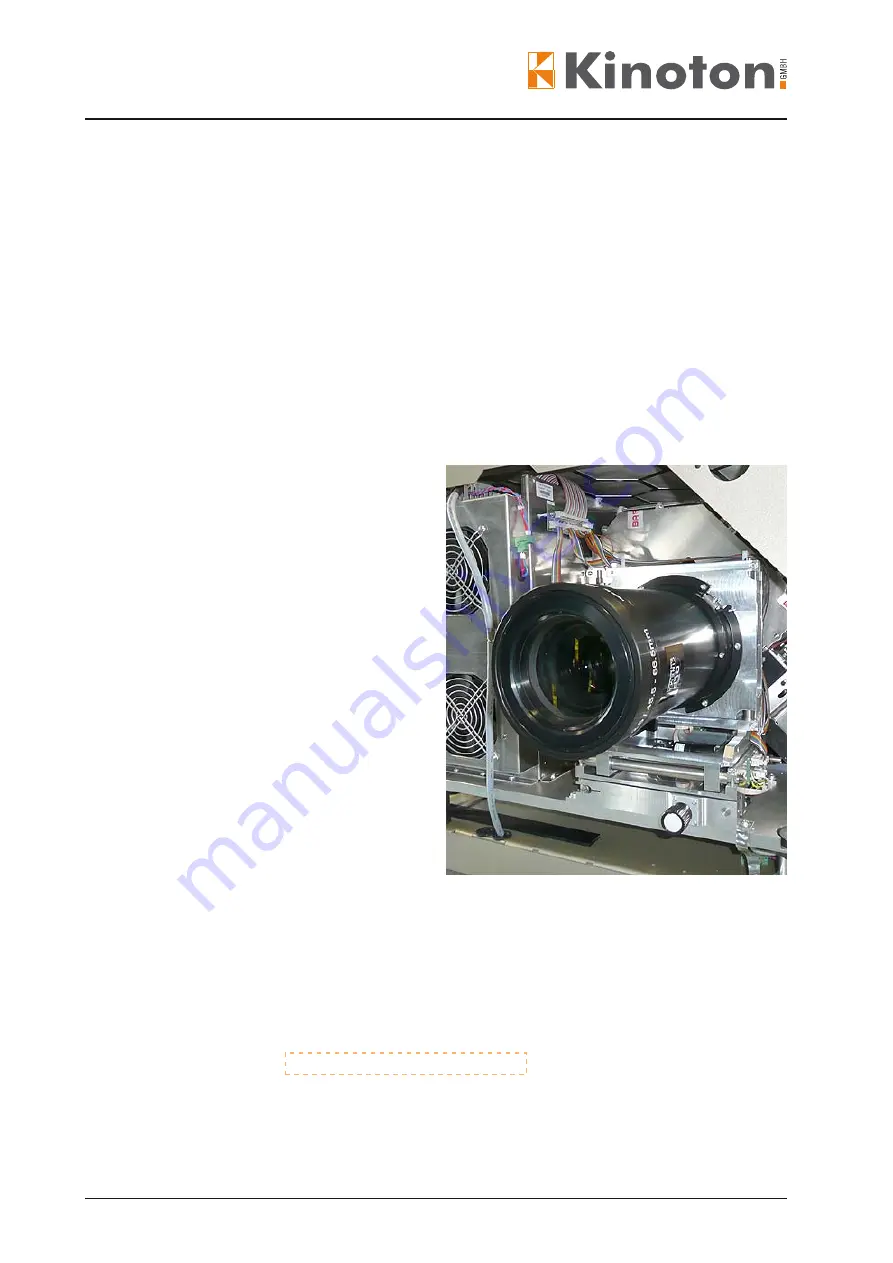
4 .3 .1 Basic Lens / Lens Holder
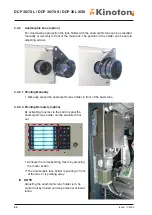
The following adjustments can be carried out on the lens or the lens holder:
3
Zooming:
- manually by turning the
adjusting ring
- remotely on the button panel
3
Focusing:
- manually by turning the
adjusting knob
- remotely on the button panel
3
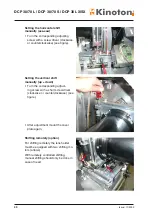
Shifting (horizontal and vertical)
- manually by turning the
adjusting screws
- remotely on the button panel
3
Scheimflug correction (manually by
turning the adjusting screws)
(only service)
3
Image setting - Masking - Resizing
(only at service level in the DCP
Communicator)
X
NOTE
Z
The Scheimflug correction is factory-set for normal projection conditions. If an adjust-
ment is necessary, it must only be carried out by trained service technician.
Z
With remotely controlled lens holder and lens focusing, shifting and zooming should
generally be done via the corresponding buttons on the button panel.
The mechanical adjustment screws should only be used in case of need, because the
projector cannot recognize the manual adjustment position.
Z
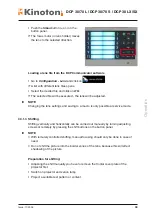
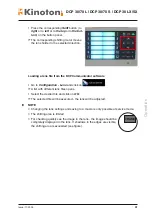
lens settings (lens files) can be loaded in the DCP Communicator via
Configuration
-
Lens


