1
Keysight ZA0060A Quick Start Guide
47
Getting Started: WLAN Signaling Test Plan
1
Launch Keysight TAP and open the WLAN Signaling test plan located at
C:\Program Files\Keysight\TAP8\IoTDeviceTest\TapFiles
.
2
Right-click any of the test steps and click
Expand All
to list the pre-configured
test steps.
3
Click a test step at any one time to view their Step Settings located at the left
panel. See the table below for the description and settings of each test step.
4
To set up the Results Listener plug-ins, view step 4 on
5
Once you have created a test plan that suits your testing requirement, turn on
your DUT and place it in the shield box. Click
Run
to start the test plan.
6
Observe the Log panel as it will display a 'Passed' or 'Failed' message when
the test completes.
7
Once the test is complete, you can view the results at the Step Settings tab for
each test step. For those who have set up the 'Simple CSV Listener' plug-ins,
find your results at
C:\Program Files\Keysight\Tap8\Results
and open it in
Microsoft Excel.
NOTE
This measurement suite requires KS83302B license. Contact your local Keysight
representative to purchase your license.
Test Steps and Description
Initialize WLAN Radio
This test step is the root test step for WLAN signaling test plan to initialize WLAN radio.
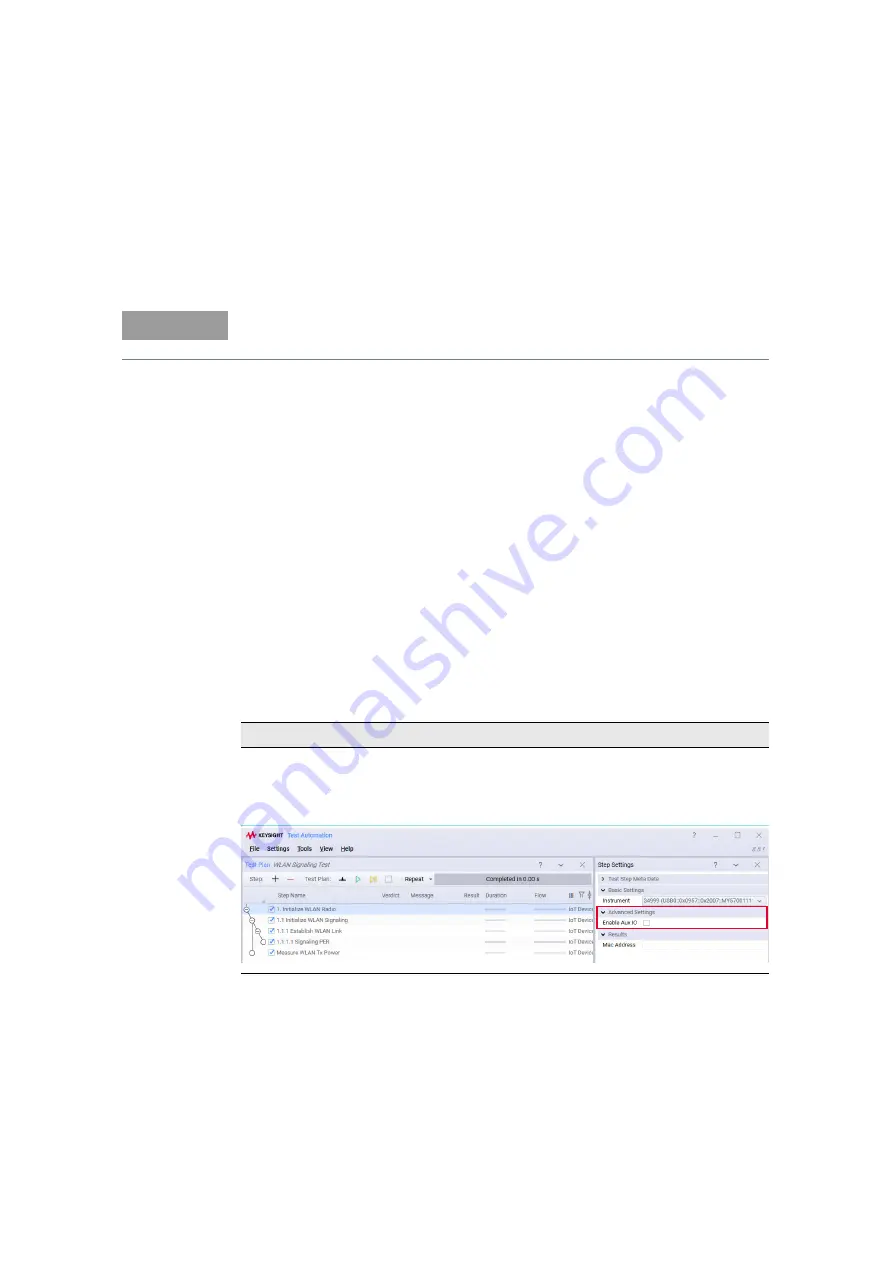
– Select the Enable Aux IO check box to enable signal routing to the AuxIO port and it will not use the
onboard power detector. The Enable Aux IO check box is disabled by default.


