•
Updated information (the latest Instruction Manual, etc.) is available from
<http://www.kenwood.com/cs/ce/>..
DMX120BT
MONITOR WITH RECEIVER
INSTRUCTION MANUAL
B5A-3198-00b (E)
© 2019 JVC KENWOOD Corporation
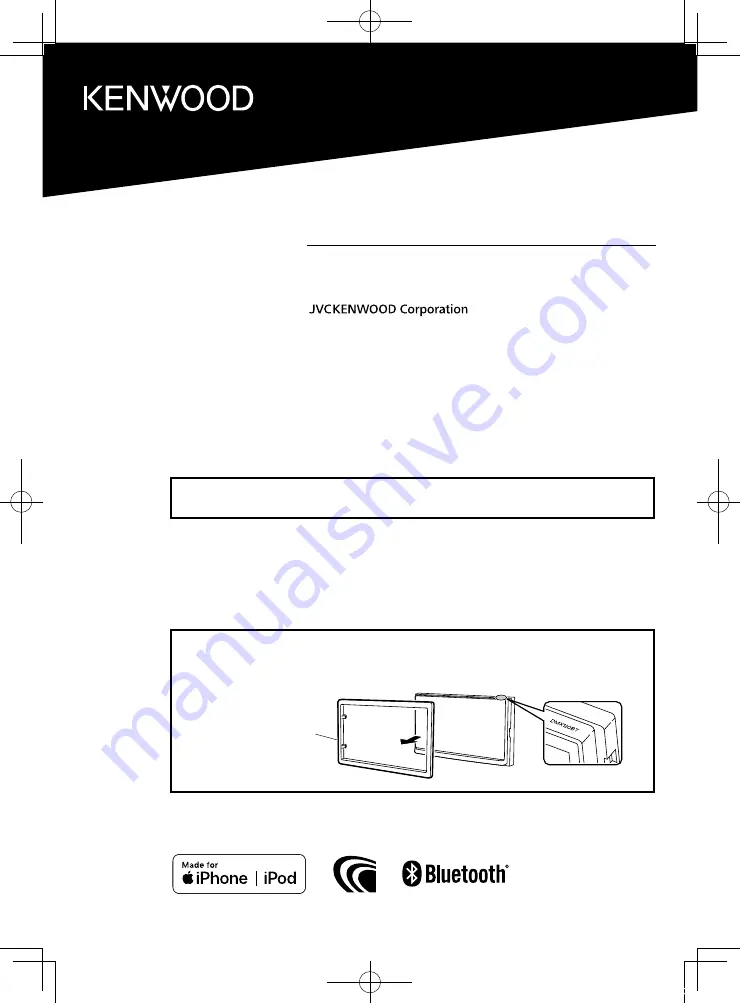
Model name indication position
See “Removing the trim plate”
(P.22)
Trim plate
!B5A-3198-00_DMX.indb 1
2019/06/11 13:39


