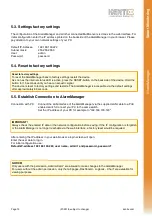
5.3. Settings factory settings
The configuration of the AlarmManager
and all other connected MultiSensors is done via the web interface. For
initial configuration enter the IP address printed on the backside of the AlarmManager in your browser. Please
pay attention to your own network settings of your PC.
Default IP-Adresse:
192.168.100.222
Subnet mask:
255.255.255.0
User:
admin
Password:
password
5.4. Reset to factory settings
5.5. Establish Connection to AlarmManager
Connection with PC:
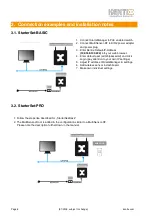
Connect the LAN interface of the AlarmManager via the supplied LAN cable to a PoE
enabled switch. Connect your PC to the same switch.
Set the IP address of your PC for example to "192.168.100.123".
After entering the IP address in your web browser a login screen will open.
Enter the user data to log in.
For initial configuration use:
Default-IP-address 192.168.100.222, user name „admin“ and password „password“
.
Page
(07-2018, subject to change)
kentix.com
13
NOTICE!
Only users with the permission „Administrator“ are allowed to make changes to the AlarmManager.
For users without the admin permission, only the tab pages „Dashboard - Logbook - Chart“ are available for
viewing purposes.
IMPORTANT!
Always check the entered IP data of the network configuration before saving. If the IP configuration is forgotten
or the AlarmManager is no longer reachable via the web interface, a factory reset would be required.
Al
a
rmMa
n
a
g
e
r
Sm
a
rt
Mo
n
ito
ri
n
g
Reset to factory settings
To reset the AlarmManager back to factory settings restart the device.
As soon as the internal status LED is active, press the RESET-button on the backside of the device. Hold the
button for 15 seconds until you hear an acoustic signal.
The device is reset to factory settings and restarts. The AlarmManager is accessible via the default settings
after approximately 60 seconds.


