3 5 7 1 2 - 3 5 7 1 3
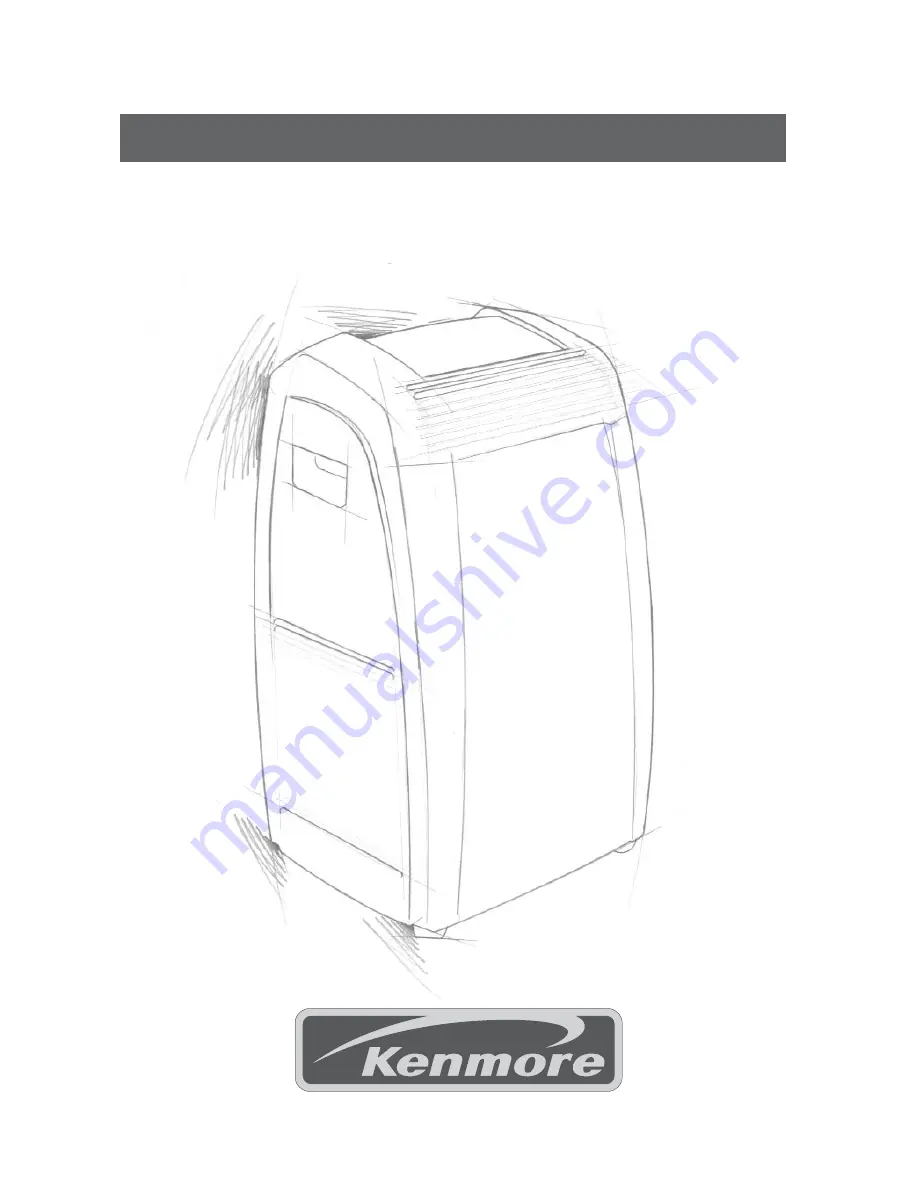
Instructions for use
Keep these instructions
Mode d'emploi
Conservez cette notice
ELECTRICAL SPECIFICATIONS 115V ~ 60Hz
DONNEES ELECTRIQUES 115V~60Hz
Страница 1: ...3 5 7 1 2 3 5 7 1 3 3 5 7 1 2 3 5 7 1 3 Instructions for use Keep these instructions Mode d emploi Conservez cette notice ELECTRICAL SPECIFICATIONS 115V 60Hz DONNEES ELECTRIQUES 115V 60Hz ...
Страница 2: ...ACCESSORIES ACCESSOIRES 2 9 1 3 5 4 6 8 7 DESCRIPTION 10 11 12 13 14 15 16 ...
Страница 3: ...that they do not play with the appliance In the case that the power cord becomes damaged this must be substituted only by specialized personnel authorized by the manufacturer to protect against fire Always ensure the appliance is grounded If you have any doubts check with a qualified elec trician we strongly discourage the use of an extension cord due to potential safety hazards for tem porary sit...
Страница 4: ...e to avoid constrictions ELECTRICAL CONNECTIONS Before plugging the appliance into the mains socket check that The mains power supply corresponds to the value indicated on the rating plate on the back of the appliance The mains socket and electrical circuit are adequate for the appliance The mains socket matches the plug If this is not the case have the plug replaced The mains socket is adequately...
Страница 5: ...tside wall or through a window pane Respect the dimensions and height of the hole given in figure F and G Fit the wall flange into the hole Fit the air exhaust hose in the relevant hose located on the rear side of the appli ance fig A page 5 Fit the end of the hose to the wall flange as shown in fig G 10 11 11 10 G NOTE When installing the air conditioner semi permanently you should leave a door s...
Страница 6: ...operation increase temperature time button F Programmed operation decrease temperature time button G Display Displays the temperature values set and the programmed operating time H Timer in operation indicator light I L M N Fan speed lights and AUTO light O Fan mode light P Dehumidifying mode light Q Air conditioning mode light R Remote control receiver THE CONTROL PANEL Q A B E F N H R G C P O D ...
Страница 7: ...sible reduces noise levels but still maintains a good level of comfort for silent operation AUTO the appliance automatically selects the most suitable fan speed in relation to the temperature set on the digital display The most suitable temperature for the room during the summer varies from 24 to 27 C You are recommended however not to set a temperature much below the outdoor temperature DEHUMIDIF...
Страница 8: ...o cancel the timer programme press the timer button D again How to programme delayed shutdown Delayed shutdown can be programmed in any operating mode air conditioning dehumi difying fan Press the TIMER button D The last timer setting or the preset value 6 6 0 0 flashes on the display Use the E or F button to set the number of hours delay before the appliance stops During the first ten hours you c...
Страница 9: ... batteries Remove the cover on the rear of the remote control Replace the old batteries with two new LR03 AAA 1 5V batteries inserting them correctly see the instructions inside the battery compartment Replace the cover If the remote control unit is replaced or dis carded the batteries must be removed and disposed of in accordance with current leg islation as they are harmful to the environ ment D...
Страница 10: ...oning and the fan speed The most suitable temperature for the room during the summer varies from 24 to 27 C You are recommended however not to set a temperature much below the outdoor temperature DEHUMIDIFYING MODE Ideal to reduce room humidity spring and autumn damp rooms rainy periods etc In dehumidifying mode the appliance selects fan speed automatically Two arrows on the remote control display...
Страница 11: ...l the desired settings for when the appliance will swit ch on operating mode fan speed and temperature Confirm the settings by pressing the timer button 20 The time is displayed and the h symbol flashes Set the time when you want the appliance to switch off using the buttons from 30 minutes to 24 hours During the first ten hours you can select half hour intervals For times greater than ten hours o...
Страница 12: ... exposure to the sun by partially closing curtains and or blinds to make the appliance much more economical to run Never rest objects of any kind on the air conditioner Never obstruct the air intake or outlet grilles Make sure there are no heat sources in the room 1 6 Never use the appliance in very damp rooms laundries for example Never use the appliance outdoors Tips close doors and windows clos...
Страница 13: ...week of operation The filter is housed in the intake grille To clean the filters proceed as follows 1 Remove the dust filter by extracting it upwards figure H 2 Use a vacuum cleaner to remove dust accu mulations from the filter If it is very dirty immer se in warm water and rinse a number of times The water should never be hotter than 40 C After washing leave the filter to dry then put back in pla...
Страница 14: ...tioner works but does not cool the room window open there are heat sources in the room lamps etc the exhaust hose is detached air filters clogged close the window eliminate the heat source connect the exhaust hose clean or replace the filters clean or replace the filter Particular odour in the room the filter is clogged The air conditioner does not operate for about 3 minutes after turning it on t...
Страница 15: ...plug press the TEST button periodically and make sure the appliance disconnects If this is not the case contact the service center To restore operation press the RESET button NEVER TURN THE APPLIANCE UPSIDE DOWN OR ON ITS SIDE IF THIS OCCURS WAIT AT LEAST 4 HOURS BEFORE TURNING THE APPLI ANCE ON Transport filling cleaning recovery and dis posal of refrigerant should be performed by a technical ser...
Страница 16: ...der the replacement parts accessories and owner s manuals that you need to do it yourself sears ca ___________________________________________________ To purchase or inquire about a Sears Maintenance Agreement call 1 800 361 6665 9 a m 8 p m EST Mon Fri 4 p m Sat ___________________________________________________ Pour service en français 1 800 LE FOYER 1 800 533 6937 sears ca TM Trademarks of Sea...
Страница 17: ...ès vente ou par une personne de qualification similaire Cet appareil doit être relié à une mise à la terre efficace Si vous avez des doutes faites con trôler l installation électrique par un électricien qualifié Évitez d utiliser des rallonges pour le cordon d alimentation électrique En cas de besoin utilisez exclusivement des rallonges à trois fils à 15 A et 125 V avec mise à la terre reconnues c...
Страница 18: ...ranglements BRANCHEMENT ÉLECTRIQUE Avant de brancher la fiche sur la prise de courant vérifiez si la tension du secteur correspond à celle indiquée sur la plaque signalétique au dos de l appareil la prise et la ligne d alimentation électrique peuvent supporter la charge requise la prise est appropriée à la fiche de l appareil autrement faites la remplacer la prise est reliée à une mise à la terre ...
Страница 19: ...rou indiquées figures F et G Appliquez dans le trou l accessoire bride 10 fourni avec l appareil Fixez le tuyau 11 dans le logement prévu à cet effet sur la partie arrière de l appareil fig A page 19 Appliquez l extrémité du tuyau 11 à la bride 10 comme illustré à la fig G G REMARQUE Dans le cas d une installation semi perma nente nous vous conseillons de laisser une porte légèrement entrouverte i...
Страница 20: ...ntation température temps de fonctionnement programmé F Touche diminution température temps de fonctionnement programmé G Écran Il affiche les températures programmées et le temps de fonctionnement pro grammé H Témoin minuterie en fonction I L M N Témoins vitesse de ventilation et AUTO O Tèmoin fonction ventilation P Tèmoin fonction déshumidification Q Tèmoin fonction climatisation R Récepteur tél...
Страница 21: ...it tout en maintenant un bon niveau de confort si vous désirez le maximum de silence AUTO si vous préférez que l appareil choisisse automatiquement la meilleure vitesse de ventilation en fonction de la température que vous avez programmée sur l écran numérique The most suitable temperature for the room during the summer varies from 24 to 27 C You are recommended however not to set a temperature mu...
Страница 22: ...et le témoin H clignote Pour supprimer la programmation de la minuterie appuyez sur la touche Timer D Comment programmer la présélection de l arrêt Vous pouvez programmer la présélection de l arrêt à partir de n importe quelle modalité de fonctionnement climatisation déshumidification ventilation Appuyez sur la touche Timer D le dernier réglage effectué ou la valeur prédéfinie 6 0 h cli gnotera à ...
Страница 23: ... Retirez le couvercle au dos de la télécom mande Retirez les éventuelles piles usées Remplacez les piles usées par deux piles R03 AAA 1 5 V en les mettant dans la bonne position voir les instructions à l in térieur du compartiment piles Refermez le couvercle Si vous remplacez ou si vous détruisez la télécommande retirez les piles et jetez les conformément aux lois en vigueur car elles nuisent à l ...
Страница 24: ...e extérieure sont déconseillées FONCTION DÉSHUMIDIFICATION Idéale pour réduire l humidité ambiante tout en évitant les baisses et les hausses de température saisons intermédiaires endroits humides périodes de pluie etc En fonction déshumidification l appareil choisit automatiquement la vitesse de ventilation Deux flèches à l écran de la télécommande indiquent respectivement et SEULEMENT VENTILATIO...
Страница 25: ...nement vitesse du ventilateur et température Confirmez les programmations à l ai de du bouton minuterie 20 L écran affichera les heures et le symbole h clignotant Programmez le temps de mise en marche désiré à l aide des touches de 30 minutes à 24 heures Pour les 10 premières heures vous pouvez programmer par tranches d une demi heure Pour des temps supérieurs à 10 heures vous pouvez programmer pa...
Страница 26: ...r n exposez pas la pièce aux rayons directs du soleil fermez les rideaux et ou baissez partiellement les stores Ne posez pas d objets sur le climatiseur N obstruez pas le passage de l air à travers les grilles de l appareil Assurez vous qu il n y a pas de sources de chaleur dans la pièce N utilisez pas l appareil dans des endroits très humides buanderie N utilisez pas l appareil à l extérieur Cons...
Страница 27: ...ctionnement Le filtre se trouve au niveau de la grille d a spiration et cette grille est à son tour le siège du filtre Pour le nettoyage des filtres il sera donc nécessaire de 1 retirer le filtre antipoussière en l extrayant par le haut figure H 2 Aspirez la poussière qui s est déposée sur le filtre Si le filtre est très sale plongez le dans de l eau tiède et rincez le plusieurs fois La températur...
Страница 28: ...existe des obstacles empêchant l évacuation de l air à l extérieur Éliminez les plis Le climatiseur fonc tionne mais il ne rafraîchit pas la pièce Il y a une fenêtre ouverte Une source de chaleur fonctionne dans la pièce lampe etc Le tuyau d évacuation de l air s est déboîté Le filtre à air est encrassé La puissance du climatiseur n est pas adéqua te aux conditions ou aux dimensions de la pièce Fe...
Страница 29: ...as contactez un centre SAV Pour rétablir le fonctionnement appuyez sur RESET ÉVITEZ DE RENVERSER L APPAREIL OU DE LE COUCHER SUR UN CÔTÉ LE CAS ÉCHÉANT ATTENDEZ AU MOINS UNE HEURE AVANT DE LE RALLUMER Le transport la charge le nettoyage la récupération et l évacuation du réfrigérant doivent être effectués exclusivement par les centres de service agréés par le fabricant La démolition de l appareil ...
Страница 30: ...echange la main d œuvre et le transport devront être payés par le propriétaire de l appareil Cette garantie ne s appliquera que si le CLIMATISEUR est utilisé conformément aux instructions de l usine qui l accompagnent et sur un circuit électri que à courant alternatif c a Cette garantie remplace toute autre garantie et représentation explicite ou implicite et toute autre obligation ou responsabili...