


Low Data Density
See "Checking model for missing data" on page 41 for more
information.
Delete Model
Select to delete the model.
3. Press the top button to select a menu item.
Press both buttons simultaneously to exit without making a selection.
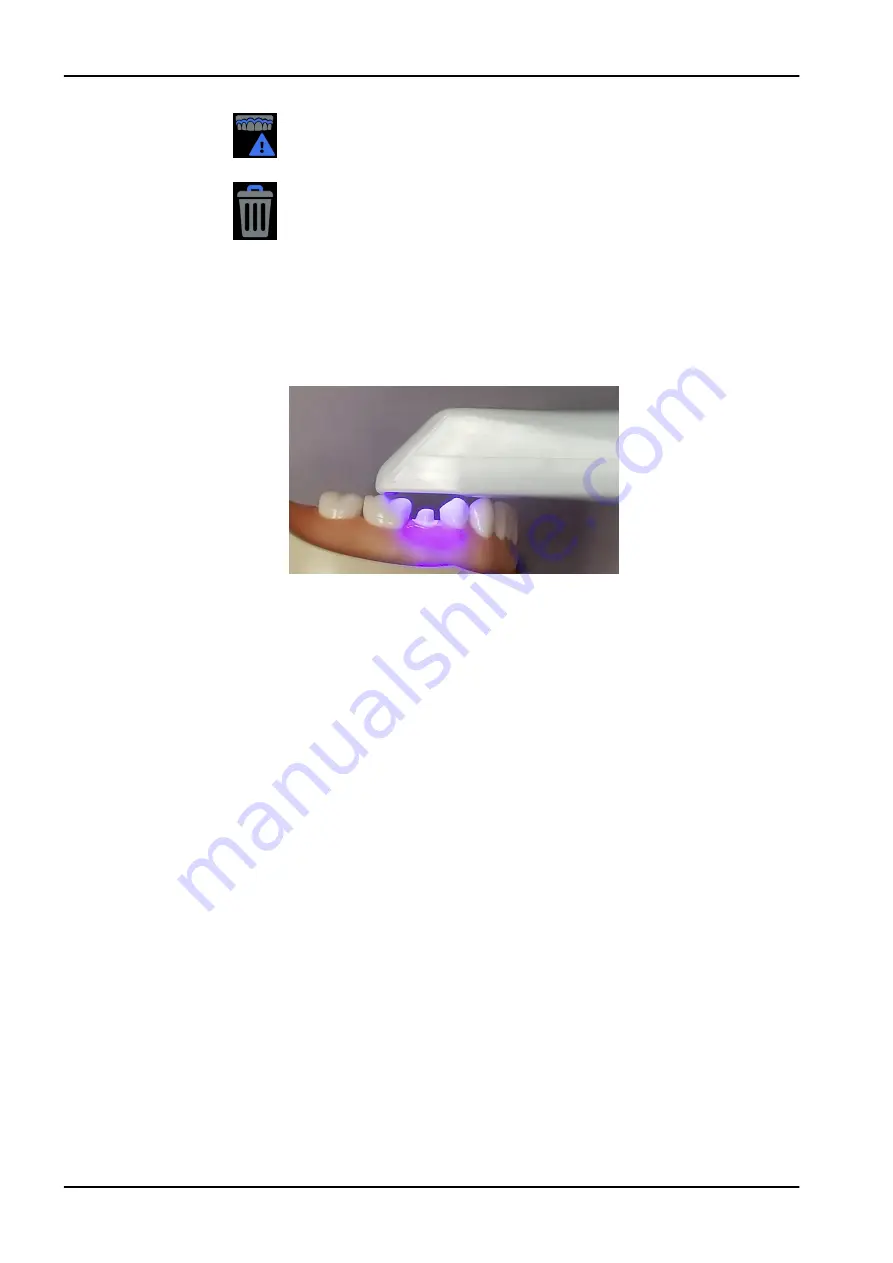
9.5 Positioning scanner
Rest the tip of the scanner gently on the teeth during scanning to get the
correct focal depth for the scans.
9.6 Basic scanning steps
About this task
Follow these instructions when scanning.
Steps
1. Add a new patient or select an existing patient.
2. Click CAD/CAM on the left menu.
3. Click Scan at the top of the screen.
A Model Animation appears showing a recommended scan pattern. This
can be turned OFF in Settings. See "Scan settings" on page 24 for more
information. You do not have to follow the suggested pattern. Click Close
on the animation or start scanning to close the animation.
4. Optionally, click the Wizard button to show/hide the Workflow Wizard.
5. Click Choose a Workflow to select a set of scan layers.
See "Workflows" on page 31 for more information.
6. Shield the site from strong extraneous light sources (dental lights,
sunlight, etc.).
7. Click the top button on the scanner to activate the laser.
The Live View displays the scanning view with live feedback. The system
assumes that the first scan is taken from the occlusal and the model is
orientated accordingly.
8. Scan until the desired area is fully formed.
9. Click the top button on the scanner to deactivate the laser.
9 Scanning
30 KaVo ProXam iOS
Instructions for use
Содержание ProXam iOS
Страница 1: ...KaVo ProXam iOS Instructions for use EN...
Страница 70: ...10 Margin tab 64 KaVo ProXam iOS Instructions for use...
Страница 129: ......
Страница 130: ...KaVo Dental GmbH Bismarckring 39 88400 Biberach Deutschland www kavo com 1 015 1250...


