60
Installation of the mold fingers on their support
1.
Remove the rectangular “washers” from both sides of each mold finger
support, to free the fingers. (Be careful: they are sharp and fragile)
2.
Based on the instructions in the preceding paragraphs, position the pair of
fingers as required for the first mold. (Each finger has a pair of prongs that will
be needed to support your mold, and another pair that will not be used for
your mold size.)
3.
Slide the “unused” prongs, into the sides of the finger support. Place a washer
on each side and fasten the screws to hold the fingers in place.
4.
Once the first pair of fingers is fastened, you may want to check that your
actual mold fit properly in your selected configuration. Place a mold in the
fingers’ prongs to confirm (and then remove it).
5.
You may now install the joined fingers onto the rocking motor plate. To do so,
place the finger support against the rocking motor plate, and then install the
screw – do not forget the spring in-between.
6.
Tighten the screw until a gentle compression of the spring occurs (about 1-2
turns after the spring begins compressing).
7.
If applicable, repeat the above steps with the next finger pair, until all the
fingers and their supports are installed.
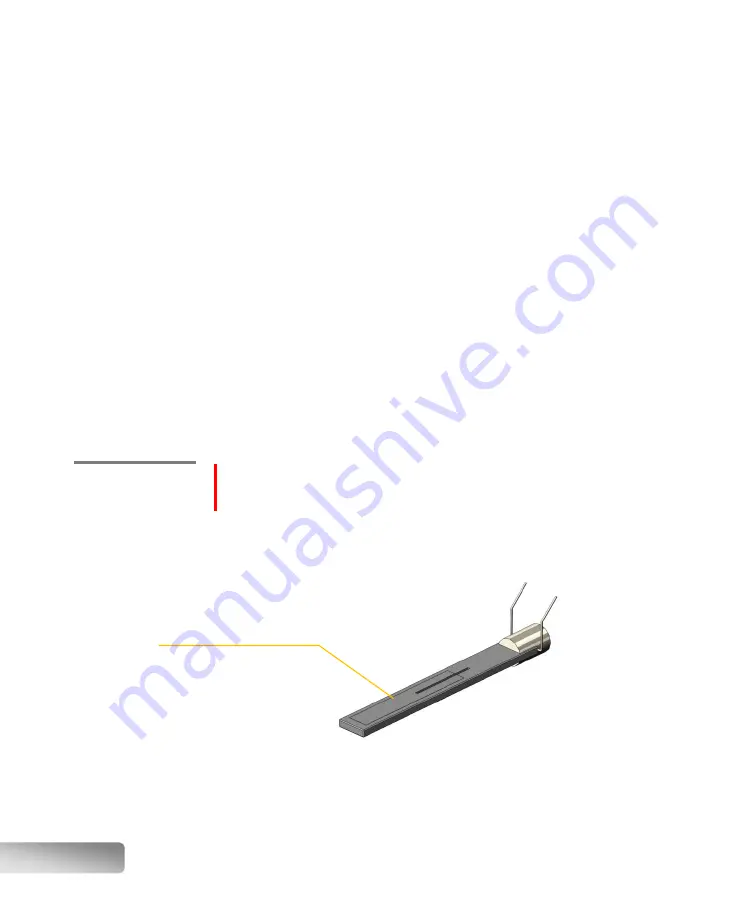
Heating
element
replacement
IMPORTANT
: Always disconnect the instrument from the power outlet when
working with panels removed. 240 Volts inside! Risk of electrocution!
There can be up to seven (7) heating elements in the X-300, each individually
connected to a ceramic terminal block and then to an independent electronic
switch. Each element is composed of a conductive material embedded in a flux-
resistant casing.
All elements are located on the furnace top wall, inserted from the front and
protruding at the front of the fluxer (behind a metallic partition), where they are
fastened into a ceramic connector, outside the furnace cavity.
1.
Disconnect the instrument from the power outlet.
Heating element
Содержание X-FLUXER
Страница 1: ...Automatic fluxer...
Страница 2: ......


