KAIXIN
KX5600L
Full Digital Ultrasonic Diagnostic
Instruments (Vet)
User’s Manual
Xuzhou Kaixin Electronic Instrument Co., Ltd.
Страница 1: ...KAIXIN KX5600L Full Digital Ultrasonic Diagnostic Instruments Vet User s Manual Xuzhou Kaixin Electronic Instrument Co Ltd...
Страница 2: ...er Release Installation 7 4 4 Video Recorder Installation 8 4 5 Working Power 8 4 6 Ultrasonic Probe Check Before and After Operation 8 4 7 Main Unit Check Before and After Operation 8 4 8 System Rese...
Страница 3: ...ii 7 1 Daily Maintenance 26 7 2 Use and Maintenance for the Rechargeable Lithium Ion Battery Pack 27 7 3 Replaceable Parts 28 7 4 Troubleshooting 29...
Страница 4: ...tice Statement Kaixin was considered responsible for the safety reliability and performance in case of meeting all the following requirements all repairs are performed by professionals recognized by K...
Страница 5: ...nd then disconnect the power and place it in the case again following the direction indicated by arrows on the package Store the case in the warehouse Do not pile the case The instrument case should h...
Страница 6: ...MHz convex array probe 1 PC 3 Power adapter 1 PC 4 Power cable 1 PC 5 Strap 1 PC 6 Leather bag 1 PC 7 Plastic sealed box 1 PC 8 Shutter release 1 PC 9 Hood 1 PC 2 2 Optional Parts 1 4 0 MHz convex ar...
Страница 7: ...electric signal to ultrasonic signal based on principle of converse piezoelectric effect The ultrasonic signal after entering the human body is reflected as echo wave and converted to electric signal...
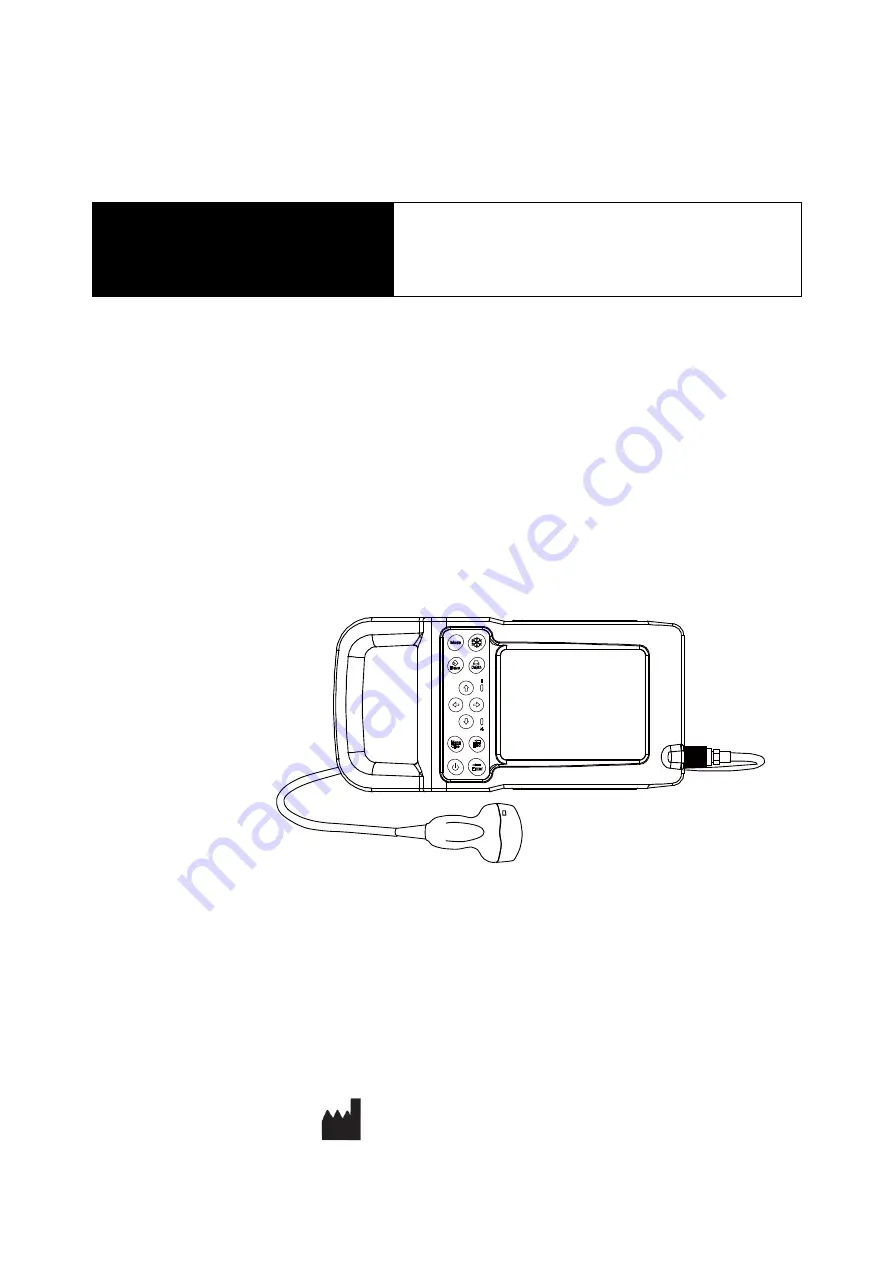
Страница 8: ...g depth 7 Direction Keys 8 Quit various states 9 Power switch 3 5 Symbols Description This instrument uses the symbols listed in the following table and their descriptions are explained Symbols Descri...
Страница 9: ...g limit by number Temperature limits Storage and transport Humidity limitation Storage and transport Atmospheric pressure limitation Storage and transport Marking for the separate collection of electr...
Страница 10: ...efore connecting or using the probe make sure that the probe connecting cable and connector are in normal condition free of cracks or drop Use of defective probe may cause electric shock Attention 1 T...
Страница 11: ...e hand until the probe is locked Note Lock the ring clockwise in the direction indicated on the label Before turning the ring clockwise be sure to push the probe connector into place and then rotate t...
Страница 12: ...ore power supply It connects with the protective earth line when power plug inserts into its socket 4 5 2 Powered by Battery When connected to the external power supply the instrument is powered by th...
Страница 13: ...p The power supply indicator is on and startup picture is shown on the screen Then the machine will be automatically set in B mode 3 Check the acoustic lens for abnormal heat when the probe is in use...
Страница 14: ...d Min 4 When setting year month day hour and minute press direction key to increase value or press direction key to decrease value 5 Press key to confirm the time setting and quit setting interface 5...
Страница 15: ...I J K L M Shift 5 6 7 8 9 N O P Q R S T U V W X Y Z Press direction keys to move cursor to point to Caps and then press key to achieve capital and small letter conversion If the cursor point to Shift...
Страница 16: ...been set 5 3 8 WIFI Switch Setting 1 Press key to enter main menu press direction keys to move cursor to Setup 2 Press key to enter setting interface 3 Press direction keys to move the symbol to poin...
Страница 17: ...eys to switch display among four images the selected image is activated and the other three are frozen 3 In real time mode press key to exit 4B mode 5 4 4 B M Mode 1 In real time mode press key to ent...
Страница 18: ...to enter main menu press direction keys to move cursor to Gain in the display area Press direction key to increase image total gain and direction key to reduce total gain so as to control the total ga...
Страница 19: ...obtain four levels of corrected images 5 5 10 Edge Enhancement Adjustment In real time mode press key to enter main menu press direction keys to move cursor to IE in the display area and then press d...
Страница 20: ...d down 5 5 17 Image Freeze Unfreeze In real time mode press key to freeze the image in frozen status press key to unfreeze the image 5 6 Gain adjustment in A mode In real time A mode press key to ente...
Страница 21: ...ey body marks will be showed in the image area press direction keys to change pages 2 Press direction keys to move to the position of desired body mark press key to confirm the selected body mark 3 Pr...
Страница 22: ...uch as choose 003 4 Press key to read out the image stored in the frame 003 Img character showed in the lower right corner of the screen 5 Press key to quit reading status and press key to return to r...
Страница 23: ...freeze the image press direction keys to move cursor to Note in the display area 2 Press key the cursor is located behind ID 3 Press key the characters input menu will be shown at the bottom of the s...
Страница 24: ...keys to view stored check lists 5 Press key to exit check list interface and press key to return to real time status Note 1 The check list interface records the pregnancy status of each examination Th...
Страница 25: ...mplete the multi group data measurement 8 Continuously press key twice to quit the measurement status 9 Press direction keys to choose Clear in display area and press key to clear all marks and data 1...
Страница 26: ...y drawn along the order of marking point until close the beginning point and end point the measured circumference and area values are automatically displayed at the built in mark C 00000mm A 00000mm2...
Страница 27: ...as the starting point of the measurement 5 Press direction keys to move the mark to the end point of the measurement at the same time a lighted dotted line appears between the starting point and the...
Страница 28: ...built in mark IMF on the right part of the screen press key to finish the IMF measurement 5 Continuously press key twice to quit the measurement status 6 Press direction keys to choose Clear in displ...
Страница 29: ...ine s back in order to make good contact between swine skin and sound window The probe is placed against the skin of the animal and is kept perpendicular to the back move the probe gently make sure no...
Страница 30: ...d the solution to disinfect in the following table Glutaraldehyde based disinfectant Chemical Name Reagent Name Step Glutaraldehyde 2 4 Cidex Glutaraldehyde disinfectant Please refer to the instructio...
Страница 31: ...th soft dry cloth 2 In case of die hard blots clean with soft cloth dipped in moderate detergent and then air dry it 5 Clean the display screen 1 Use a soft cloth to clean the display screen 2 In case...
Страница 32: ...hammerblow or trample the battery which will lead to the leakage explosion or fire 6 Do not disassemble the battery in any way which will lead to the leakage explosion or fire 7 Do not charge the batt...
Страница 33: ...ter and gray scale are displayed but no ultrasonic image on the screen Probe is not properly connected Turn off the power and reconnect the probe 3 Intermittent stripe snow or far field interference a...
Страница 34: ...n Mansion C 01 Economic Development Zone Xuzhou Jiangsu China Zip Code 221004 Tel 86 516 87732932 87733758 Fax 86 516 87732932 87792848 Website http www kxele com E mail info kxele com Information con...