BULLETIN
BUL-094
Company Confidential
© 2015, Kairos Autonomi®
Novatel L6 GPS Adapter Kit Installation
01.00.00
Page 1 of 2
Novatel L6 GPS Adapter Kit (MCA-00169) Installation
Introduction
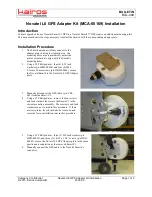
Systems upgraded from a Novatel Smart-V1 GPS to a Novatel Smart6™ GPS require an additional mounting plate.
This document details the steps necessary to install the Smart6 with the corresponding adapter plate.
Installation Procedure
1.
The Smart6 antenna will only connect to the
adapter plate in a single orientation (i.e. the
mounting holes are asymmetrical), adjust the
plate’s orientation to align with the Smart6’s
mounting holes.
2.
Using a #2 Phillips driver, four (4) 8-32 lock
washers (p/n HRD-00058) and four (4) M4 x
0.7mm x 20mm screws (p/n HRD-00446), secure
the Novatel Smart6 to the Novatel L6 GPS Adaptor
plate.
3.
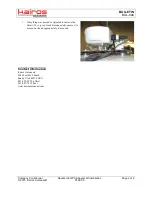
Manually disconnect the GPS cable (p/n: CBL-
045) from the Smart-V1.
4.
Using a #2 Phillips driver, remove the four screws
and lock washers that secure the Smart-V1 to the
current mounting assembly. These screws and lock
washers are not re-used in this procedure. If there
are riser plates, they should also be removed and
set aside for re-installation later in this procedure.
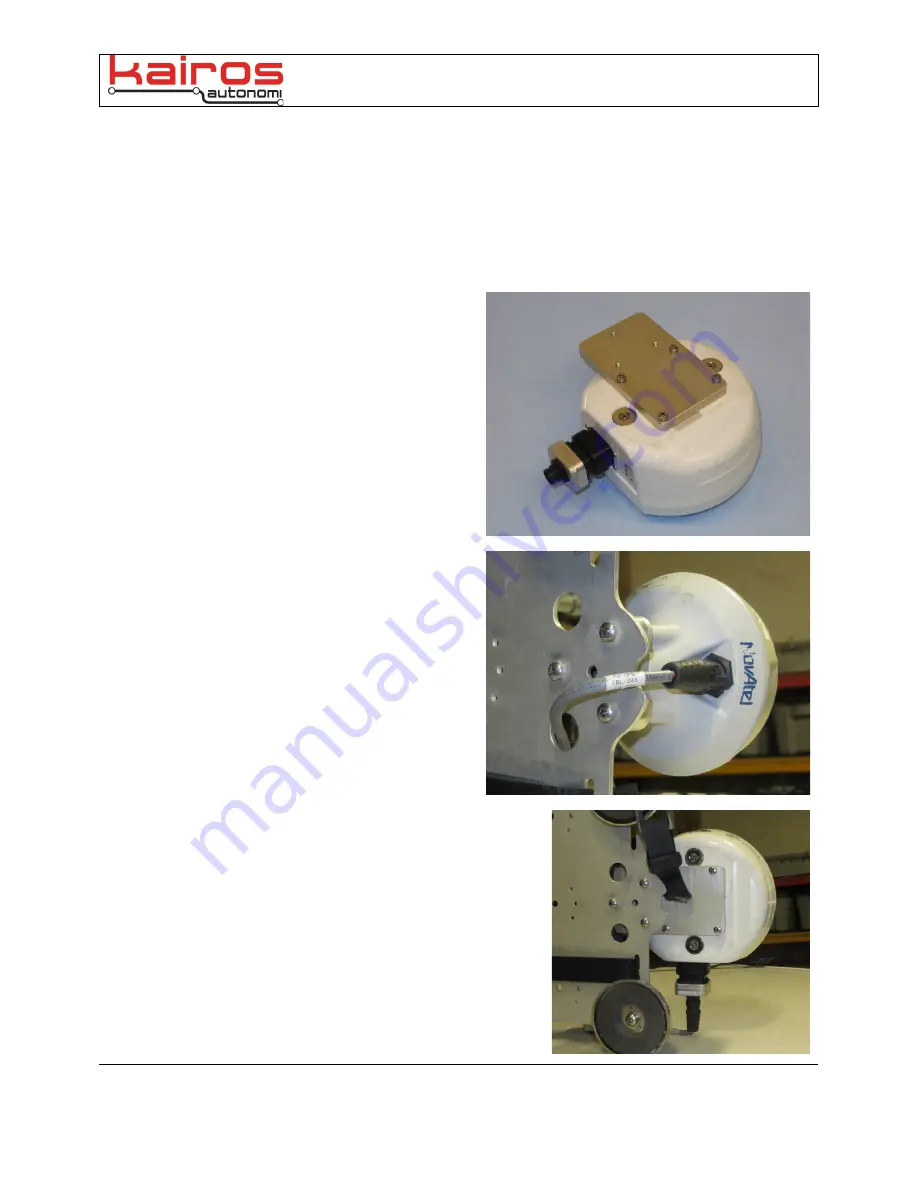
5.
Using a #2 Phillips driver, three (3) #10 lock washers (p/n
HRD-00059), and three (3) 10-32 x 1 1/4” screws (p/n HRD-
00043), secure the Novatel L6 GPS Adaptor plate in the same
position and orientation as the removed Smart-V1.
6.
Manually connect the GPS cable to the Novatel Smart6’s
connector.