


Master Page: Right
— 10 —
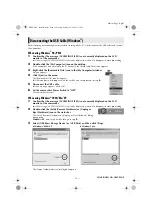
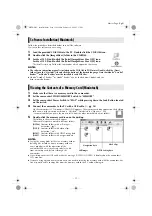
Connecting the USB cable
Connect the USB cable to copy still image and video clip files in a memory card to the PC or to use
ImageMixer in capturing video.
1
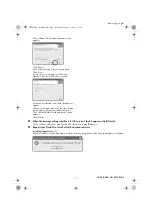
To assure safety, make sure all units are turned off before making any connections.
2
Use the USB cable to connect the camcorder to the PC.
NOTES:
●
It is recommended to use the AC Adapter as the power supply instead of the battery pack.
●
When the USB cable is connected, turning on or off the camcorder or switching the VIDEO/MEMORY
(DSC) mode on the camcorder causes malfunctions of the PC.
●
If you connect the camcorder to the PC through a USB hub, compatibility issues between the hub and the
PC may result in instability in the operation of the PC. If this happens, connect the camcorder directly to the
PC, not through the hub.
●
Do not use an extension USB cable.
●
For Windows
®
2000/Me/XP: You can also use a DV cable instead of a USB cable to capture video from a
tape when using ImageMixer 1.7. For more details, refer to the help. (
墌
“Help” in the software instruction
manual on the CD-ROM)
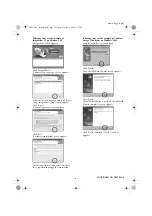
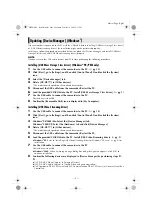
1
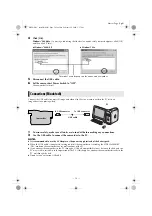
Install [USB Mass Storage Class driver]. (Windows
®
98/98SE only) (
2
Make sure that there is a memory card in the camcorder.
3
Set the camcorder’s VIDEO/MEMORY Switch to “MEMORY”.
4
Set the camcorder’s Power Switch to “PLAY” while pressing down the Lock Button located
on the switch.
The camcorder turns on.
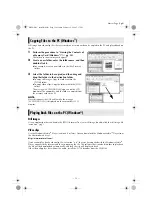
5
Connect the camcorder to the PC with a USB cable. (See above)
On the camcorder’s LCD monitor [USB MODE] appears.
Connections (Windows
®
)
Viewing the Contents of a Memory Card (Windows
®
)
To USB connector
PC
To USB connector
USB cable
Camcorder
CONTINUED ON NEXT PAGE
M4D3+DSC_InstaGuide.fm Page 10 Tuesday, February 10, 2004 2:30 PM


