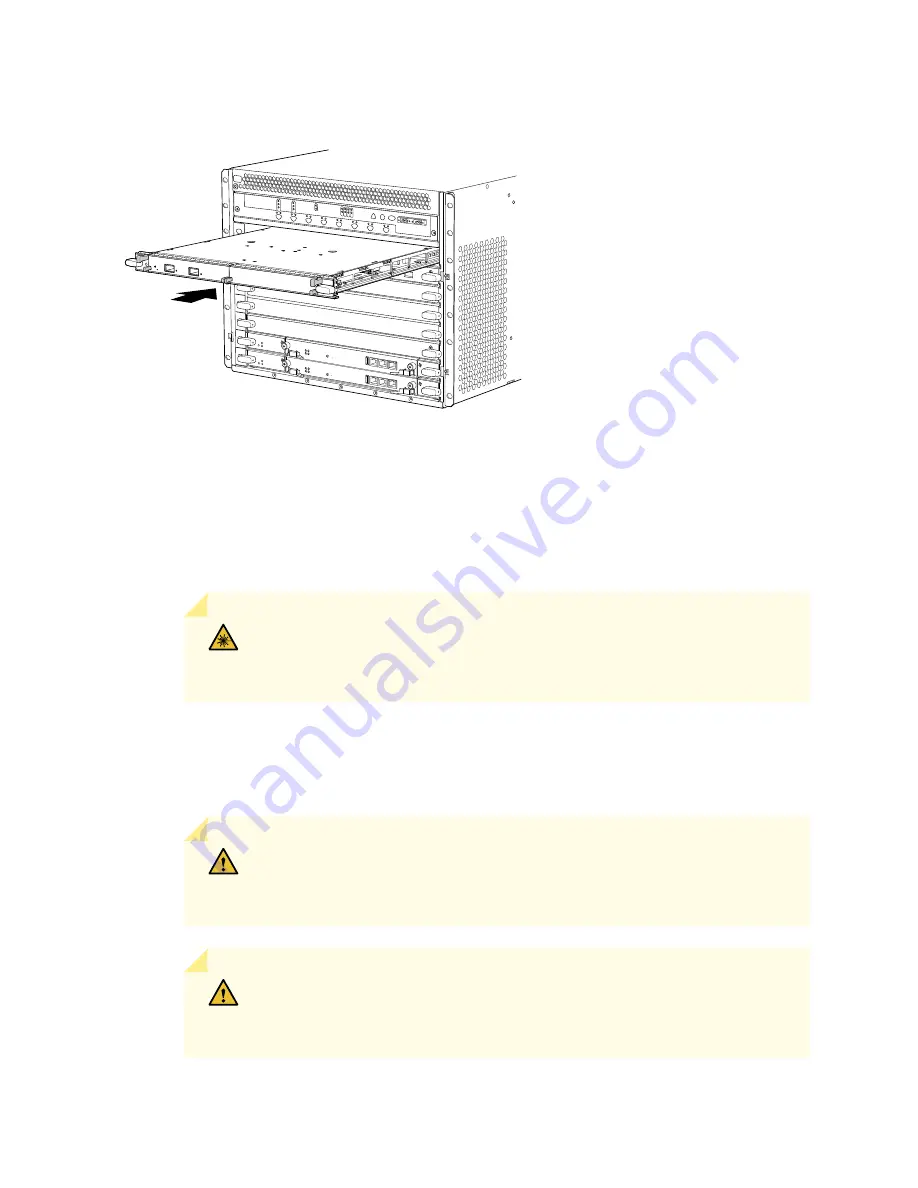
Figure 140: Installing an MPC in the SRX5600 Services Gateway
OK
MASTER
FAN
ONLINE
OFFLINE
0
1
1
0
FAIL
FAIL
PEM
FAIL
FAIL
FAIL
FAIL
FAIL
FAIL
ESD
OK
OK
OK
OK
OK
OK
OK
2
3
4
5
ACO/LT
YELLOW ALARM
RED ALARM
NC
NO
C
NC
NO
C
REO
RE1
0 1 2 3
SCB
SCB
g030317
10. Slide the MPC all the way into the card cage until you feel resistance.
11. Grasp both ejector handles, and rotate them clockwise simultaneously until the MPC is fully seated.
12. If any of the MICs on the MPC connect to fiber-optic cable, remove the rubber safety cap from each
transceiver and cable.
WARNING:
Do not look directly into a fiber-optic transceiver or into the ends
of fiber-optic cables. Fiber-optic transceivers and fiber-optic cables connected
to a transceiver emit laser light that can damage your eyes.
13. Insert the appropriate cable into the cable connector ports on each MIC on the MPC. Secure the cables
so that they are not supporting their own weight. Place excess cable out of the way in a neatly coiled
loop, using the cable management system. Placing fasteners on a loop helps to maintain its shape.
CAUTION:
Do not let fiber-optic cables hang free from the connector. Do not
allow the fastened loops of a cable to dangle, which stresses the cable at the
fastening point.
CAUTION:
Avoid bending a fiber-optic cable beyond its minimum bend radius.
An arc smaller than a few inches in diameter can damage the cable and cause
problems that are difficult to diagnose.
341
Содержание SRX5600
Страница 1: ...SRX5600 Services Gateway Hardware Guide Published 2020 02 14 ...
Страница 23: ......
Страница 105: ...LEDs 106 ...
Страница 114: ...Figure 51 SRX5K MPC g030309 MPC empty 115 ...
Страница 124: ...Port and Interface Numbering 125 ...
Страница 130: ...Port and Interface Numbering 131 ...
Страница 156: ......
Страница 183: ...Table 54 RJ 45 Connector Pinout for the AUX and CONSOLE Ports continued Description Signal Pin Clear to Send CTS 8 185 ...
Страница 185: ......
Страница 193: ...Figure 84 Installing the Front Mounting Hardware for a Four Post Rack or Cabinet 196 ...
Страница 239: ......
Страница 285: ...c Upload the configuration to RE2 from the USB device 288 ...
Страница 372: ...5 CHAPTER Troubleshooting Hardware Troubleshooting the SRX5600 377 ...
Страница 373: ......
Страница 407: ......
Страница 420: ...423 ...
Страница 423: ...Restricted Access Area Warning 426 ...
Страница 430: ...433 ...
Страница 443: ...Jewelry Removal Warning 446 ...
Страница 446: ...Operating Temperature Warning 449 ...
Страница 456: ...DC Power Disconnection Warning 459 ...
Страница 460: ...DC Power Wiring Sequence Warning 463 ...
Страница 463: ...DC Power Wiring Terminations Warning 466 ...
Страница 466: ...DC Power Disconnection Warning 469 ...
Страница 470: ...DC Power Wiring Sequence Warning 473 ...
Страница 473: ...DC Power Wiring Terminations Warning 476 ...


