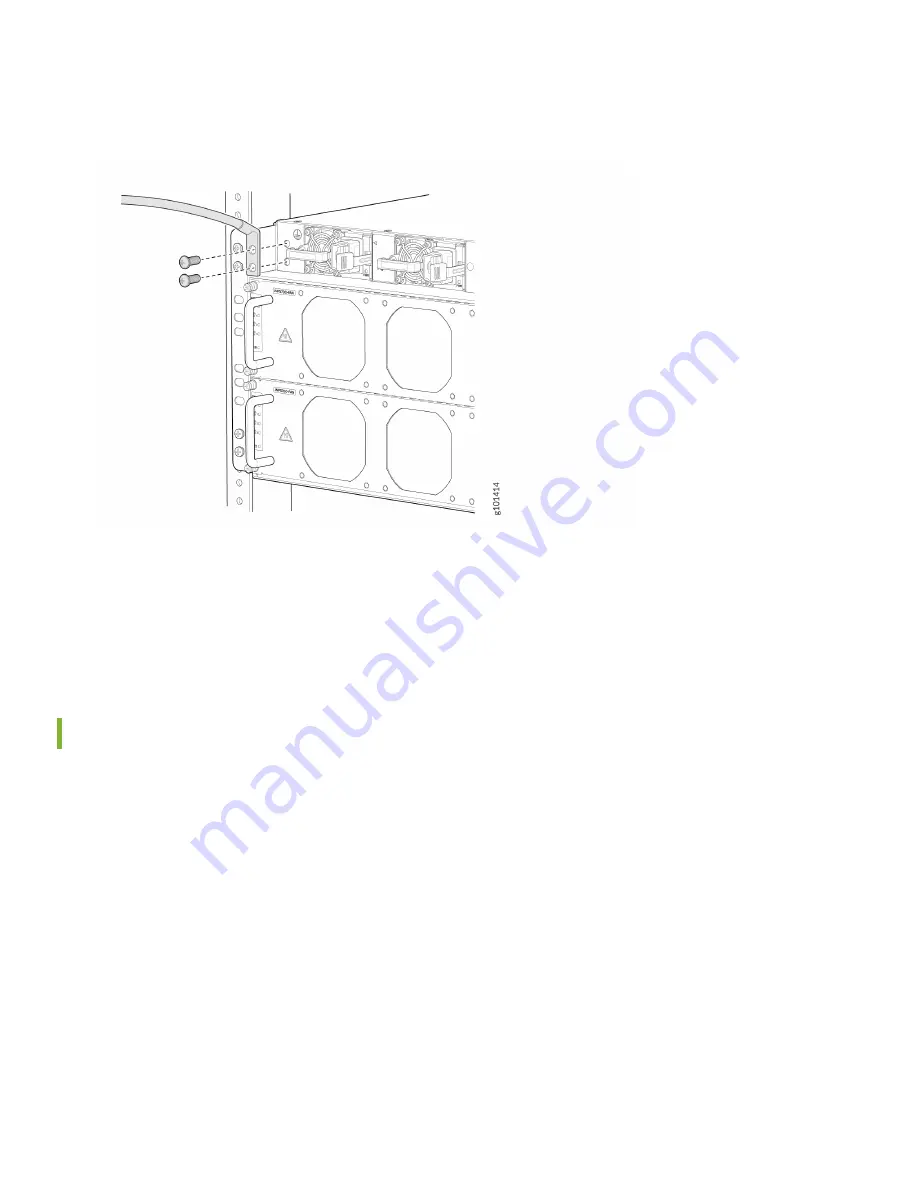
11. Remove the M6 pan head screws from the chassis and secure the grounding lug and attached cable to the chassis with
the M6 pan head screws. The earthing terminal is on the rear side of the chassis.
12. Connect the other end of the grounding cable to a proper earth ground, such as the rack.
13. Dress the grounding cable. Ensure that it doesn’t touch or block access to other device components, and that it doesn’t
drape where people could trip over it.
Power On
Now that you’ve installed your ACX7509 in the rack and grounded the chassis, you’re ready to connect it to power.
The ACX7509 router supports redundant AC/HDVC or DC power supplies that are pre-installed at the factory. In this
guide, we show you how to connect AC power for AC power installations. See the
for
information on DC power installation.
The AC-powered ACX7509 router comes with four AC power supplies preinstalled on the rear of the device.
1. Wrap and fasten one end of the ESD grounding strap around your bare wrist, and connect the other end to one of the
ESD grounding points on the router.
2. Ensure that the power supplies are fully inserted in the chassis and the latches are secure.
7


