

– 103 –
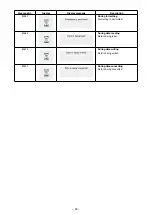
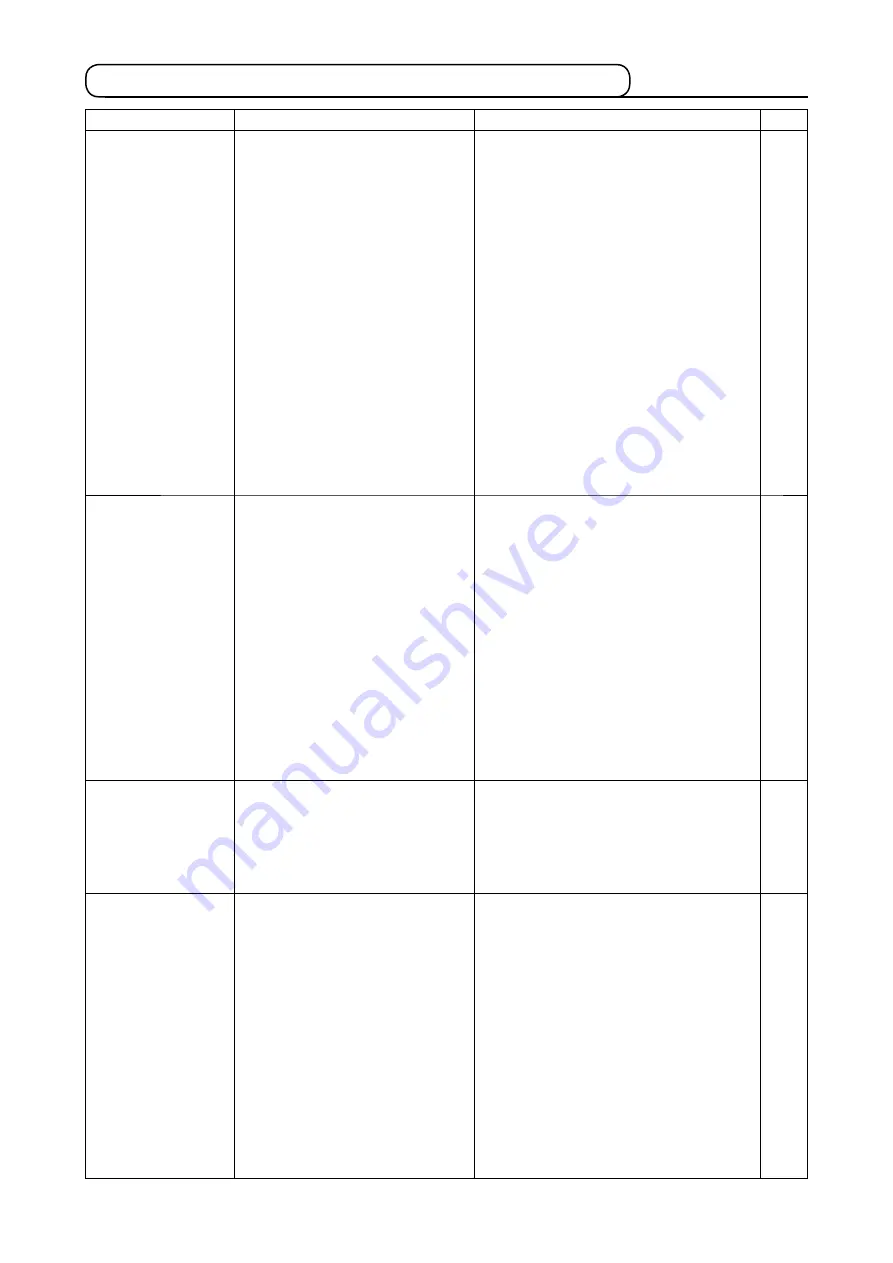
1-14. troubles and corrective measures (Sewing conditions)
Trouble
Cause
Correctve measures
Page
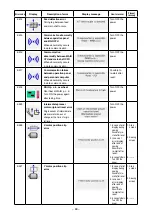
1. The needle
thread slps off at
the start of bar-
tackng.
1
Sttches are slpped at the start.
2
The needle thread remanng on
the needle after thread trmmng
s too short.
3
The bobbn thread s too short.
4
Needle thread tenson at 1st
sttch s too hgh.
5
Thread clamp s unstable (mate-
ral s apt to be expanded, thread
s hard to slde, thread s thck,
etc.).
6
Ptch at 1st sttch s too small.
™
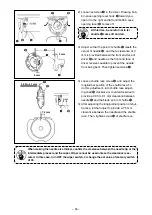
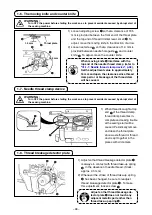
Adjust the clearance between the needle
and the shuttle to 0.05 to 0.1 mm.
™
Set soft-start sewng at the start of
bartackng.
™
Correct the thread tenson release tmng
of the thread tenson controller No. 2.
™
Increase the tenson of the thread take-
up sprng, or decrease the tenson of the
thread tenson controller No. 1.
™
Decrease the tenson of the bobbn
thread.
™
Increase the clearance between the
needle hole gude and the counter knfe.
™
Decrease the tenson at 1st sttch.
™
Decrease the number of rotaton at 1st
sttch at the sewng start. (Extent of 600
to 1,000 st/mn)
™
Increase the number of sttches of
thread clamp to 3 to 4 sttches.
™
Make the ptch at 1st sttch longer.
™
Decrease the needle thread tenson at
1st sttch.
94
76
12
11
98
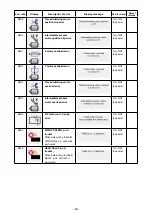
2. Thread often
breaks or syn-
thetic fiber thread
splits finely.
1
The shuttle or the drver has
scratches.
2
The needle hole gude has
scratches.
3
The needle comes n contact wth
the work clamp.
4
Fbrous dust s n the groove of
the shuttle race.
5
The needle thread tenson s too hgh.
6
The tenson of the thread take-up
sprng s too hgh.
7
The synthetic fiber thread melts due
to heat generated on the needle.
8
When takng up thread, thread s
perced wth needle tp.
™
Take t out and remove the scratches us-
ing a fine whetstone or buff.
™
Buff or replace t.
™
Adjust the poston of the work clamp.
™
Take out the shuttle and remove the
fibrous dust from the shuttle race.
™
Reduce the needle thread tenson.
™
Reduce the tenson.
™
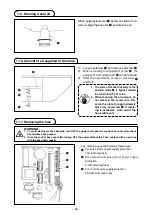
Use slcone ol.
™
Lower the needle bar heght from the
engraved marker lne by a half of the lne
to as much as the lne.
™
Check the rough state of needle tp.
™
Use the ball-ponted needle.
11
12
105
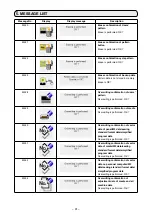
3. The needle often
breaks.
1
The needle s bent.
2
The needle comes n contact wth
the work clamp.
3
The needle s too thn for the
materal.
4
The drver excessvely bends the
needle.
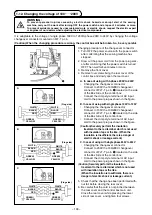
™
Replace the bent needle.
™
Adjust the poston of the work clamp.
™
Replace t wth a thcker needle accord-
ng to the materal.
™
Correctly poston the needle and the
shuttle.
9
94
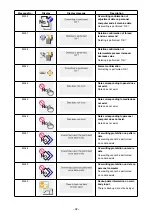
4. Threads are not
trmmed.
(Bobbn thread only)
1
The counter knfe s dull.
2
The dfference n level between
the needle hole gude and the
counter knfe s not enough.
3
The movng knfe has been m-
properly postoned.
4
The last sttch s skpped.
5
Bobbn thread tenson s too low.
6
Floppng of cloth
7
Ptch of the last sttch s small.
8
Hole of the needle hole gude s
small.
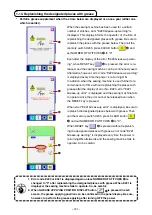
™
Replace the counter knfe.
™
Increase the bend of the counter knfe.
™
Correct the poston of the movng knfe.
™
Correct the tmng between the needle
and the shuttle.
™
In crease the bobbn thread tenson.
™
Lower the ntermedate presser heght of
the last sttch.
™
Make the clearance between presser
and needle small.
™
Decrease the stroke of the ntermedate
presser.
™
Make the ptch of the last sttch large.
™
Replace the needle hole gude wth one
wth larger hole.
98
94