21-103
Section 21 Maintenance & Inspection
1
2
3
4
5
6
7
8
9
10
11
12
13
14
15
16
17
18
19
20
21
23
24
24
26
27
Note
Since the equipment is started from the D drive, the usual C drive is displayed as the D
drive and the usual D drive is displayed as C drive. Therefore, note this point when
selecting an image file.
3
Click on the [OK] button.
Image file write-back operation starts.
Note
Do not perform any operation until write-back operation is completed. If any operation is
performed, the image write-back operation may fail.
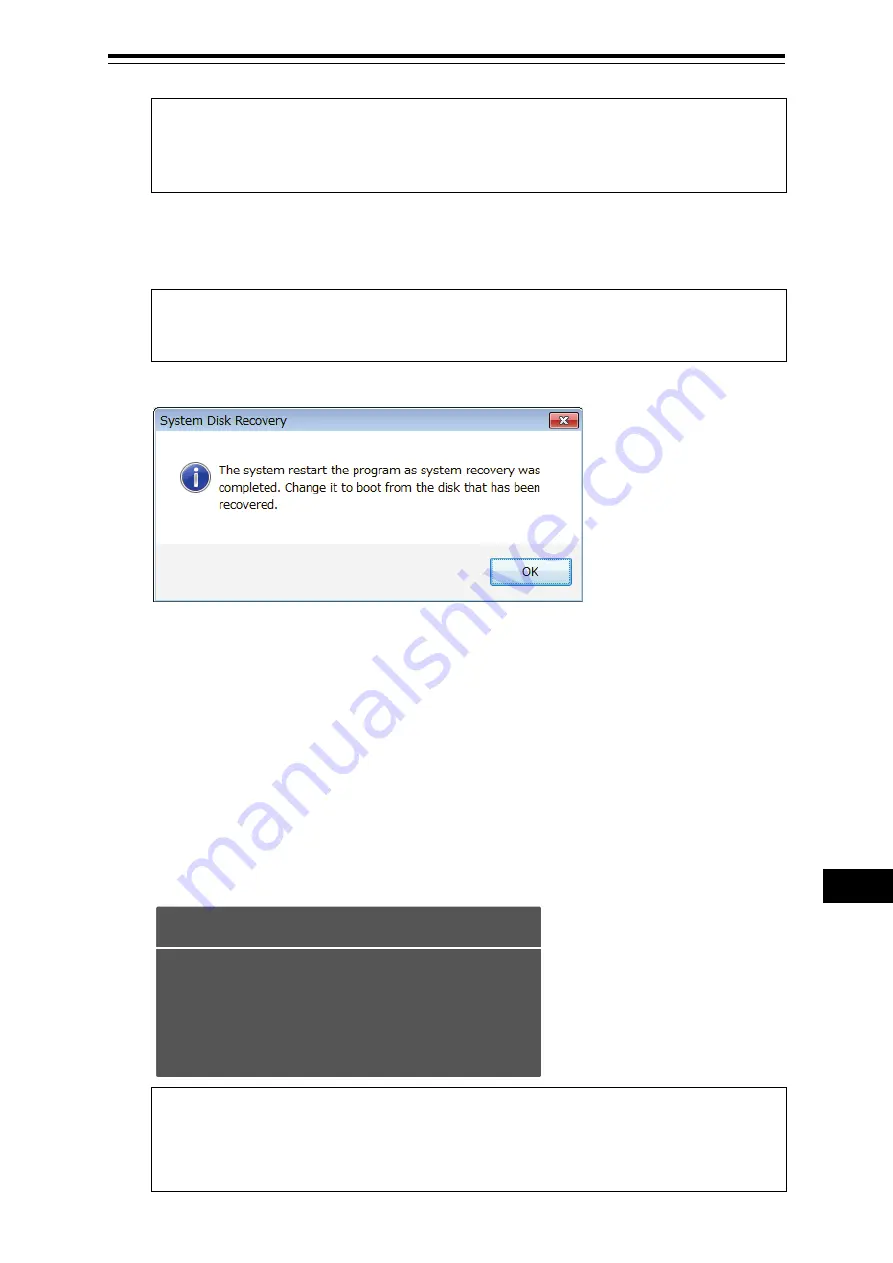
At termination of recovery, the following screen is displayed.
21.11.3 Starting the equipment with the OS in the C drive
(Software automatic recovery)
Start this equipment with the OS that is written back to the C drive.
1
Click on the [OK] button on the screen that is displayed at termination of write-back
operation.
The equipment starts from the C drive and, at the same time, the applications and various OS
settings on the C drive are recovered automatically.
When recovery starts, the following screen is displayed for several seconds.
Note
This equipment restarts during the recovery operation. Do not perform any other operations
until the recovery is completed.
Otherwise, recovery may fail, possibly causing an accident.
System
Start the recovery of the software...
Содержание JMR-7210-6X
Страница 2: ......
Страница 62: ...Section 19 Adjusting and Setting up Equipment for Services 19 50...
Страница 230: ...Section 22 Failures and After Sale Services 22 52...
Страница 286: ......
Страница 304: ......
Страница 426: ...Appendix D Menu List and Materials D 34 D 1 16 Code Input Password ECDIS RADAR CONNING...
Страница 498: ...Appendix D Menu List and Materials D 106 Object name Icon button display example Remarks Weed Kelp Wreck...
Страница 546: ...Appendix D Menu List and Materials D 154 No Drawn object name Drawn object display example 8 Plotted Position...
Страница 585: ......


