


Illustra Body Worn Camera Kiosk ApplicationConfiguration Guide
8200-2077-02 A0
8
Body worn camera kiosk application
You can configure the body-worn camera through the JCI kiosk application. To access the Kiosk
application you must enter the IP address of your computer into a web browser. Include after the IP
address the following ':5000'. For example 'https://IPaddress:5000'
Procedure 2 Logging into the kiosk application
Step Action
1
Enter the
IP address
of your computer into a web browser. After the IP address add the fol-
lowing '
:5000
' (example 'https://IPaddress:5000') and then select enter on your computer to
view the Kiosk application log-in screen.
2
Select the
Username
and
Password
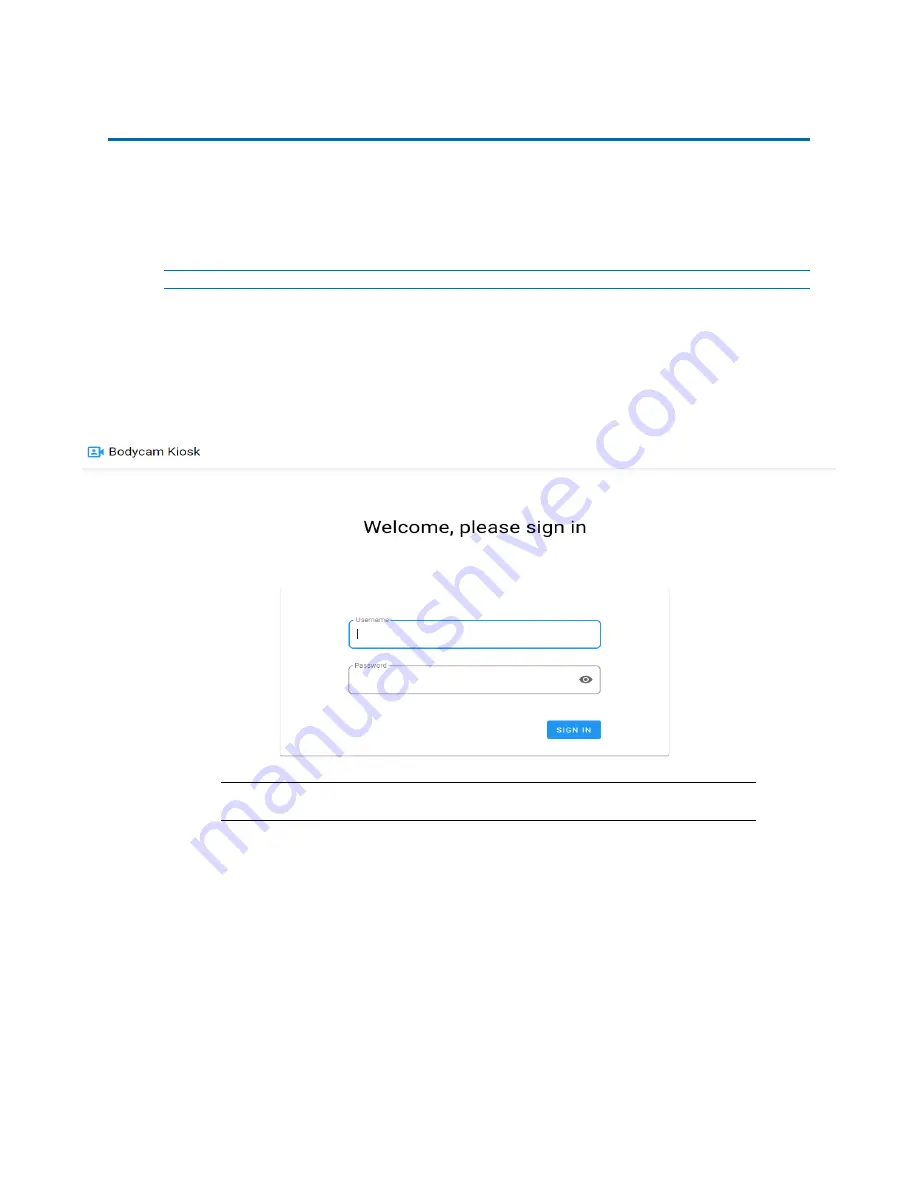
text boxes and enter the correct username and
password. See Figure 1.
Figure 4 Log in screen
Note:
The default username is 'admin'. Enter the Kiosk password used during
installation.
3
Select the
SIGN IN
button to log into the Kiosk application.
The following headings and information is now visible by default:
•
Available:
This identifies cameras in the available state that are at
least 90% charged and have finished syncing all data. The camera
must be connected to the computer via a USB cable or docking station
to be listed as avaliable. The name of the camera and charge per-
centage is also visible. You can assign a camera a profile and edit the
profile settings. You can check out a camera by selecting CHECK-
OUT.
•
Checked Out:
This identifies the number of cameras that have been
removed from the camera docking station and currently is use. There