background image

01


Description

Image

Quantity 

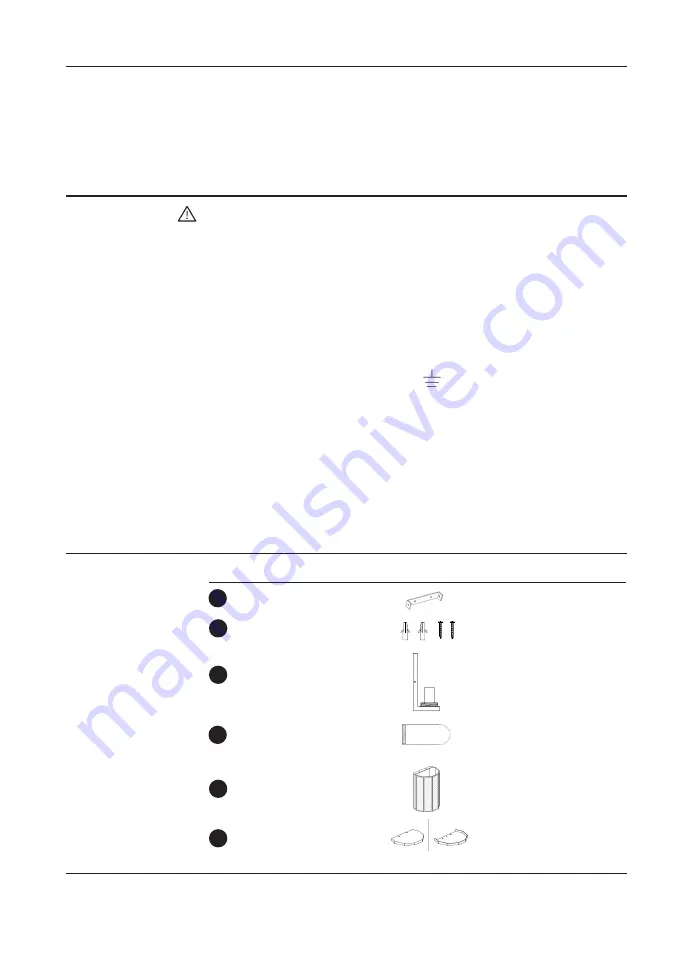
Parts list

Introduction

Thank you for purchasing this Herringbone 
IP44 wall light. Please read the instructions 
carefully before use to ensure safe and 
satisfactory operation of this product. 


Warnings

We recommend a qualified electrician carries out any electrical wiring 

outdoor

.

For your safety, this product must be installed in accordance with local Building 
Regulations.
If in any doubt, or where required by the law, consult a competent person who is 
registered with an electrical self-certification scheme. Further information is available 
online or phone your Local Authority.
To prevent electric shock, switch off the mains supply before installing or maintaining 
this product. Ensure other persons cannot restore the electricity supply without your 
knowledge. 
Always use the correct bulb type with the correct wattage as indicated in the 
specification table. This product is Class I =


      and should be fitted to a lighting 

supply (with earth) protected by a 5 amp fuse or equivalent circuit breaker. 
When changing the bulb, always switch off at the mains and allow the old bulb to 
cool down before handling. Dispose of used bulbs carefully.
Caution! The bulb and surrounding parts can become hot during use.

If the inner glass on this product is broken, it must be replaced

A

C

D

Wall Light

Inner glass shade

Fixing bracket

Fixing screw pack

2

B

2


E


F

Outer shade 

Shade cover 

Содержание HERRINGBONE IP44 WALL LIGHT

Страница 1: ...HERRINGBONE GLASS OUTDOOR IP44 WALL LIGHT USER GUIDE ...

Страница 2: ...uthority To prevent electric shock switch off the mains supply before installing or maintaining this product Ensure other persons cannot restore the electricity supply without your knowledge Always use the correct bulb type with the correct wattage as indicated in the specification table This product is Class I and should be fitted to a lighting supply with earth protected by a 5 amp fuse or equiv...

Страница 3: ...and then drill the fixing holes in the wall ensure the screws B are firmly fixed into a solid or other suitable mounting and not just the plasterboard Take care not to damage wiring Attach mounting bracket to the mounting surface using suitable fixings Do not attach fitting to mounting bracket at this stage Make sure no wires are trapped in the process Connect supply live to fitting live marked L ...

Страница 4: ...fitting Insert and tighten the retaining screws using a correctly sized screwdriver Ensure all assembled parts have been fully secured before leaving unattended Once installation is complete the house electricity may be restored at the fuse box Place the outer shade glass E over the light fitting and alignin the fixing holes on both parts E E F F F ...

Страница 5: ...04 ...

Страница 6: ...05 ...

Страница 7: ...06 ...

Страница 8: ... Weight 2 3kg At John Lewis Partners we test every light to high quality standards so we are able to offer you a 5 year guarantee Specification Recycling Caring for your product We recommend cleaning with a soft dry cloth Do not use abrasive materials as these will damage the finish Replace bulb from John Lewis or established brand of the same type and compatibility This symbol indicates that this...

Отзывы: